-
Be sure to read this post! Beware of scammers. https://www.indianagunowners.com/threads/classifieds-new-online-payment-guidelines-rules-paypal-venmo-zelle-etc.511734/

You are using an out of date browser. It may not display this or other websites correctly.
You should upgrade or use an alternative browser.
You should upgrade or use an alternative browser.
Pop can mortar
- Thread starter freekforge
- Start date
The #1 community for Gun Owners in Indiana
Member Benefits:
Fewer Ads! Discuss all aspects of firearm ownership Discuss anti-gun legislation Buy, sell, and trade in the classified section Chat with Local gun shops, ranges, trainers & other businesses Discover free outdoor shooting areas View up to date on firearm-related events Share photos & video with other members ...and so much more!
Member Benefits:

right now the biggest holder I have is 1/2" but we are going to make a new T nut with two studs sticking out to bolt the bar directly to the compound. I am going to buy a qctp when I have the money so then I will be able to use 3/4" bars.
I am making a boring bar out of the drag link off a dodge ram. I cut a slot to hold my tool bit and will drill and tap it for 10-32 set screws. Dad said he has made them like this in the past so I hope it works. I am going to drill two holes in the bar to bolt it to the compound using a new T nut with two vertical studs
IndyGunworks
Grandmaster
I have seen that exact same set up before. if I remember right it worked OK. didn't give the best finish, but they were turning fairly slow and using carbide, which could also be part of the reason for the poor finish.
 my ugly car parts boring bar is cutting with very little vibration. I will post some pics of the progress in a little bit I will also post a few of the boring bar after i get it welded up for those interested.
 I could not resist
 Well here's the very little work I got done today. Normally I wouldn't take the part out until its finished but I had to due to equipment malfunctions so I'll just have to break out the dial indicator and redial it. but any way here's where I'm at
First pass taking out chatter from the previous attempt with the wimpy boring bar
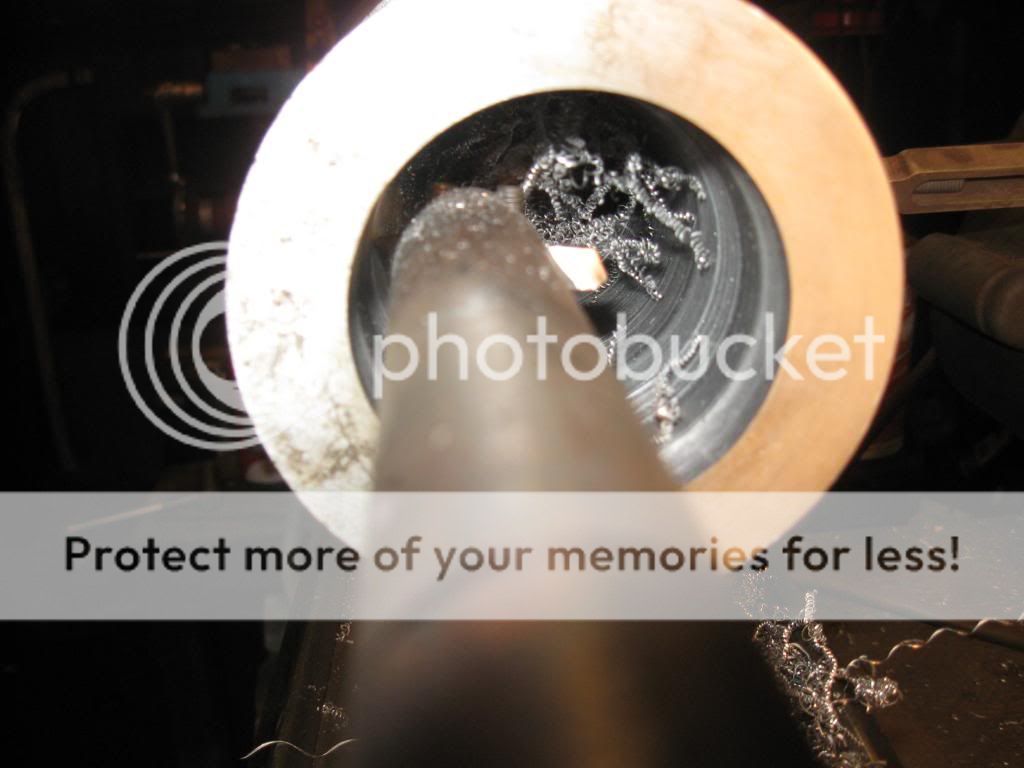
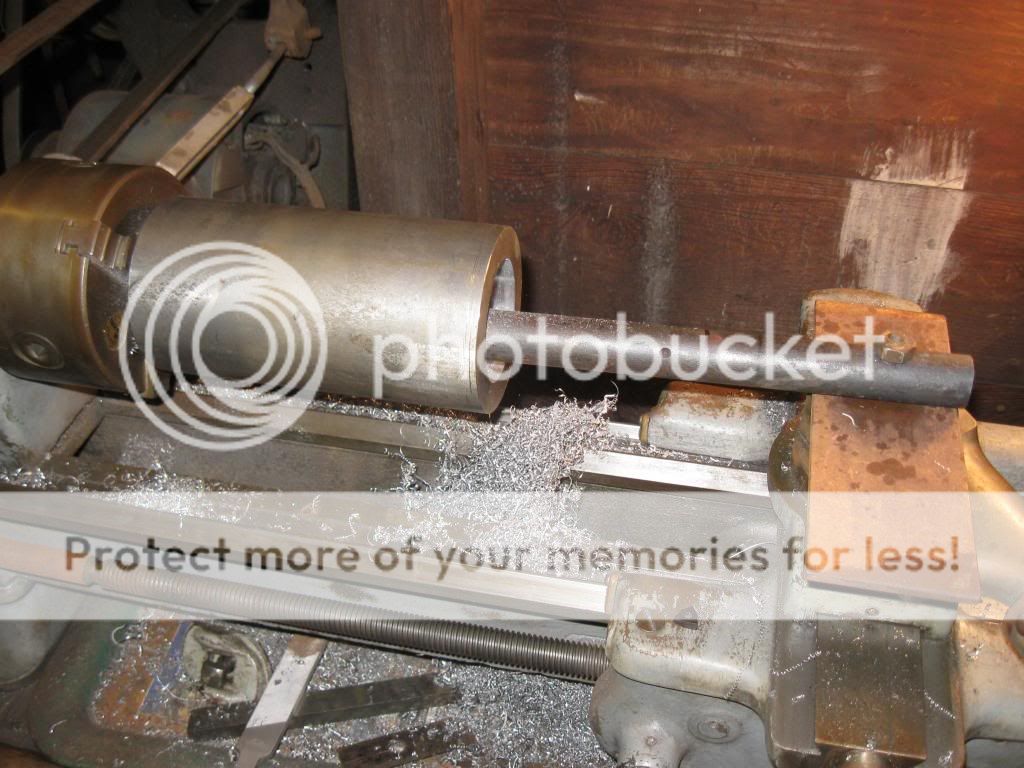
the homemade boring bar on its test run it will be finished later today
just passed 2.5". I'll use a micrometer and T gauge when i get closer to final bore size

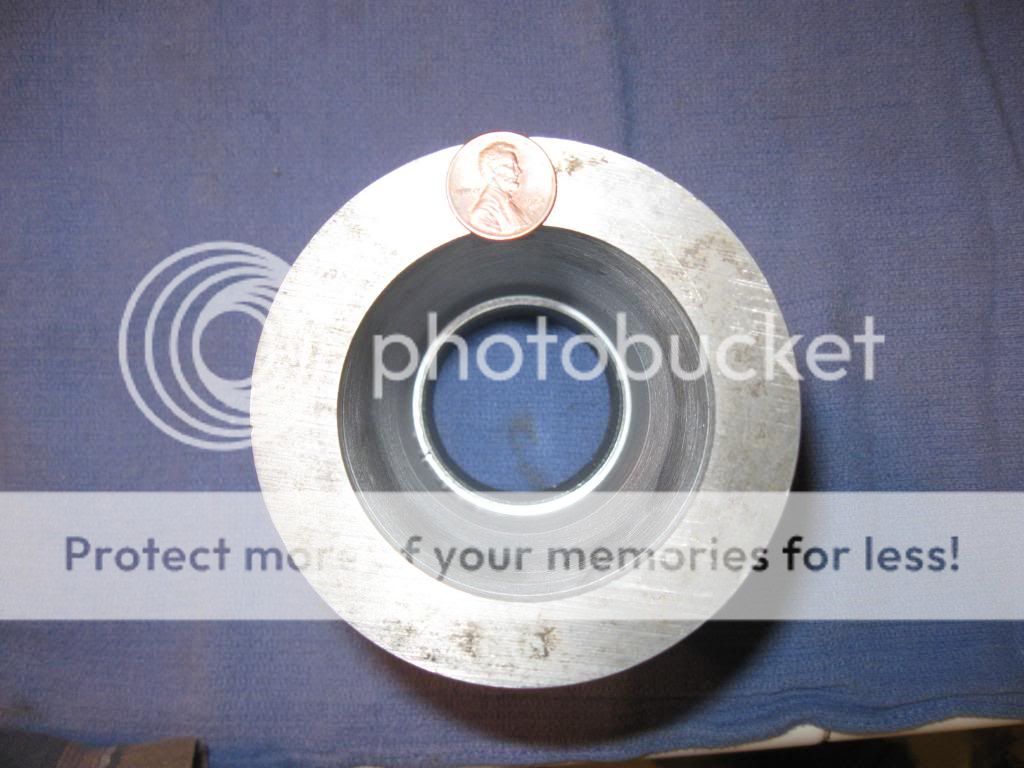
and here it is now with just a few passes left to take
First pass taking out chatter from the previous attempt with the wimpy boring bar
the homemade boring bar on its test run it will be finished later today
just passed 2.5". I'll use a micrometer and T gauge when i get closer to final bore size
and here it is now with just a few passes left to take
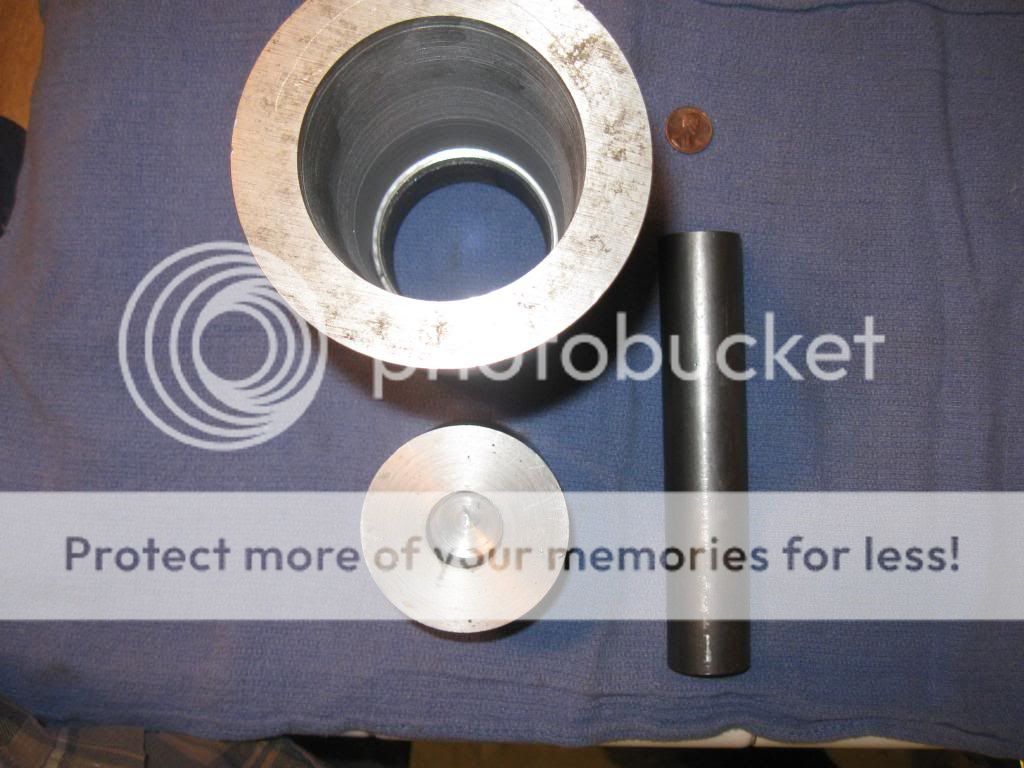
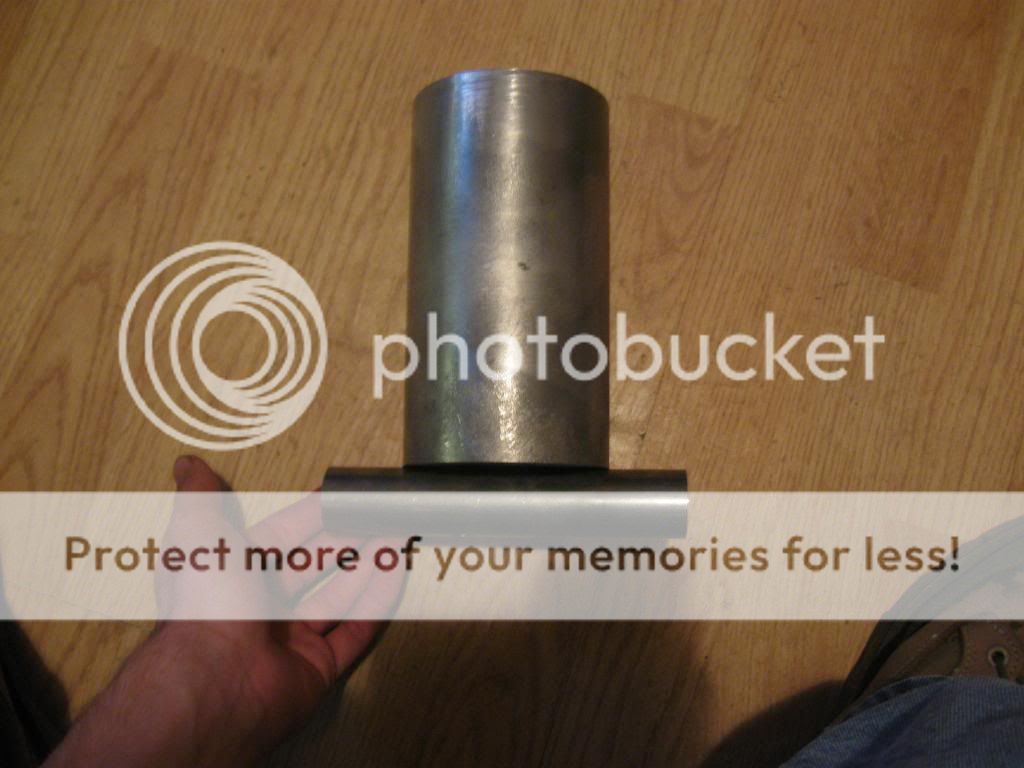
Oh and here is the boring bar it will be welded to the plate it was sitting on in the pics above. It is 1" dia x 10" long. I decided to go with only one stud to hold it on for no reason other than I didn't feel like looking for another bolt of the same size
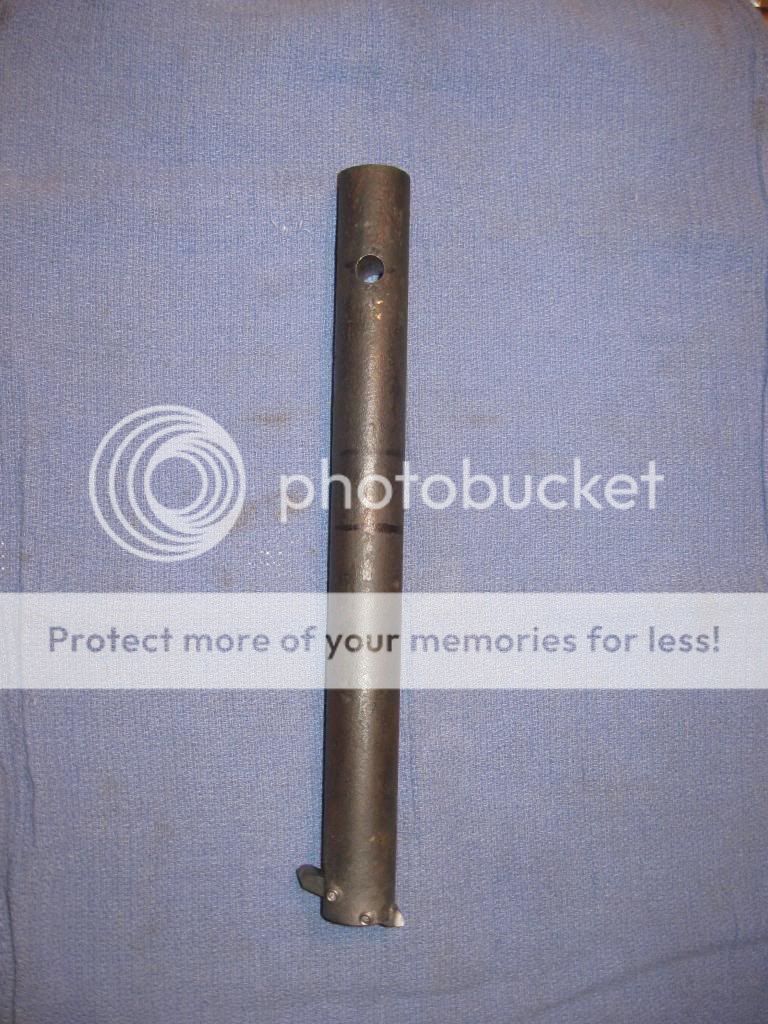

Well all that i need to do to the barrel is drill and tap for the vent liner. Here's where I'm at now.
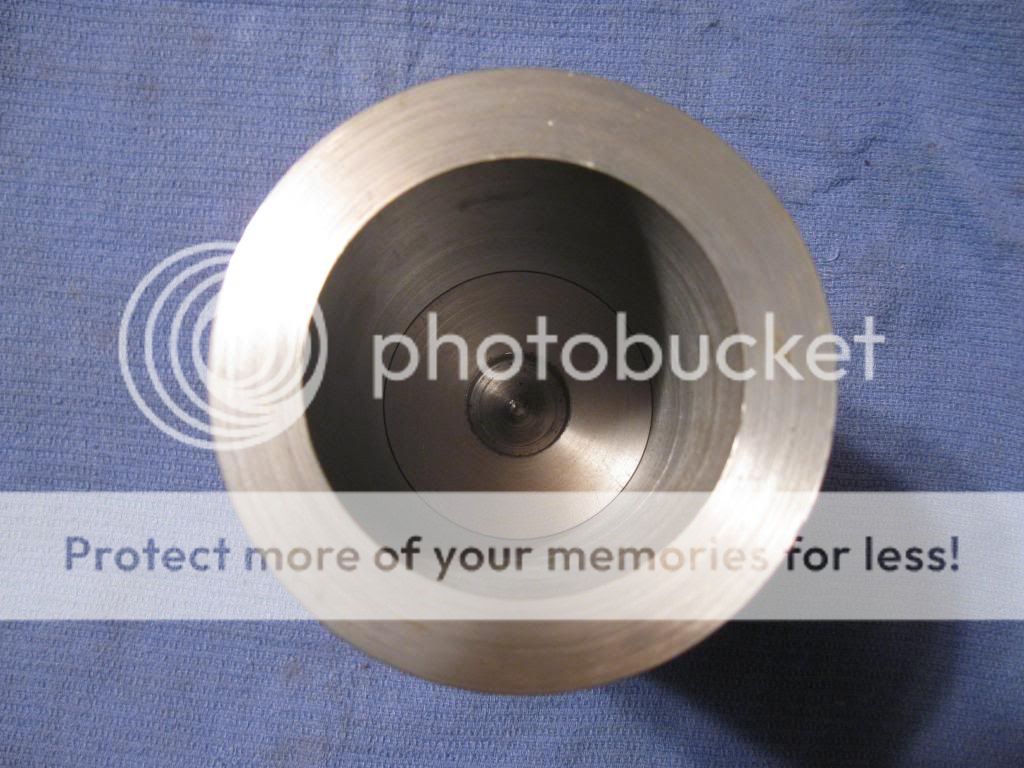
got the bore to size

turning the OD of the breech plug to major bore size


turning the opposite end to minor bore size

test fit of plug
drilling and countersinking the trunnion

tapping with a taper tap

now a bottoming tap

test assembly

got the bore to size
turning the OD of the breech plug to major bore size
turning the opposite end to minor bore size
test fit of plug
drilling and countersinking the trunnion
tapping with a taper tap
now a bottoming tap
test assembly
IndyGunworks
Grandmaster
looks good. Assuming you are going to use the bolt/vent to secure the chamber? I think that's the way Double D's KISS mortar design is.
Looking awesome!!
so for someone who has no machining knowledge ..... Why do you have to make it in 2 parts? The barrel
so for someone who has no machining knowledge ..... Why do you have to make it in 2 parts? The barrel
yep its pretty much DDs design with the two cap screws in the back pulling the breech plug against the shoulder inside the barrel and the the vent liner bolt keeps it from rotating and reduces corrosion where the barrel and plug meet.
trigger time it just makes it easier and cheaper to make.
i am also going to round off the back end a bit but need to make a center plug so I can support it on the tailstock end. And im going to get another vent liner and chamber it for a .22 nailgun blank to use as a primer
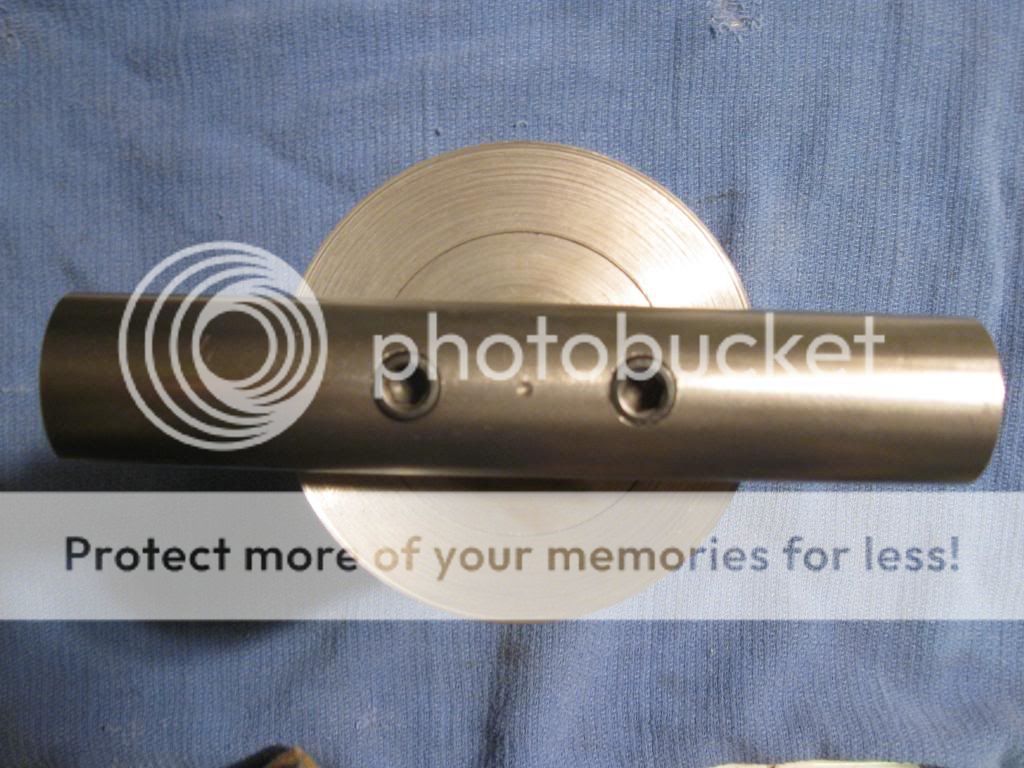
I just drilled and tapped the vent liner.
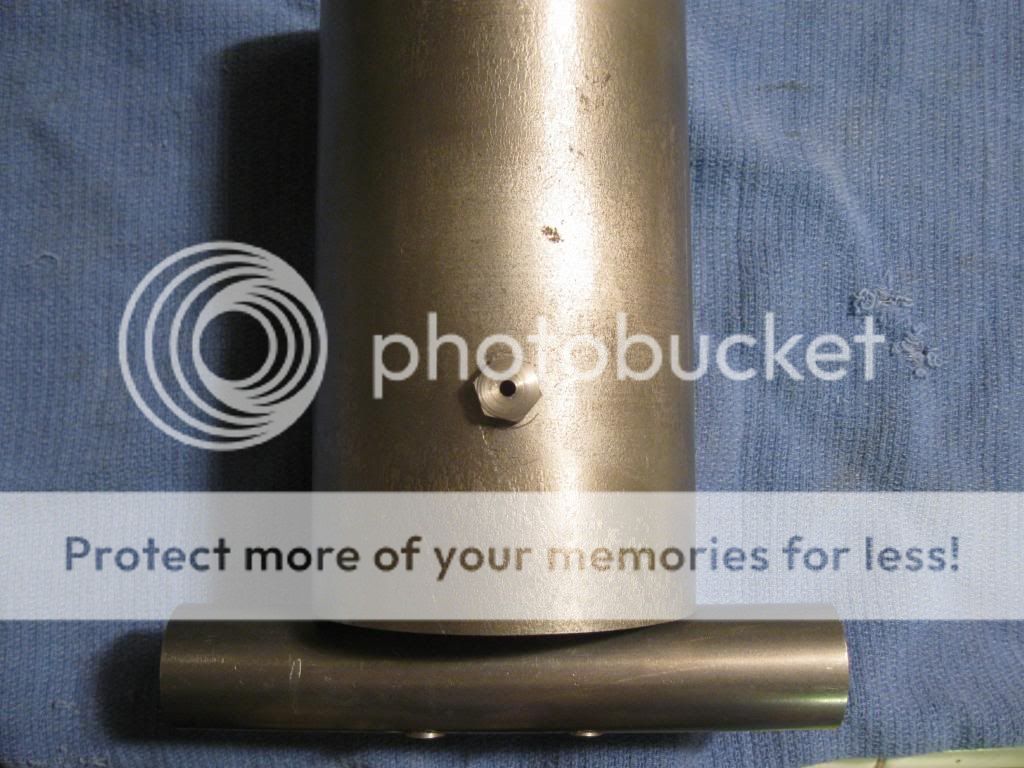
cap screws that secure the plug to the barrel
trigger time it just makes it easier and cheaper to make.
i am also going to round off the back end a bit but need to make a center plug so I can support it on the tailstock end. And im going to get another vent liner and chamber it for a .22 nailgun blank to use as a primer
I just drilled and tapped the vent liner.
cap screws that secure the plug to the barrel
LOL
Site Supporter

Staff online
-
 Cameramonkeywww.thechosen.tv
Members online
- BeDome
- DoggyDaddy
- rem788
- ZachJ03
- LeverGunFan
- VERT
- joncon
- LokhXIV
- edwea
- mmpsteve
- SAILORGOLF46
- jcj54
- duanewade
- Bugzilla
- tomcat13
- dieselrealtor
- Hawkeye
- funeralweb
- HK_bach_HK
- Ziggidy
- KLB
- John Trap
- Cavman
- gassprint1
- COOPADUP
- AFvet3366
- Calvin
- Relax_36
- Cameramonkey
- Dutchmaster
- cavemike
- bobjones223
- senork
- JBLee
- doddg
- VinceU1
- futureofwar
- jsharmon7
- Businessend
- grunt soldier
- El Conquistador
- cmstuard
- indyartisan
- Magyars
- hemicharger
- blain
- smokenfire10
- Skullglide
- Kirk Freeman
- TacOpsGuy320
Total: 1,536 (members: 161, guests: 1,375)
