-
Be sure to read this post! Beware of scammers. https://www.indianagunowners.com/threads/classifieds-new-online-payment-guidelines-rules-paypal-venmo-zelle-etc.511734/

You are using an out of date browser. It may not display this or other websites correctly.
You should upgrade or use an alternative browser.
You should upgrade or use an alternative browser.
The CZickness XLI and on to what's next
- Thread starter churchmouse
- Start date
The #1 community for Gun Owners in Indiana
Member Benefits:
Fewer Ads! Discuss all aspects of firearm ownership Discuss anti-gun legislation Buy, sell, and trade in the classified section Chat with Local gun shops, ranges, trainers & other businesses Discover free outdoor shooting areas View up to date on firearm-related events Share photos & video with other members ...and so much more!
Member Benefits:
- Status
- Not open for further replies.

We had a great time with the kids today! Now some CZ stuff ")
This is the Pre B sear cage and parts. Due to different geometry of the CGW hammer they have an adjustable sear. The set screw is to make the proper manual safety adjustment, then use red Loctite. They use their standard ad. sear with a spacer to equal the stock sear width. The Pre B only has one spring for the sear. A 75 B has a sear spring plus lifter arm & lifter arm spring (AKA F-Me Spring)! A 75 B Decocker adds the decocker lever and lever spring.
_LI.jpg")

.jpg")
75 B Decocker, extreme care must be taken with the F-Me spring so it does not get crushed. Then the decocker spring has to be set under the the lower leg of the decocker lever.
This is the Pre B sear cage and parts. Due to different geometry of the CGW hammer they have an adjustable sear. The set screw is to make the proper manual safety adjustment, then use red Loctite. They use their standard ad. sear with a spacer to equal the stock sear width. The Pre B only has one spring for the sear. A 75 B has a sear spring plus lifter arm & lifter arm spring (AKA F-Me Spring)! A 75 B Decocker adds the decocker lever and lever spring.
75 B Decocker, extreme care must be taken with the F-Me spring so it does not get crushed. Then the decocker spring has to be set under the the lower leg of the decocker lever.
Last edited:
In order of ease of assembly is 1. Pre B, 2. 75B, 3. 75B Decocker and last is the Phantom which is a SP-01 Decocker plus the Sear cage and trigger assembly all must be set in as a sub assembly in the correct order or you will be pulling it out of the frame to redo it!
Nice write up Wizard. The pre-B looks like a piece of cake by comparison. I've never had the pleasure of working on one.
A word to the wise and uninitiated...if you are doing any work on a 75B/BD that will require disassembly of the sear cage, have a few F-Me springs in stock before you start. They are a standard part of my CGW orders.
A word to the wise and uninitiated...if you are doing any work on a 75B/BD that will require disassembly of the sear cage, have a few F-Me springs in stock before you start. They are a standard part of my CGW orders.
The wizardmaster! More complicated than I'm comfortable working on. Nice diagram.We had a great time with the kids today! Now some CZ stuff
This is the Pre B sear cage and parts. Due to different geometry of the CGW hammer they have an adjustable sear. The set screw is to make the proper manual safety adjustment, then use red Loctite. They use their standard ad. sear with a spacer to equal the stock sear width. The Pre B only has one spring for the sear. A 75 B has a sear spring plus lifter arm & lifter arm spring (AKA F-Me Spring)! A 75 B Decocker adds the decocker lever and lever spring.
View attachment 144635
View attachment 144646
View attachment 144649
75 B Decocker, extreme care must be taken with the F-Me spring so it does not get crushed. Then the decocker spring has to be set under the the lower leg of the decocker lever.
Part of the reason I do not care for the decocker models.We had a great time with the kids today! Now some CZ stuff
This is the Pre B sear cage and parts. Due to different geometry of the CGW hammer they have an adjustable sear. The set screw is to make the proper manual safety adjustment, then use red Loctite. They use their standard ad. sear with a spacer to equal the stock sear width. The Pre B only has one spring for the sear. A 75 B has a sear spring plus lifter arm & lifter arm spring (AKA F-Me Spring)! A 75 B Decocker adds the decocker lever and lever spring.
View attachment 144635
View attachment 144646
View attachment 144649
75 B Decocker, extreme care must be taken with the F-Me spring so it does not get crushed. Then the decocker spring has to be set under the the lower leg of the decocker lever.
She's got the look of a future Wizard ... I trust you will enlighten her to your ways so that the CZ wizardry will continue to the next generation.Posting this just because she is so darn cute! My Grand Daughter will be here soon and bringing her parents
The sear cage is assembled, The set screw on the top left side of the sear is used to adjust the manual safety after full assemble then set with red Loctite. The Race hammer has the disconnector pinned in the front end and the hammer strut pinned to the rear with CGW hardened pins. The trigger bar just needs the CGW 85 trigger and reduced power trigger return spring installed using a slave pin to retain in place until the removable trigger pin is installed through the frame. Notice that the trigger bar is polished and smooth as glass without removing the tool marks! It is hard to tell from the angle but I give special attention to 14 contact points that are smoothed out.

Last edited:
The sear cage is assembled, The set screw on the top left side of the sear is used to adjust the manual safety after full assemble then set with red Loctite. The Race hammer has the disconnector pinned in the front end and the hammer strut pinned to the rear with CGW hardened pins. The trigger bar just needs the CGW 85 trigger and reduced power trigger return spring installed using a slave pin to retain in place until the removable trigger pin is installed through the frame. Notice that the trigger bar is polished and smooth as glass without removing the tool marks! It is hard to tell from the angle but I give special attention to 14 contact points that are smoothed out.
View attachment 144675
This is why you are the THE Wizard and we are mere mortals.
I've got a Wizardized SP-01 Shadow, someday I'll get a churchmoused 1911.
This is why you are the THE Wizard and we are mere mortals.

This is why you are the THE Wizard and we are mere mortals.

Good Morning : My People..!!
Wife went to work @ 5am - so I guess I'm up too.
Cleaned both cars and went to Lowes for a 5-tier shelf for my ammo and range stuff organization.
My plan worked famously, even the wife commented on how good it looks. (*whew*)
Today is the Summer Solstice...the longest day of the year.!
Astronomy
Sun Actual Time
Rise 6:16 AM & Set 9:11 PM
Civil Twilight
5:44 AM & 9:43 PM
Nautical Twilight
5:03 AM & 10:24 PM
Astronomical Twilight
4:17 AM & 11:11 PM
Length of Visible Light 15 h 59 m
Length of Day 14 h 54 m
Tomorrow (Tuesday*) will be 0 minutes 2 seconds shorter
We now point to FALL, starting tomorrow.!!
Morning all... 
Morning folks!
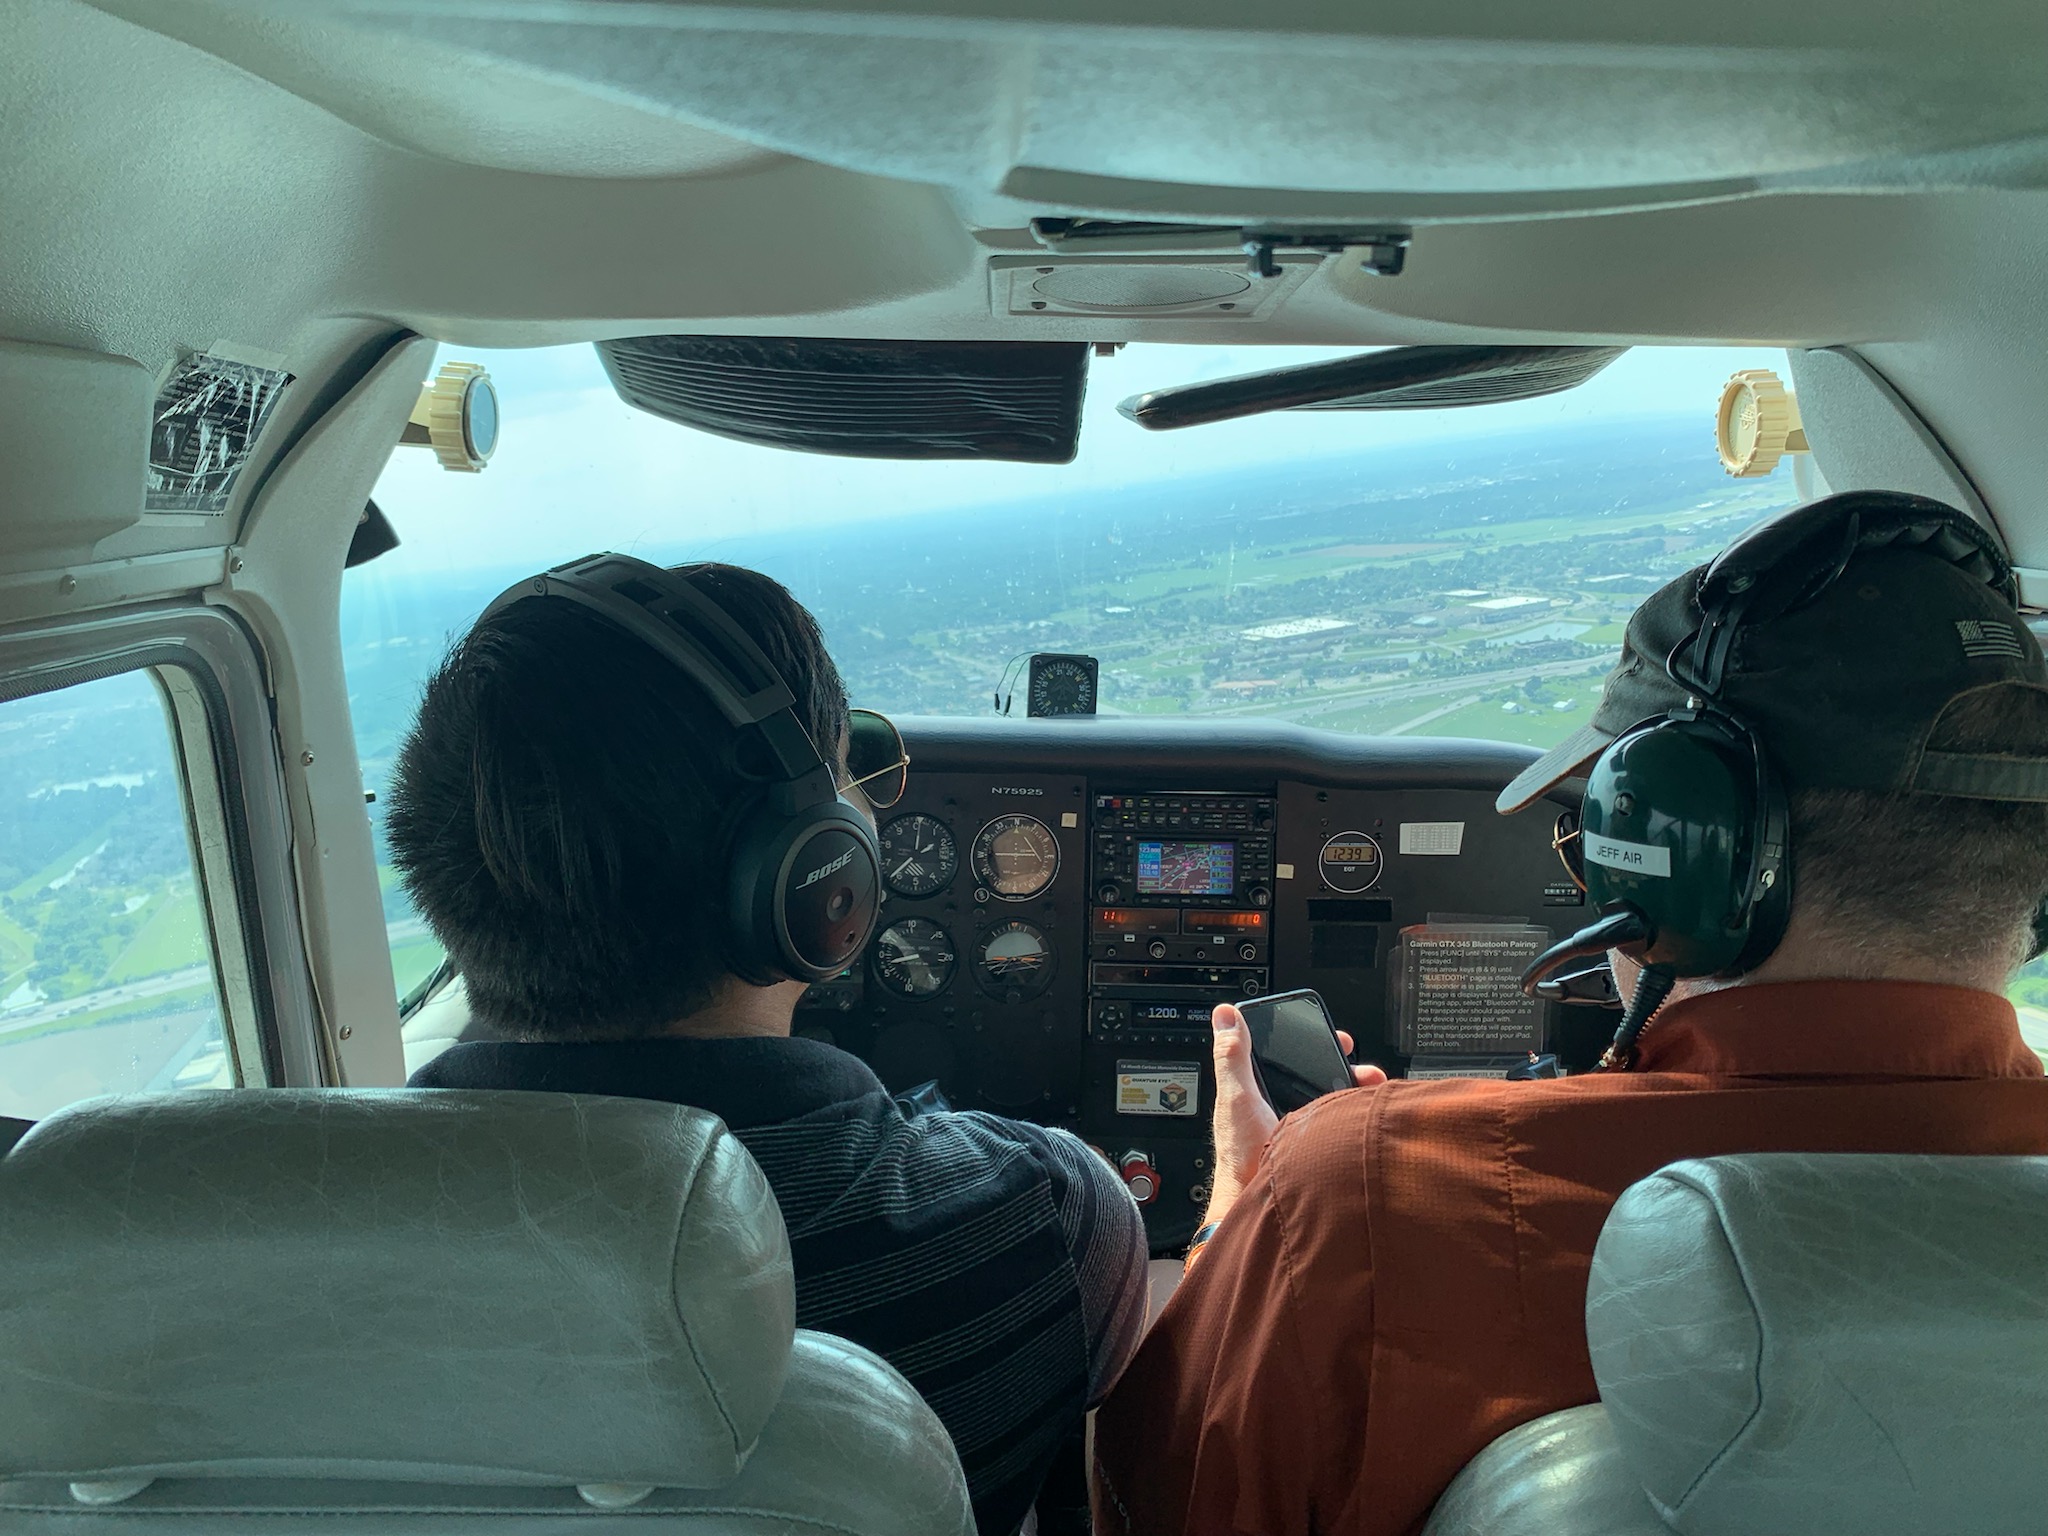
As a Father's Day present, my son took the wife and I up for a flight yesterday. Once up at about 3500 feet, he let me fly and would just feed me throttle settings, airspeed to maintain and climb rates. We went up to 7500 and just played among the clouds.
He took the controls back for the descent and landing. What a great afternoon
- Status
- Not open for further replies.
Site Supporter

Staff online
-
 d.kaufmanStill Here
 -
 GodFearinGunTotinSuper Moderator
Members online
- dekeshooter
- x34822
- Leadeye
- Grogmister
- mgross28
- BeDome
- tjh88
- ancjr
- gabrigger
- Chaplain
- Xterminator
- Machinist68
- ShawnC
- Drpietrzak
- joe138
- INDY45
- Rio
- skydelta34
- Calvin
- BAgun
- CheeseRat
- ChrisK
- Tradesylver
- cubstuff
- MrWizard
- RangeJunkie
- Indyhd
- d.kaufman
- Firehawk
- AndreusMaximus
- Emerson Dambiggins
- MeltonLaw
- GodFearinGunTotin
- ghuns
- Angrysauce
- senork
- Dudelittle
- SheepDog4Life
- INP8riot
- 04FXSTS
- slims2002
- Titanium aces
- warren5421
- ColdSteel223
- natdscott
- rkwhyte2
- indychase
- dieselrealtor
- ABrownOutdoors
- bgarman47
Total: 2,028 (members: 238, guests: 1,790)
