DIY Hobby Gunsmithing: Trigger Job... Taurus Model 627ss .357 Mag Revolver pics

The #1 community for Gun Owners in Indiana

Member Benefits:

  • Fewer Ads!
  • Discuss all aspects of firearm ownership
  • Discuss anti-gun legislation
  • Buy, sell, and trade in the classified section
  • Chat with Local gun shops, ranges, trainers & other businesses
  • Discover free outdoor shooting areas
  • View up to date on firearm-related events
  • Share photos & video with other members
  • ...and so much more!
  • backfire

    Shooter
    Rating - 100%
    9   0   0
    Nov 6, 2011
    786
    18
    Location
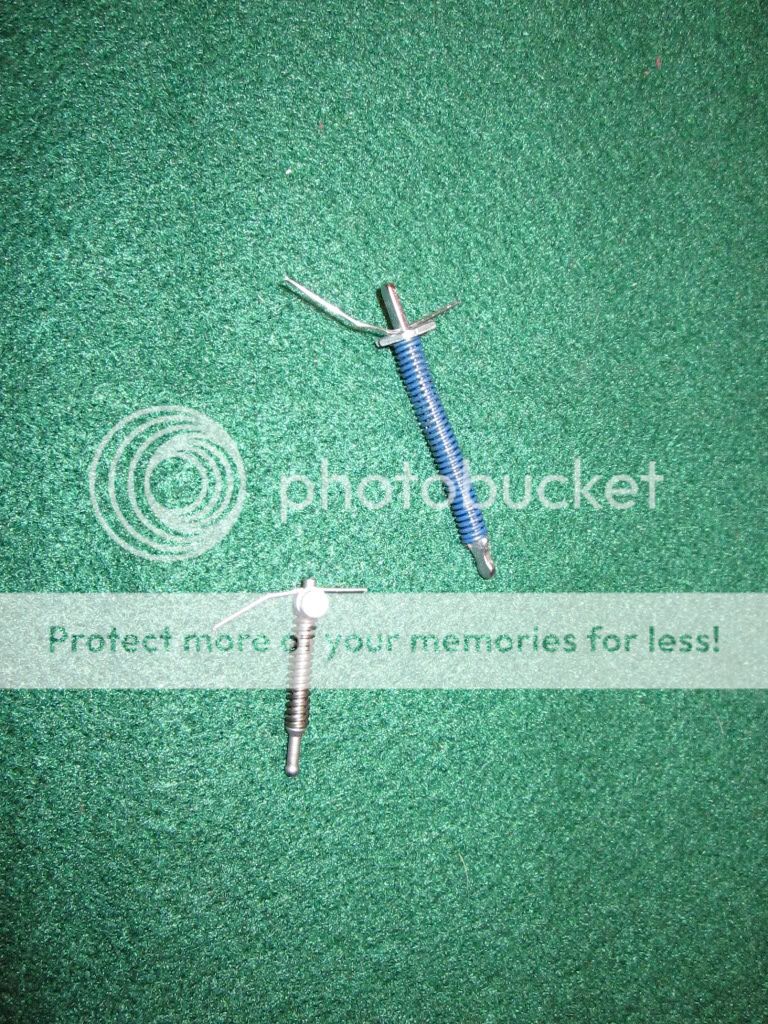
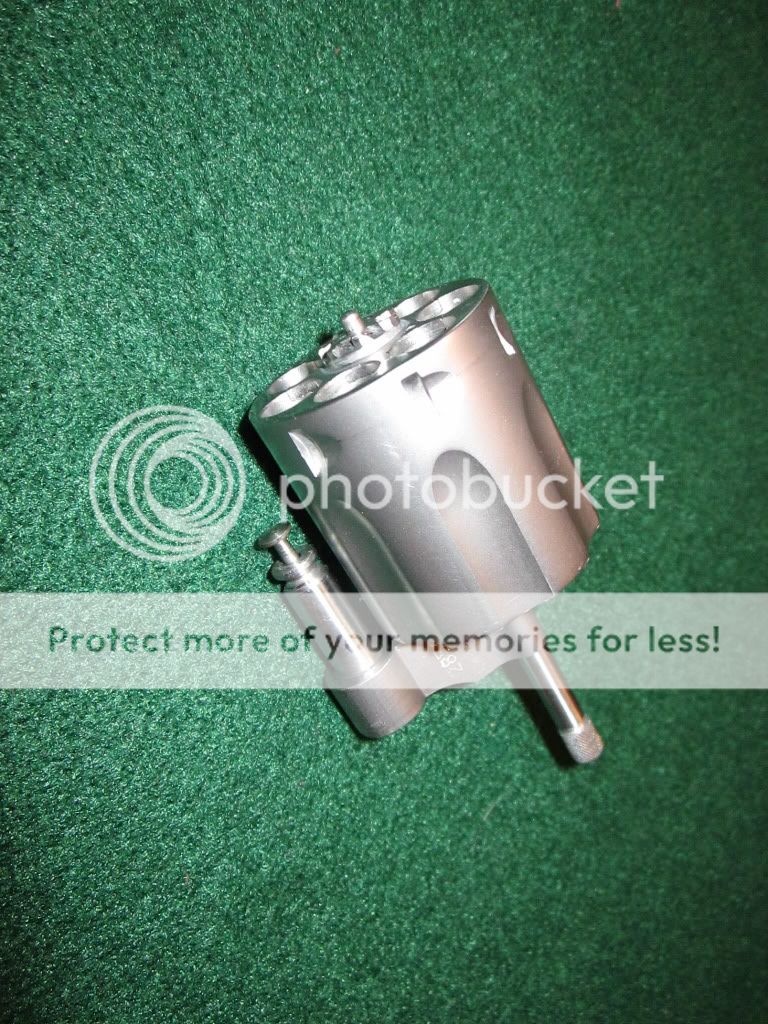
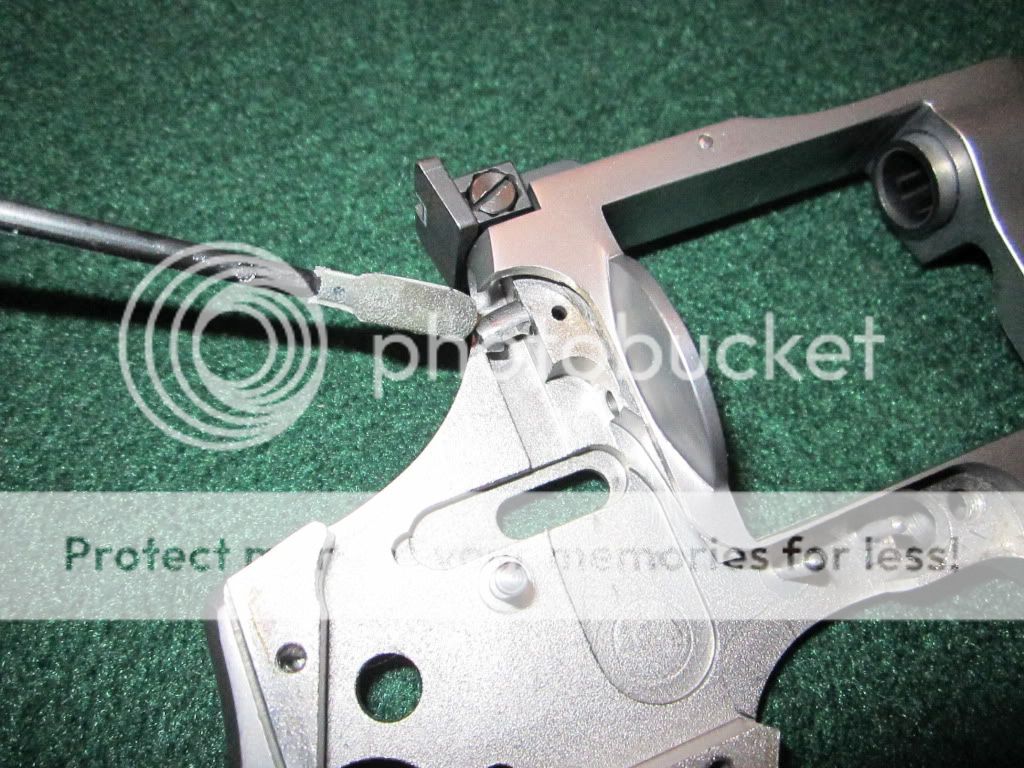
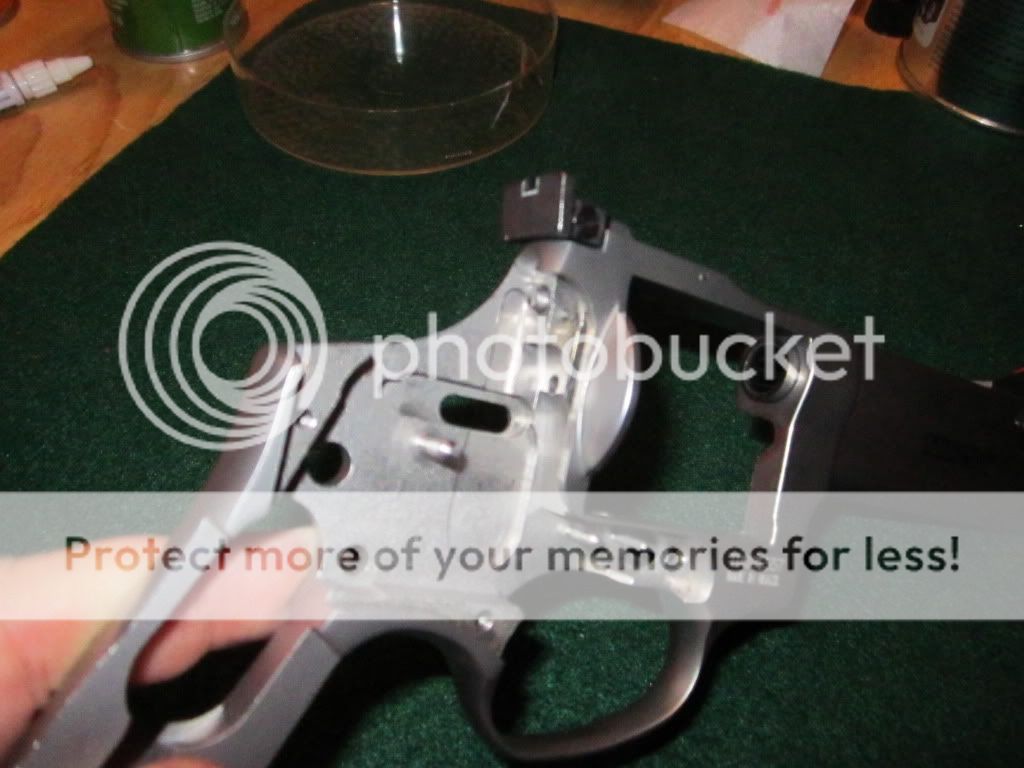
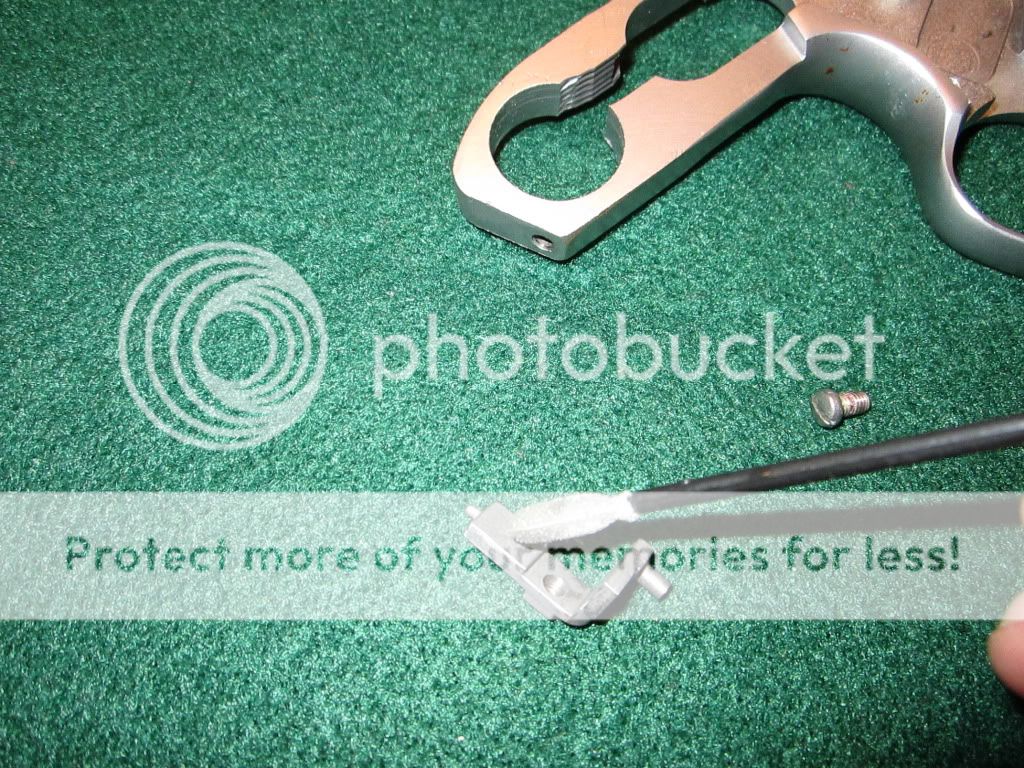
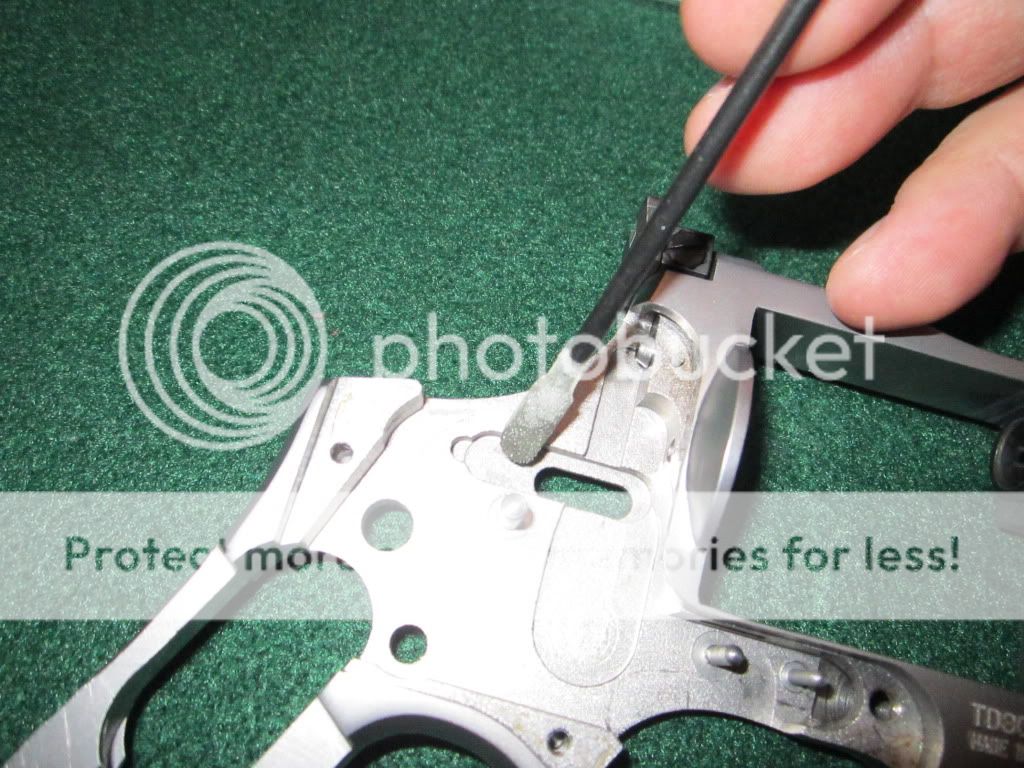
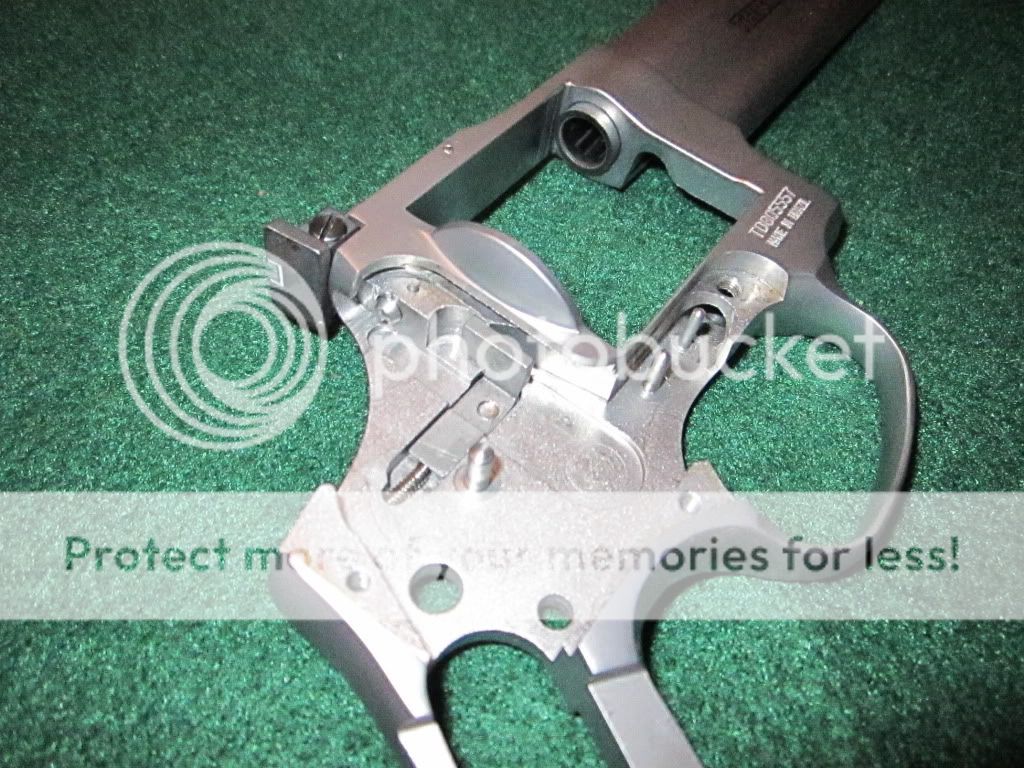
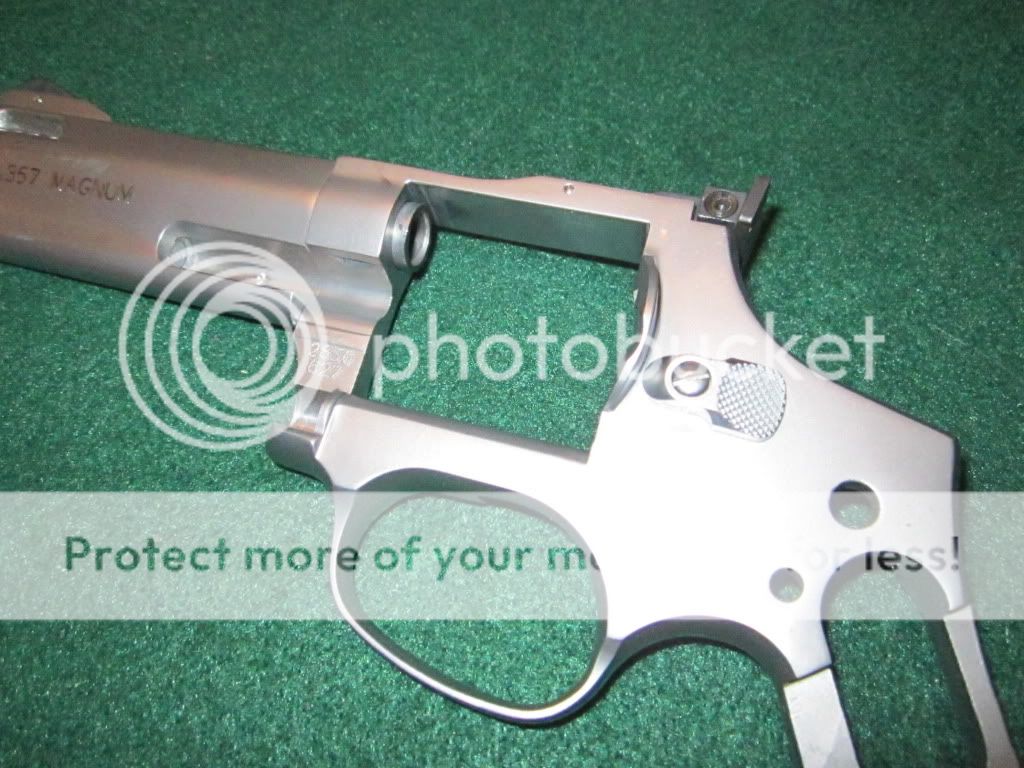
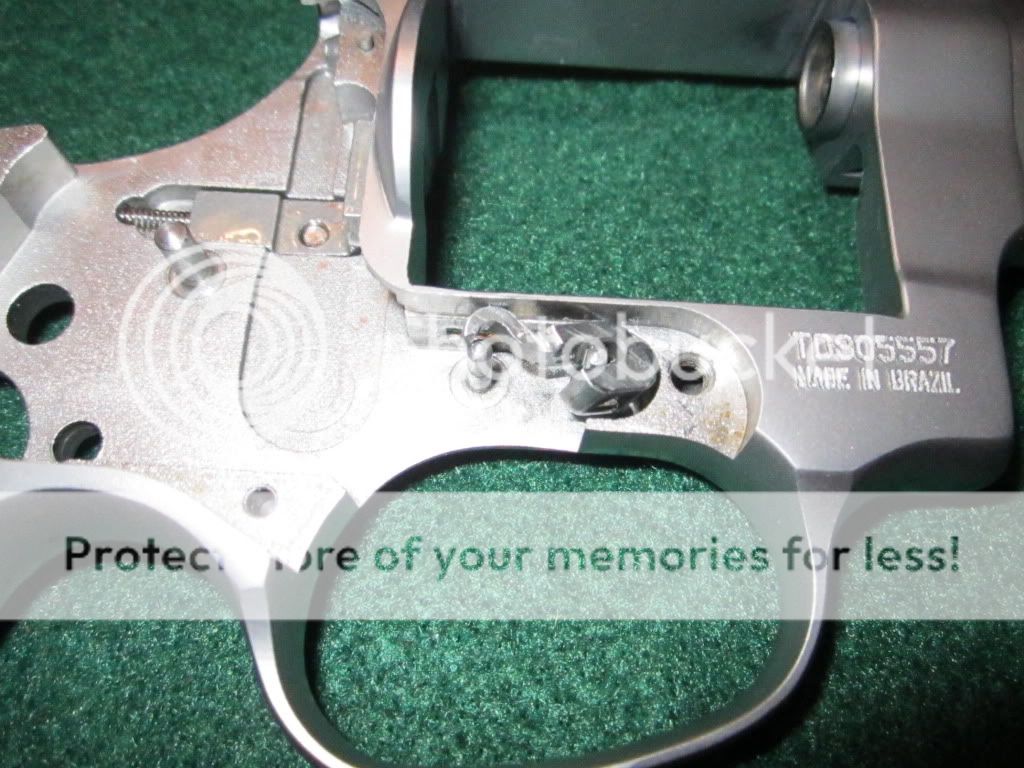
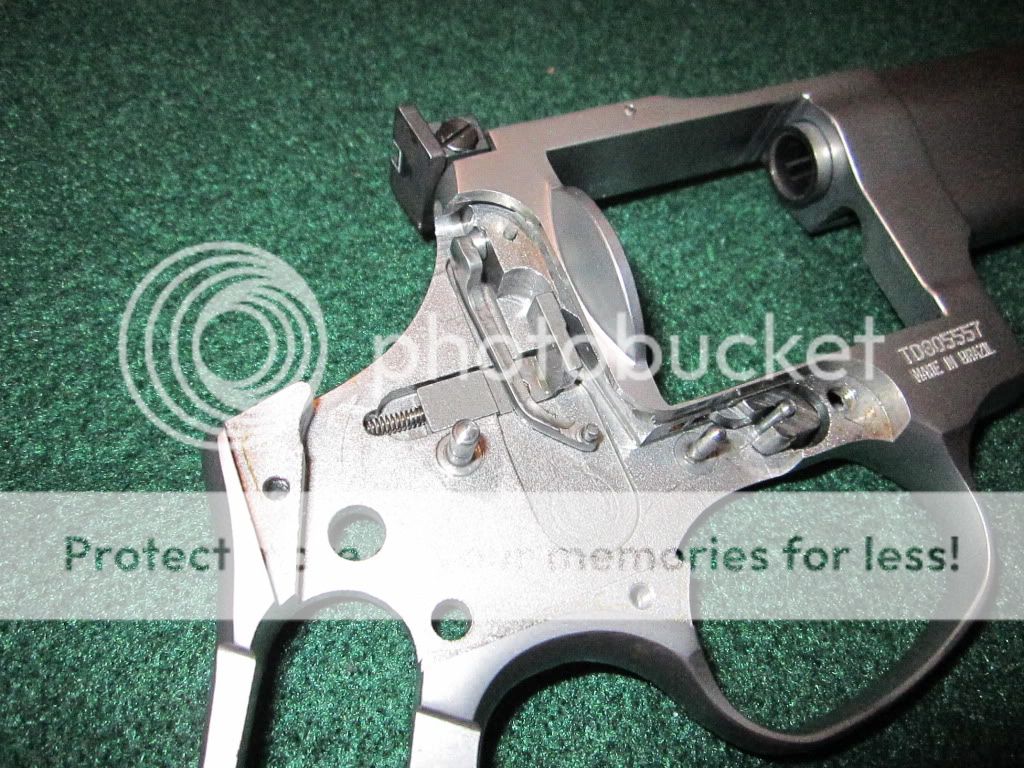
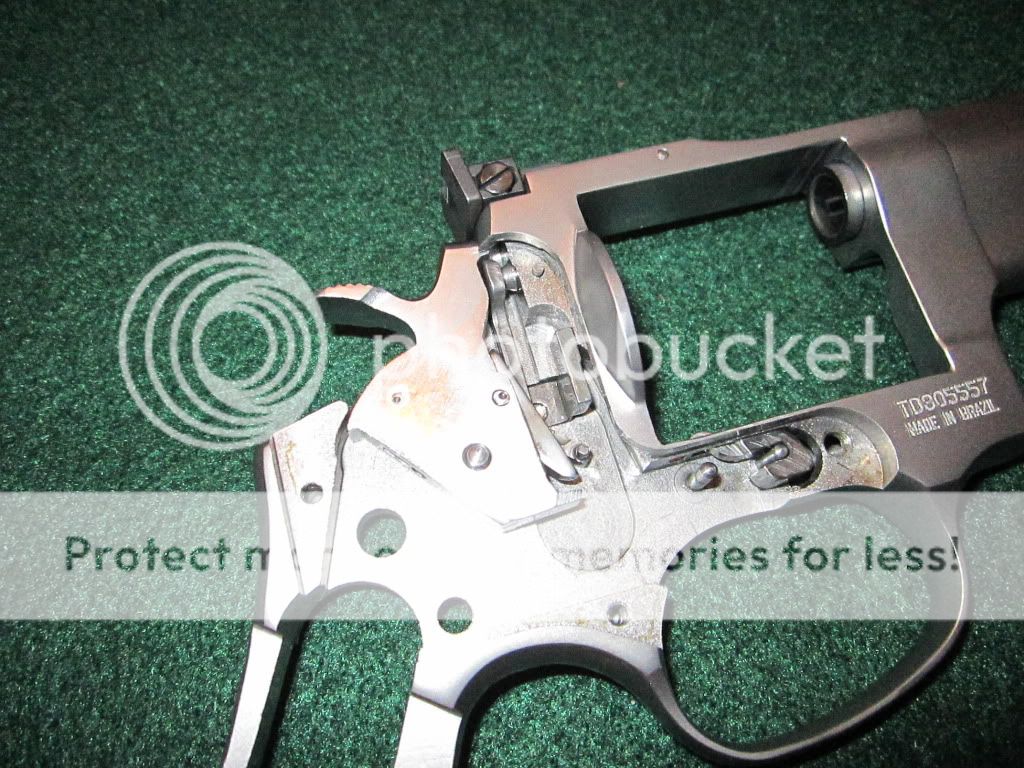
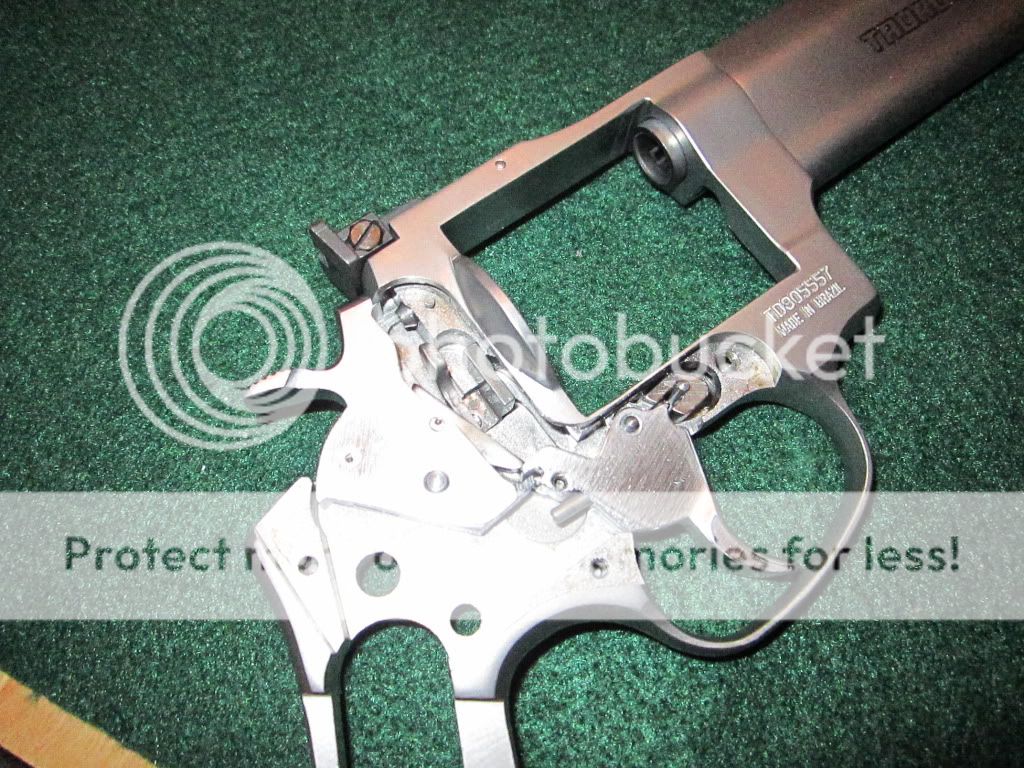
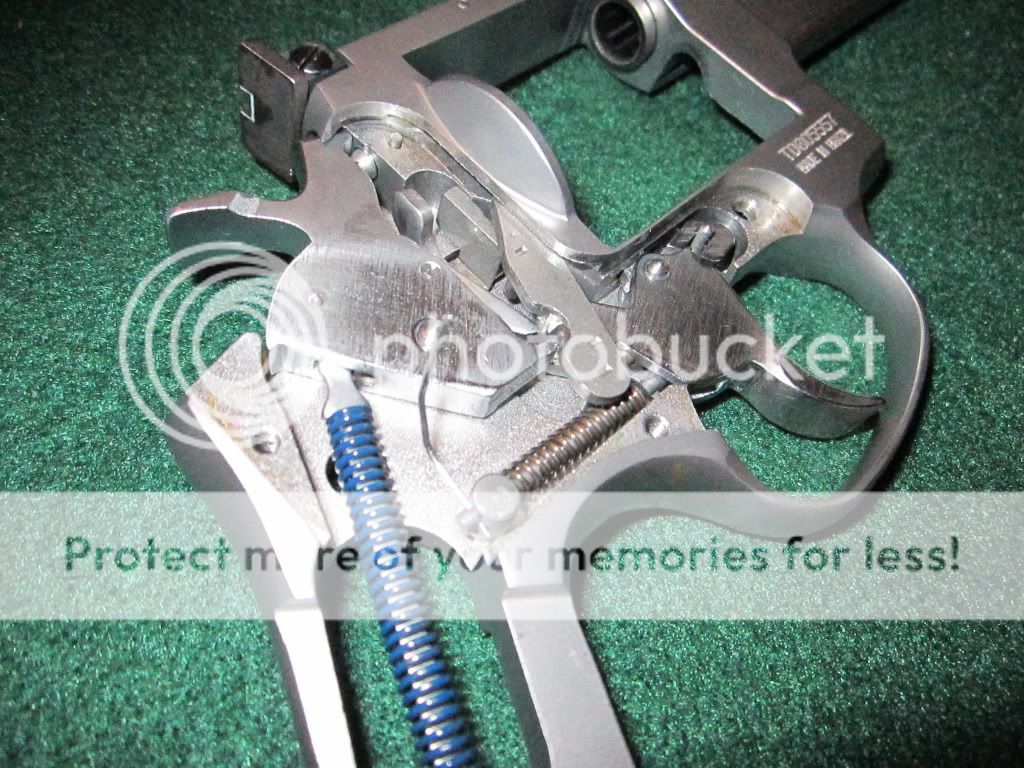
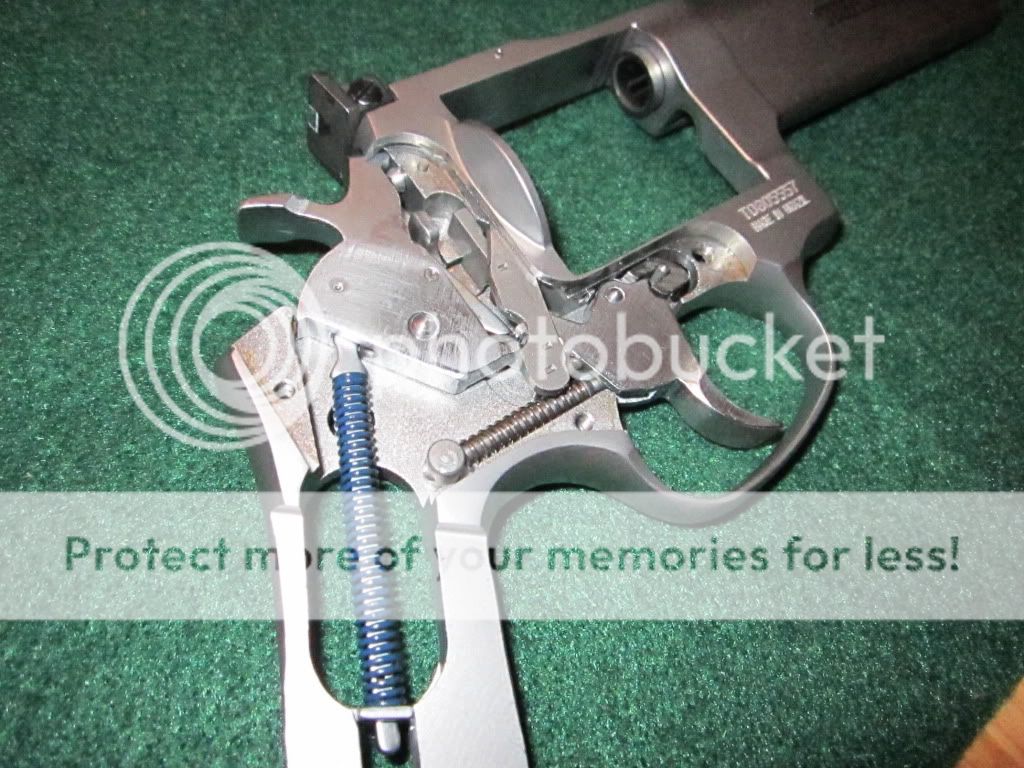
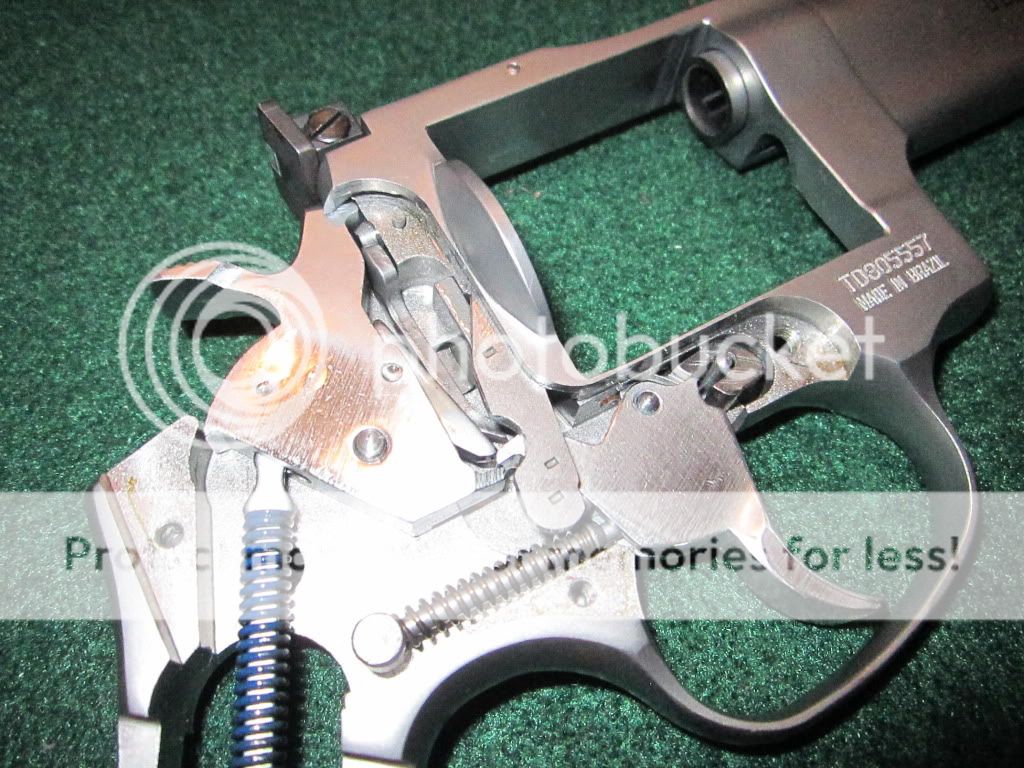
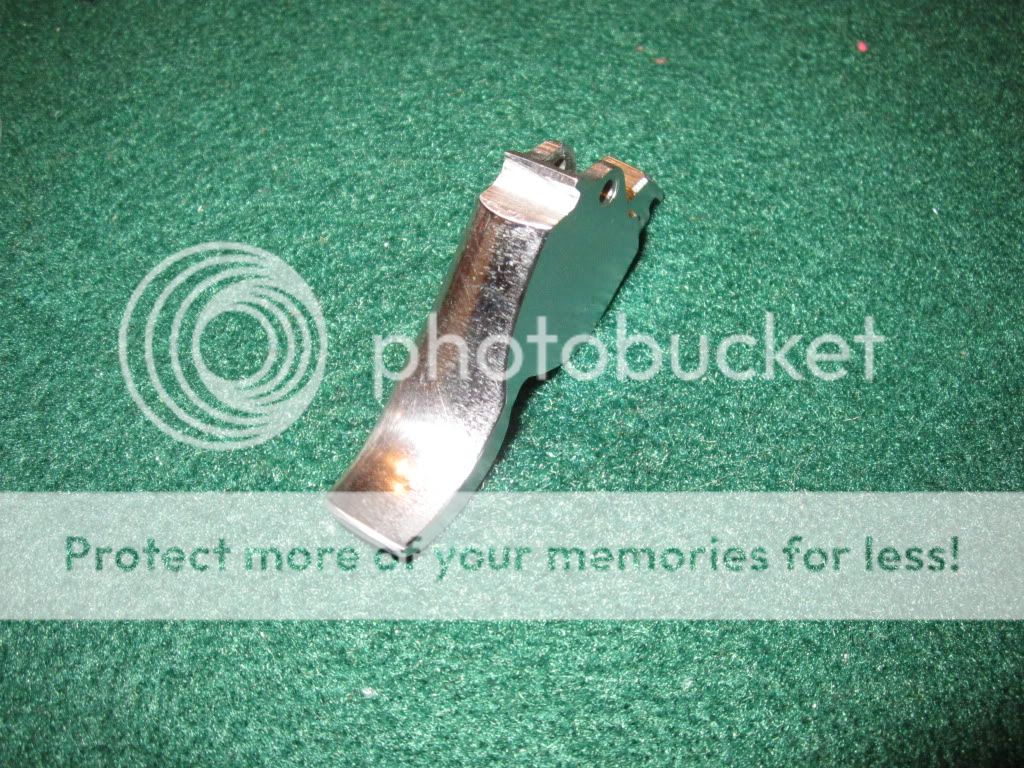
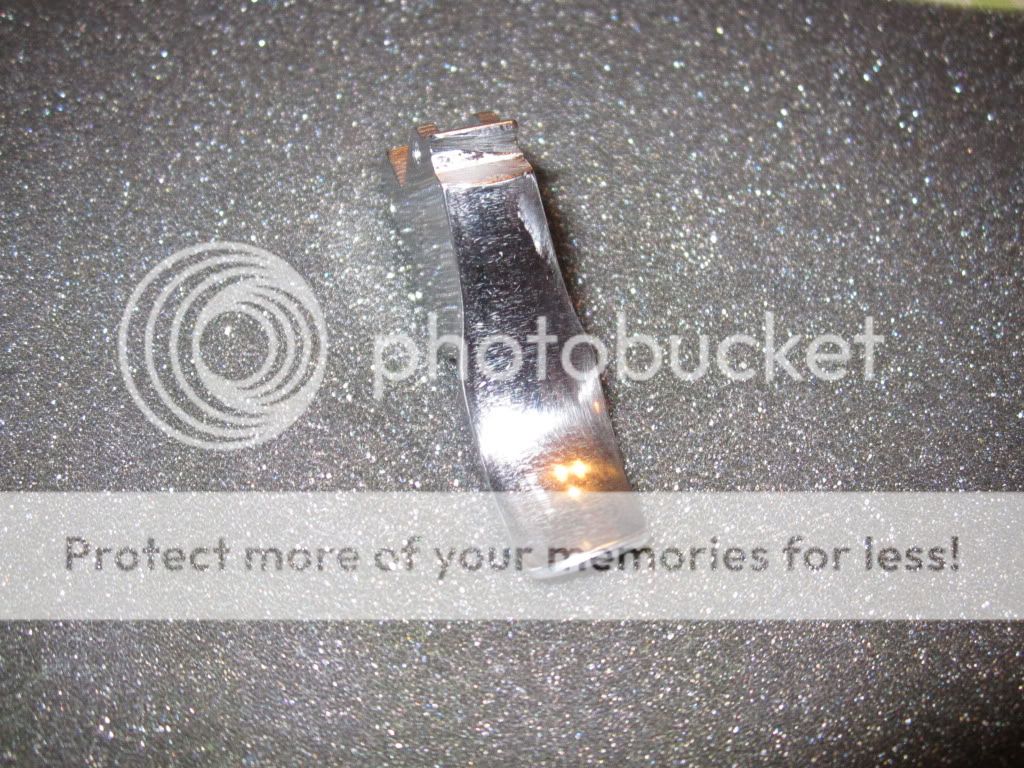
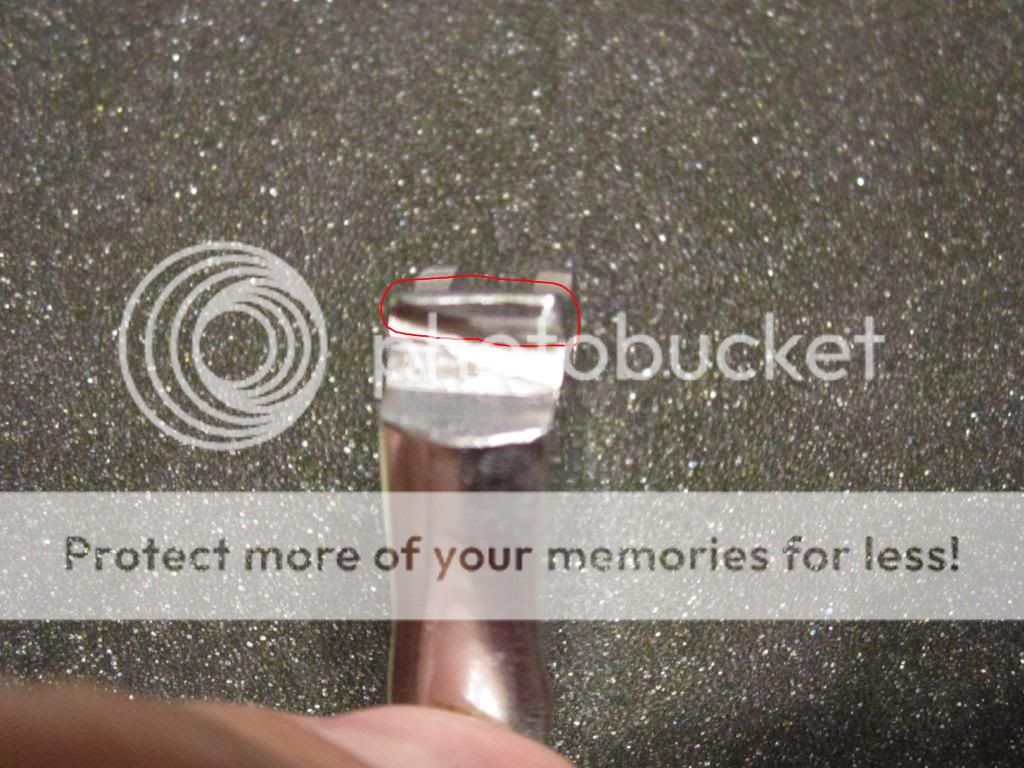
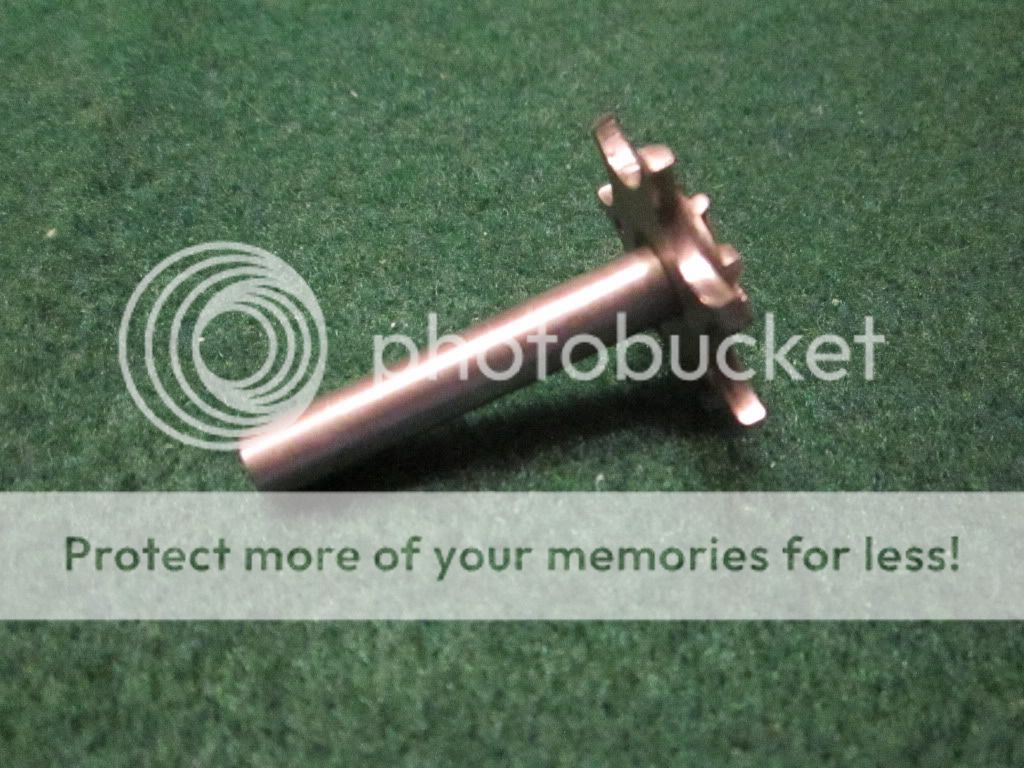
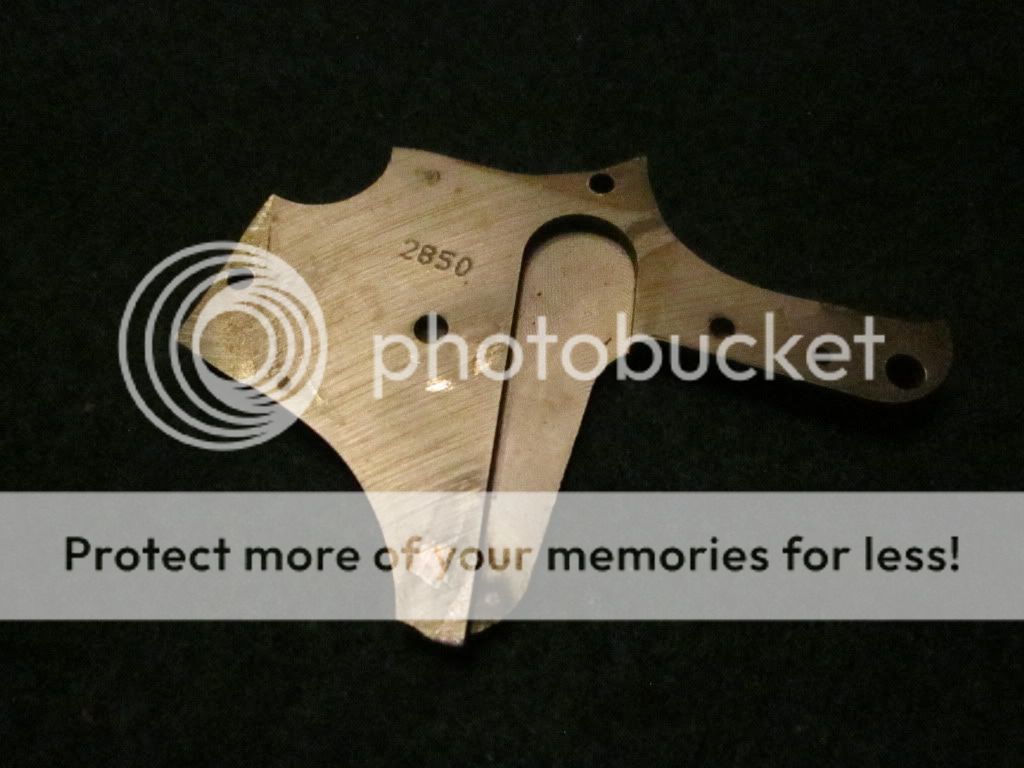
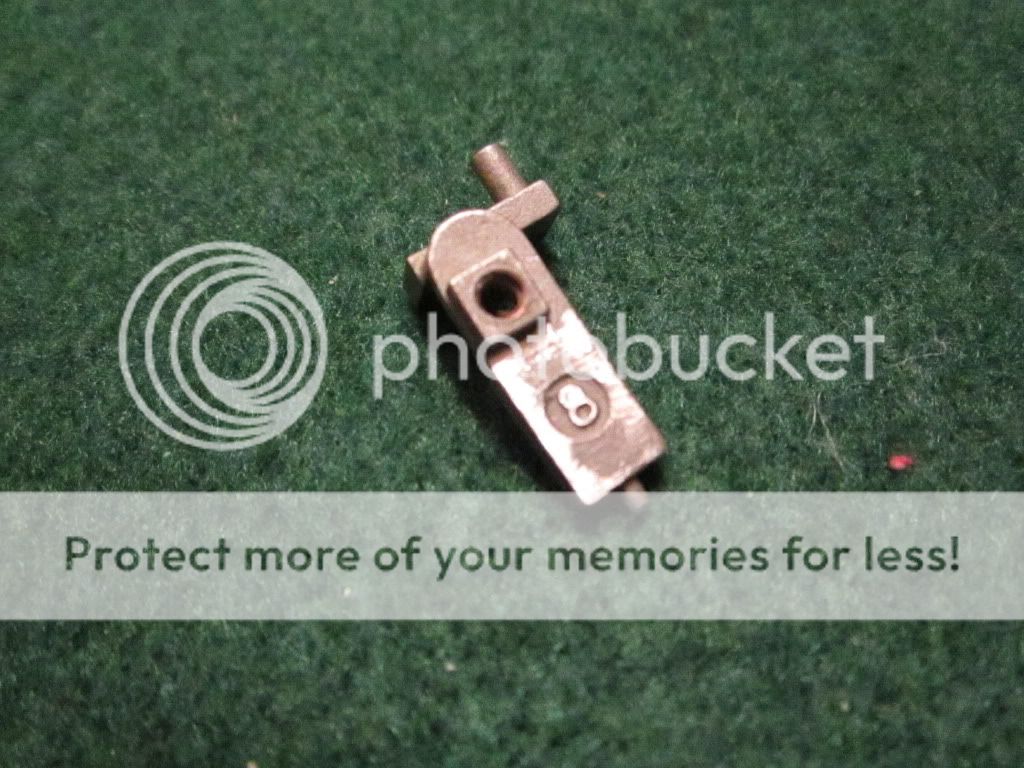
    These two photos kind of show the bafore-and-after polishing of the sides of the trigger. The first right side is the dull "bead-blasted" finish from the manufacturer and the second picture shows the left side when I was done with it. The finished side actually shows the clear reflection of the workmat in it! The entire trigger looks like this.

    handgun-2015.jpg


    handgun-2017.jpg
     

    backfire

    Shooter
    Rating - 100%
    9   0   0
    Nov 6, 2011
    786
    18
    Location
    Picture of the cylinder stop edge I showed before that was machined form an angle from the manufacturer. I didn't get crazy here with the file, only lightly cleaning up that edge to take some of the arc out of it where the edge rests against the cylinder stop groove. It should set more squarely in it's groove now.

    I followed the file with the Arkansas Stone to polish the edges and grooves, then went after it with 1500g sand paper to buff the corners and finally finishing it up with Flitz Metal Polish.

    handgun-2023.jpg
     

    backfire

    Shooter
    Rating - 100%
    9   0   0
    Nov 6, 2011
    786
    18
    Location
    The last thing for today was to square-up and deburr the trigger sear edge, along w/ polishing it with the A.S., followed up by the rest of the finishing stuff like I did before. It's like a mirror in there now.

    One part down, a bunch to go.... :): Sure wish I had a better dang camera...:dunno:

    handgun-2024.jpg
     

    backfire

    Shooter
    Rating - 100%
    9   0   0
    Nov 6, 2011
    786
    18
    Location
    I purchased a trigger spring upgrade set from Wilson Combat here~
    Custom-Tune® Spring Kit | Taurus 669-Wilson Combat

    I'll only be using the lighter trigger spring for my project, as opposed to using the lighter trigger & hammer spring combo. I spoke to a gunsmith friend of mine I just met and he informed me to keep the factory hammer main spring over the lighter aftermarket stuff to eliminate soft strikes that could make the gun missfire. That made sense to me, so the trigger spring only it is. Besides, this is a Taurus afterall and not a full blown competition pistol...


    The one trait(s) I've noticed repeatedly about these Taurus firearms now that I've gotten into two of them deeply with this gun and then w/ my other TCP .380 I just upgraded, is that the overall workmanship and build quality of the gun seems to be pretty good and comparable with other manufacturers. HOWEVER, the major difference between Taurus Arms and other higher-end brands like S&W, Colt, Ruger, etc. is the little attention to details and fitment of the small parts!

    Most of the maching processes of the small parts in the Taurus stuff is apples to oranges rougher compared to the name-brand gun makers, whereby the Taurus workmanship is like driving a Chevy and the big name gun quality is like driving a Ferrari! Both work, but the latter is MUCH more refined, has better workmanship and is machined w/ far superiority and accuracy that provides a better overall product.

    I'd guess the omission and cutting corners of the finer details of fitment and precision of these small parts is where Taurus Arms saves money on production costs, therefore making the gun "cheaper" in more areas than just price...

    I'm not bashing the Taurus stuff by any means, but no matter how gussied-up a Taurus gets or how much one spends on it, it will NEVER be a S&W, Ruger, Colt, Springfield, etc. Period.....

    I'll still use my finished 627 wheel gun for novice competition sport shooting as I intended to do just because I really like it, it fits me well and it's pretty darn accurate for what it is. I'll likely not sell it either (especially after it's been modified) but I'll never ask it to be or shoot like something it's not.

    Some day when I can afford to buy a vintage Colt Python or Anaconda that I REALLY want, I'll put the Taurus away. Until then...well... :)

    Just some observations from "the field". :)
     

    backfire

    Shooter
    Rating - 100%
    9   0   0
    Nov 6, 2011
    786
    18
    Location
    Update: 1-3-12

    Here are a few more pictures of some refining work I've been doing to this thing. My trigger spring kit arrived today, so I'll be able to get all my parts around tonight and finally put it back together. If everything goes as planned, I'll do some range testing and/or zero'ing it in in preparation for a Winter Rifle & Pistol Shooting League I'm joining that begins it's second week next Tuesday. (I had to miss this Tuesday...) I want to improve on my shooting skills, so I figured a little target competiton should do the trick. :)

    Polished the hammer pivot pin.

    handgun-3001.jpg
     

    backfire

    Shooter
    Rating - 100%
    9   0   0
    Nov 6, 2011
    786
    18
    Location
    Misc. other items that received smoothing or polishing to make everything work silky-smooth together. Pretty much anything with metal-to-metal contact got some attention of some kind. ;)

    handgun-3004.jpg


    handgun-3005.jpg


    handgun-3007.jpg


    handgun-3008.jpg


    handgun-3010.jpg


    handgun-3013.jpg
     

    backfire

    Shooter
    Rating - 100%
    9   0   0
    Nov 6, 2011
    786
    18
    Location
    Update: Re-assembly Complete

    Well, I've got the gun successfully re-assembled with the new, lighter trigger spring and everything went really well/smooth. I tested for proper cylinder timing, the safety lock mechanism, proper cylinder lock before the hammer fall in DA mode, proper cylinder lock before full cock in SA mode, tested for no hammer push-off when cocked and made sure all the other workings-on functioned as they should. All good! :rockwoot:

    The first thing I immediately noticed was how smooth the DA mode was compared to before. It pulled so hard and seemingly forever as it was previously, which made me pull the sights off-target nearly everytime. Now, it's so smooth, I can pull the entire DA stroke and keep the sights on-target until the hammer falls without any trouble at all!

    The cocking pull is now much smoother, as is the trigger pull in general compared to before also. The trigger pull weight before was approx. 7.2 lbs. in SA and now it's 4.6 lbs. Much better than stock obviously, but after I get a few testing rounds through it, I think I'll go back in there to sneak a bit more off the hammer sear edge to get it down around 3.5-4.0 lbs. instead.

    I haven't had a chance to get to the range yet, but in intend to within a couple of days as time permits. It needs sighted in, etc... Maybe on my lunch hour tomorrow or early next week. :)

    Overall, I'm very pleased with the outcome of my first trigger job on a revolver of any kind and I look forward to my next one, as I've got my eye on that Smith 642 for my EDC. :cool:

    I encourage anyone to try this as a DIY if you're comfortable doing it, as it's not that difficult and it's a load of fun to complete the project on your own!! :draw: 
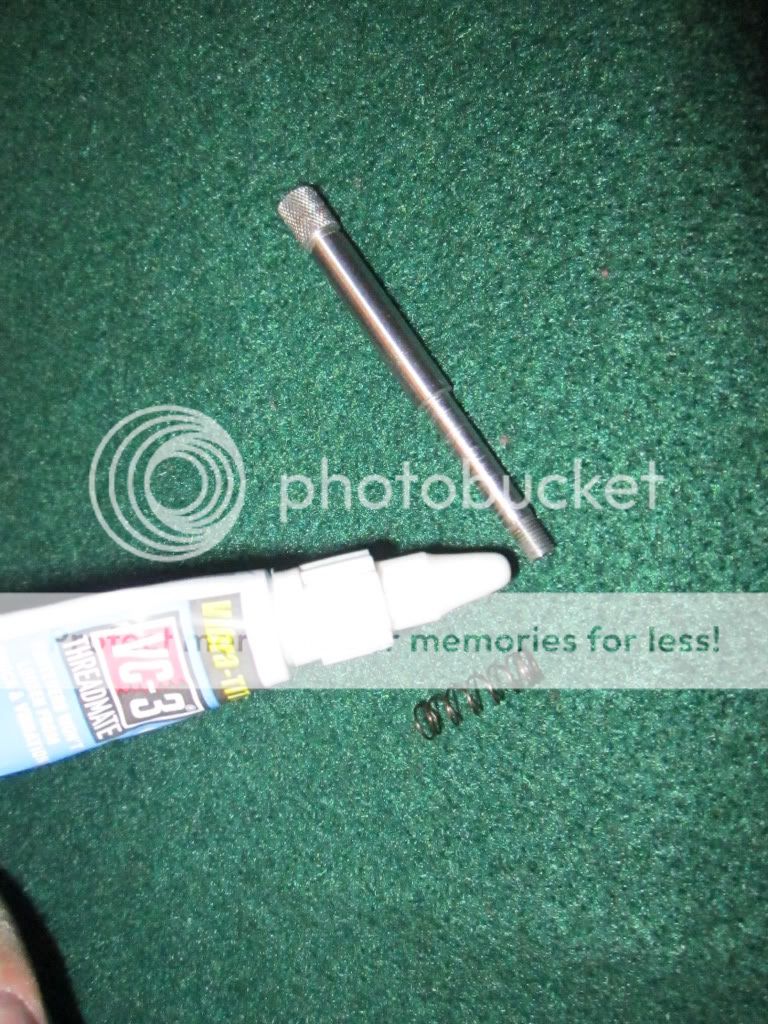
Just be meticulous with everything you do, buy the right tools, buy good parts and take your time. :)
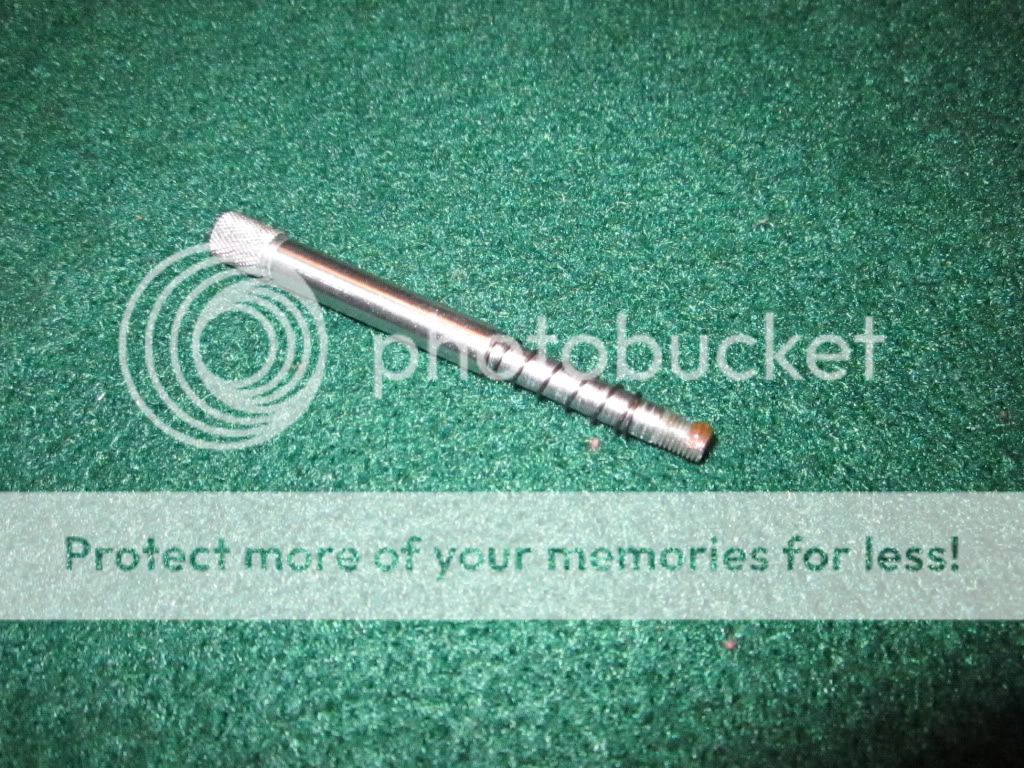

    Here are the last of the photos of the re-assembly process below until completion and I'll let them do most of the talking. :ingo::patriot:
     

    backfire

    Shooter
    Rating - 100%
    9   0   0
    Nov 6, 2011
    786
    18
    Location
    Here are the chemicals, oils, lubricants, cleaners and other misc. stuff I used when putting the gun back together.

    I always pre-lube all the springs throughout the gun with Remington Dri-Lube (Teflon) first and then VERY lightly just touched/lubed all metal-to-metal contact surfaces with Outer's Gun Oil using a foam Q-tip type applicator, so as not to get too much oil all over everything. I used a high quality gun grade of locktite for all the factory screws or anywhere else the manufacture had originally used the stuff, so parts wouldn't fall off the gun. :):

    124107.jpg


    124118.jpg
     
    Top Bottom