DIY Hobby Gunsmithing: Trigger Job... Taurus Model 627ss .357 Mag Revolver pics

The #1 community for Gun Owners in Indiana

Member Benefits:

  • Fewer Ads!
  • Discuss all aspects of firearm ownership
  • Discuss anti-gun legislation
  • Buy, sell, and trade in the classified section
  • Chat with Local gun shops, ranges, trainers & other businesses
  • Discover free outdoor shooting areas
  • View up to date on firearm-related events
  • Share photos & video with other members
  • ...and so much more!
  • backfire

    Shooter
    Rating - 100%
    9   0   0
    Nov 6, 2011
    786
    18
    Location
    Caveat Primer:

    As a gun owner, recreational shooter and shooting sports enthusiast, I enjoy doing just about anything shooting-related with friends or with family. I can’t imagine anything more productive, educational and rewarding than teaching someone else how to properly handle a firearm for their own enjoyment or protection, including how to service the gun they may ultimately own for themselves.

    The catch for most folks (especially me) is that we’re not all gunsmiths to know everything there is to know about the mechanical aspects of a gun, yet we may need or want to modify our guns to do whatever we want, for the purpose we want- without having to spend the coin or time to have our guns serviced by a professional gunsmith. Translation- I like to tackle the minor stuff myself. :)

    That said, I’m certainly NOT minimizing the expertise and abilities of a Professional Gunsmith in their field, nor the costs they charge, because in all likelihood, they are typically very good at what they do, they often charge prices that are commiserate with the services they offer and sometimes- a Pro Gunsmith is just what a guy really needs to get the job done right on their gun. In other words, I respect them greatly and wish I knew half of what they have forgotten!

    As a DIY’er, *I LOVE* to take on a task or challenge that I know nothing about, because the research needed to get to the point of actually doing the work is half the fun, where after I’m done, I’m wiser about the subject than before I started- whether the project went good or bad.

    I’m thankful God blessed me with a good mechanical aptitude, a garage full of professional tools and I’m proficient in using them. I’m a mechanical engineer by profession and perform basic manual machining/MIG-TIG welding operations for myself. I’ve done a LOT of stuff in my 40 years, so I guess I’m kind of a “jackazz of all trades”. :laugh:

    However, I’m probably just like most anyone else who owns guns; I certainly don’t know everything about even the guns I have, much less on to service them mechanically, so if the work they need is something I think I can handle, I’ll try to do it myself- if for nothing else but to learn how my stuff works.

    I’d bet that most folks’ who can field strip a gun or reload their own ammo can most likely do the minor stuff the pros do, we just need a little guidance on how to do the job and use common sense in doing so. In other words, if you’re good with your hands, you can likely become a proficient DIY’er gunsmith for your own stuff.

    As a caveat- I’m no gun expert and I’m not a Gunsmith. The improvements or upgrades I do to my guns, I do so with full knowledge that I might muck something up, making the thing unusable, so I never do anything I’m not comfortable with or don’t have the tools to do them. Heck, the real pro’s may not even call what I’m doing “gunsmithing”, but whatever you want to call it, the mods DO make the gun more reliable, perform better and shoot more accurately, which is what my intended goals are.

    Everyone’s ability is different and if the mods you see me post here isn’t what YOU feel comfortable with, than by all means DON’T DO IT! However, if you’d like to take the job on yourself, I can tell you that it’s very rewarding in the end to know you’ve done the work yourself, where the gun now means more than ever before, because a part of you is now in it. Plus, it’s just a boat-load lot of fun!!

    Please feel free to ask questions & leave comments, as there are some extremely knowledgeable people on here who will likely be happy to help answer questions and/or correct me if I error.

    I hope you find this thread informative & helpful. It’s been fun putting it together. :) :patriot:


    Here we go! :ar15:
     

    backfire

    Shooter
    Rating - 100%
    9   0   0
    Nov 6, 2011
    786
    18
    Location
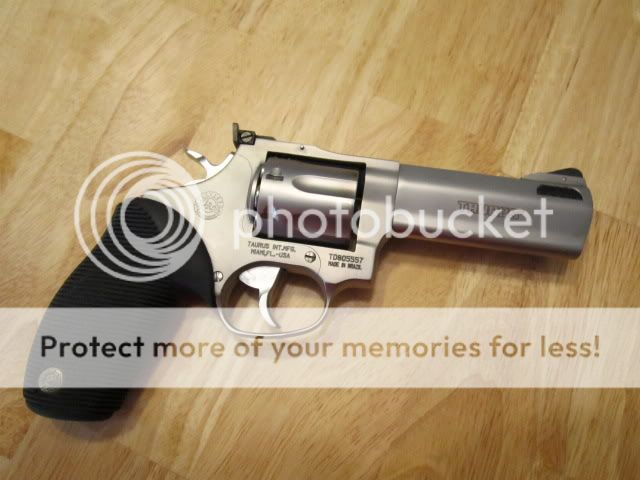
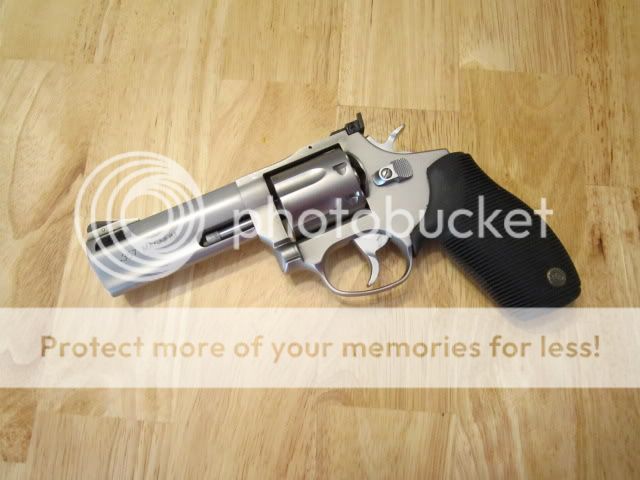
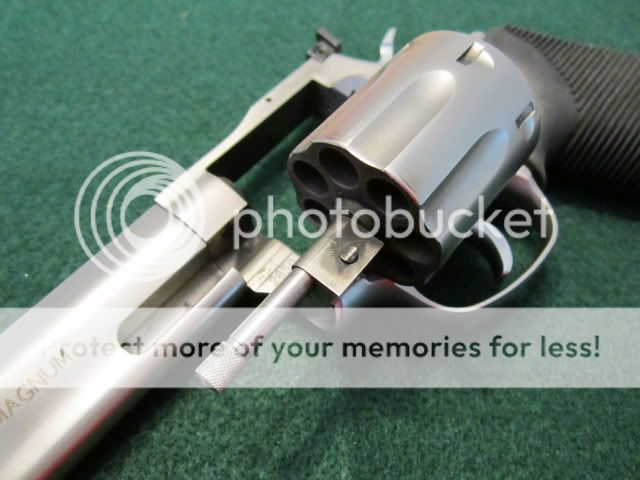
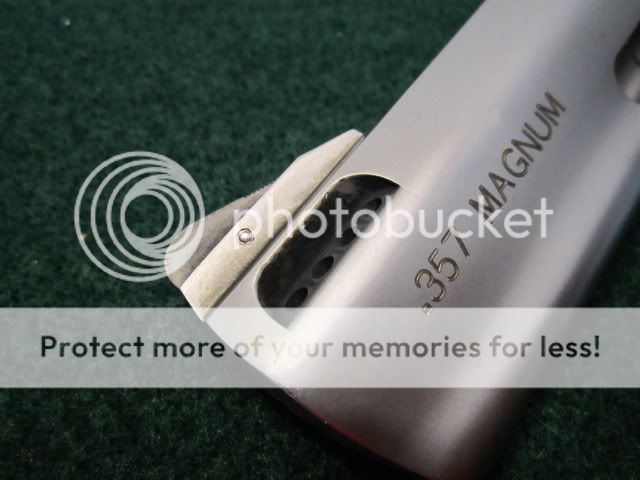
    My personal gun that has about 180 rounds through it and other than the intial cleaning that was done to it approx. 6-7 years ago after I got it for Christmas from my wife, it's never been cleaned since. As you can see, it clearly needs it... ;)


    guns5002.jpg


    guns5001.jpg


    guns5004.jpg


    guns5005.jpg
     

    backfire

    Shooter
    Rating - 100%
    9   0   0
    Nov 6, 2011
    786
    18
    Location
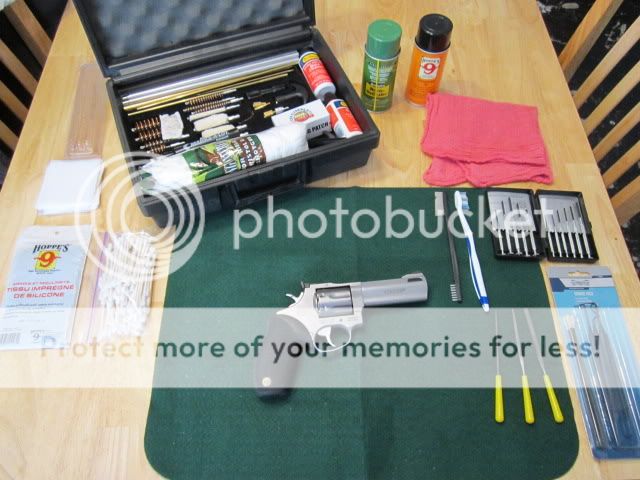
    Here's what I started with, less some other small stuff I haven't gotten out yet. Good gun cleaning/detailing kit, smithing tools, etc.

    guns5003.jpg
     

    backfire

    Shooter
    Rating - 100%
    9   0   0
    Nov 6, 2011
    786
    18
    Location
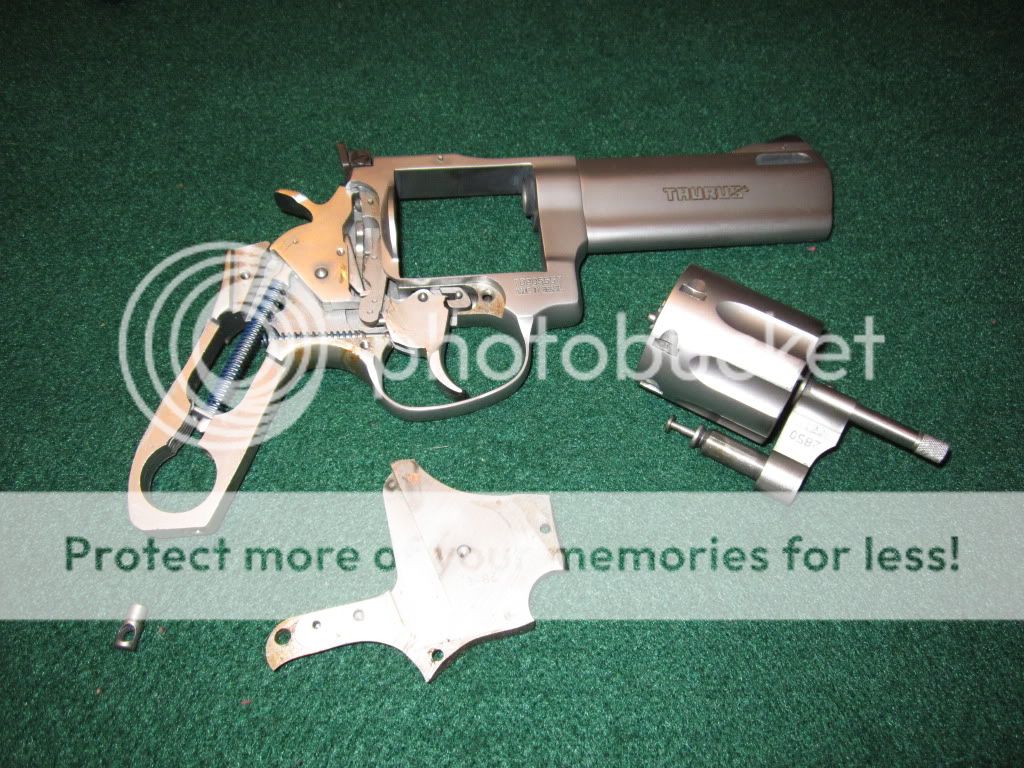
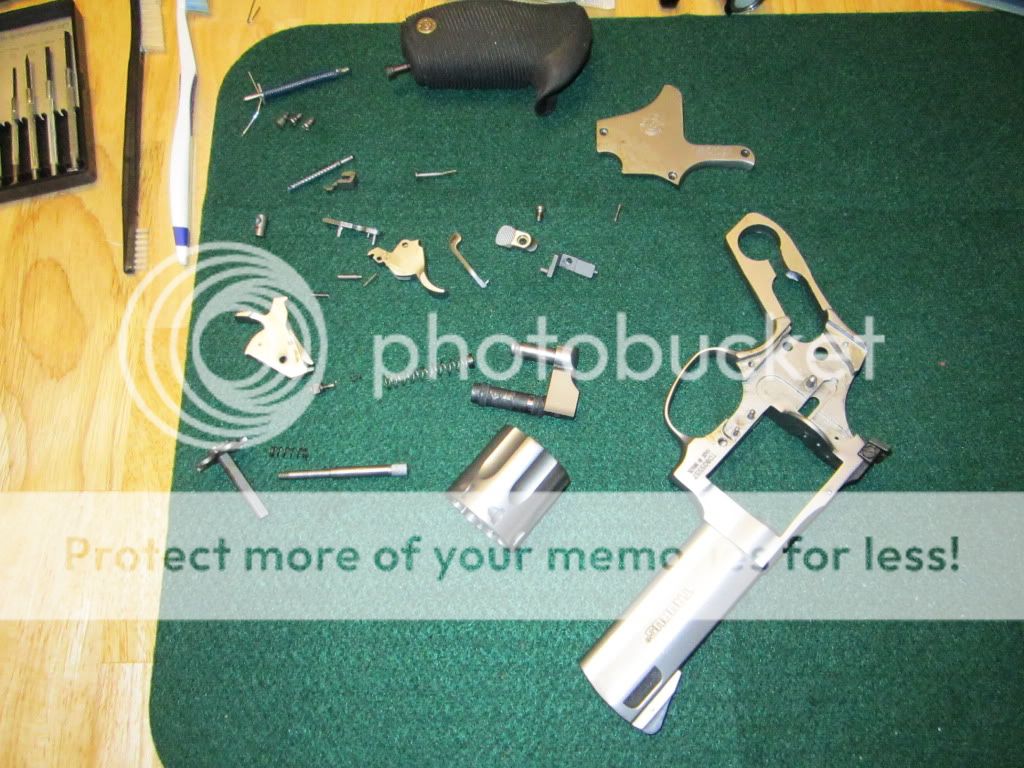
    Then removed the cylinder, some of the trigger parts, the follower spring and the anchor. Here is where I'm at now. More to come. :)

    guns5008.jpg
     

    backfire

    Shooter
    Rating - 100%
    9   0   0
    Nov 6, 2011
    786
    18
    Location
    Update: 12-24-11

    While disassembling my gun, I searched around in the internet to see if there were any other Taurus owners who had done something similar to what I'm doing here to mine, just compare notes, procedures, etc. and I just found this GREAT Taurus-specific website that had a nice thread on how to basic disassemble a Taurus Revolver. Here it is~

    Taurus Revolver Disassembly - Pictorial Guide

    While this guide is specific to the Taurus, I suspect the same basic design is used for any number of revolver handgun brands from other manufacturers. Use it as a reference only when applying these procedures to other brands and make sure you at least have a parts schematic break-down of the specific gun you own, so you can observe how it comes apart and goes back together. :)
     

    backfire

    Shooter
    Rating - 100%
    9   0   0
    Nov 6, 2011
    786
    18
    Location
    Update 12-26-11

    I had a chance to spend a bit of time w/ the gun ysterday as the family napped from the Christmas festivities. :)

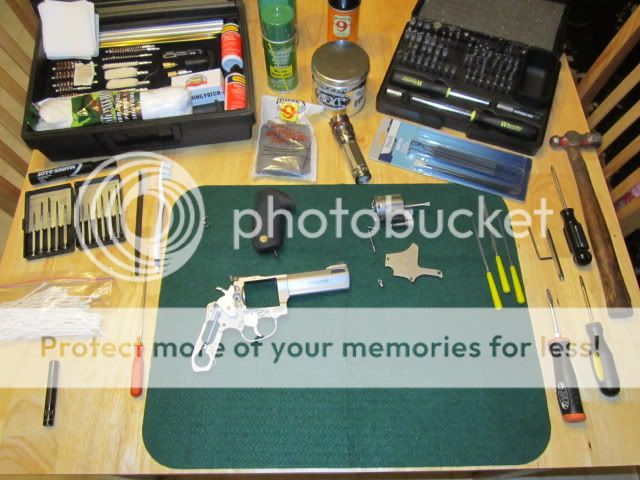
    The one thing that became apparent to me as I worked forward, is that my disassembly tools were not adequete for gunsmithing. Even though I have a garage full of professional tools, none of them were "gunsmith grade", therefore most of the screwdrivers, roll pin punches, etc. didn't quite fit right.

    I didn't want to marr or damage the gun in any way, so I shopped online for some proper gunsmithing tools and here's what I got and where I purchased them from.

    1. Wheeler Engineering Professional Gunsmithing Driver Set: $63.00
    89-Piece Professional-Plus Gunsmithing Screwdriver Set

    2. Brownells Arkansas Stone Set: $44.00
    ARKANSAS STONE SET - Brownells

    3. 3M Ultra-Fine Wet/Dry 1500 grit Sand Paper: $9.00
    Napa Auto Parts


    Once I got this stuff and compared them to what I had been using, it's CLEAR to see the MAJOR difference in "gunsmithing grade" tools! The driver bits are squared off to fit the screws of a gun better, the kit has all sorts of specialty drivers in it and the Arkansas Stone set will allow me the precision needed to do a good trigger job on this gun without removing any material while I'm doing it. :)

    Here's the photos of the stuff I've got and I'd encourage anyone who may want to do this job to their gun, to get the right tools the first time, for if anything else but to avoid damaging your handgun beyond use. That would stink....

    handgun1006.jpg


    handgun1005.jpg
     

    backfire

    Shooter
    Rating - 100%
    9   0   0
    Nov 6, 2011
    786
    18
    Location
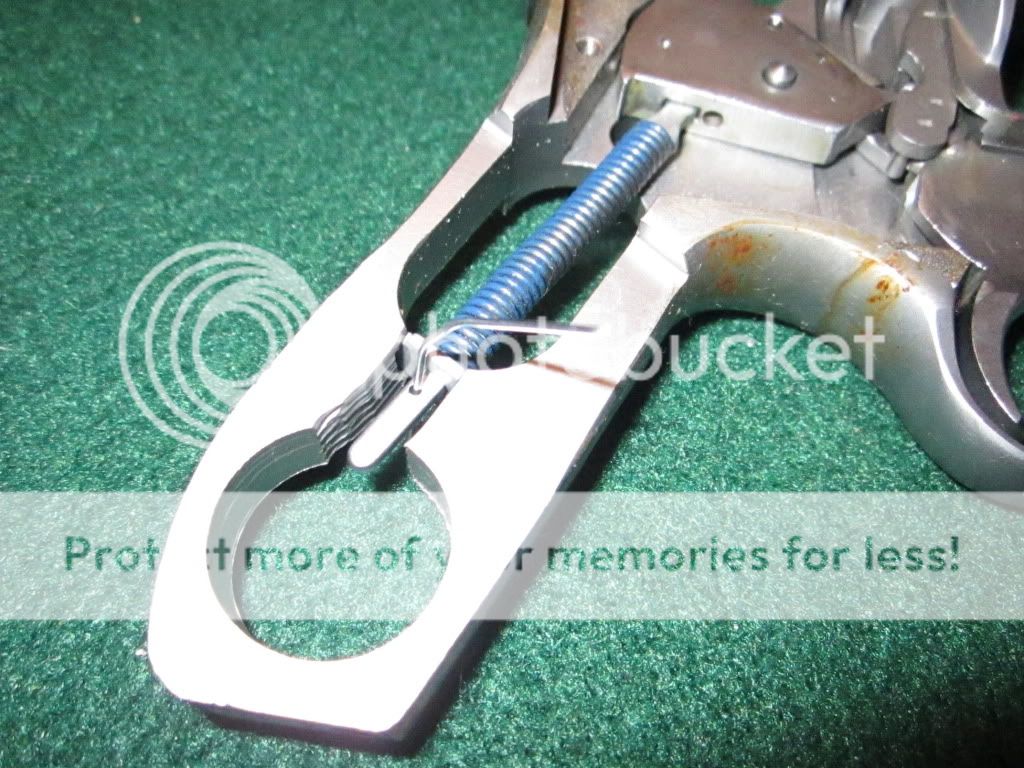
    Removal of the Main Hammer Spring according to the pictorial disassembly guide link posted earlier.

    Cock the hammer back and install a small paper clip into the Main Spring Pin hole once depressed to secure the spring, which enables you to remove the Main Spring Assy. and the hammer itself.

    handgun1007.jpg


    handgun1008.jpg
     

    backfire

    Shooter
    Rating - 100%
    9   0   0
    Nov 6, 2011
    786
    18
    Location
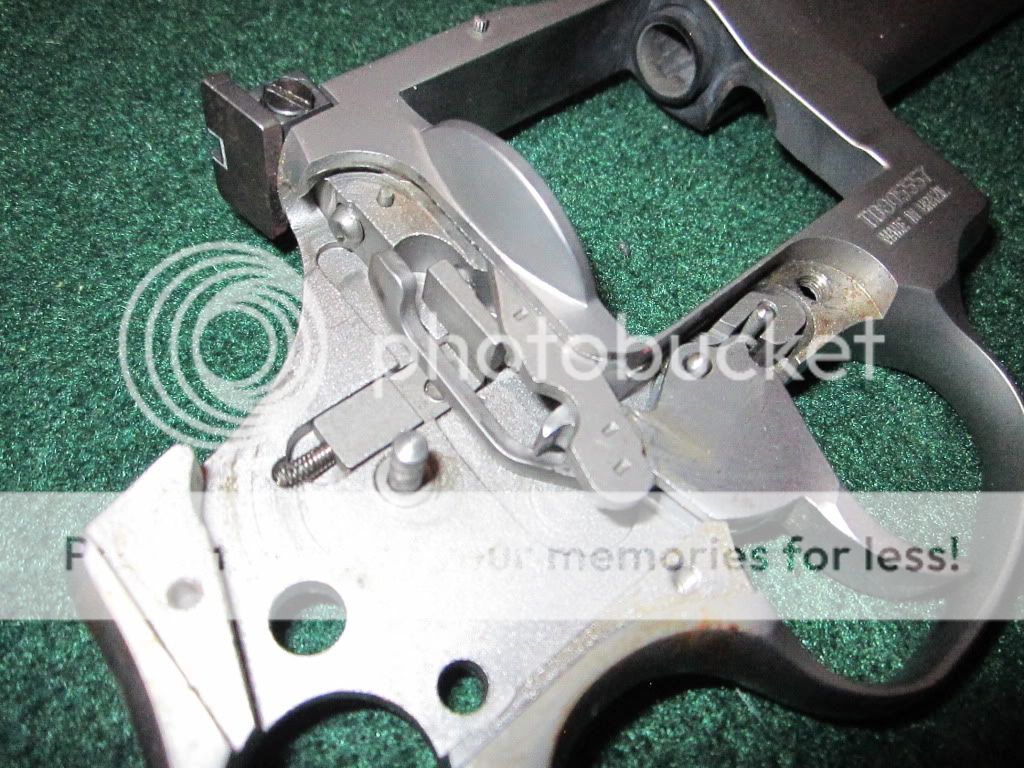
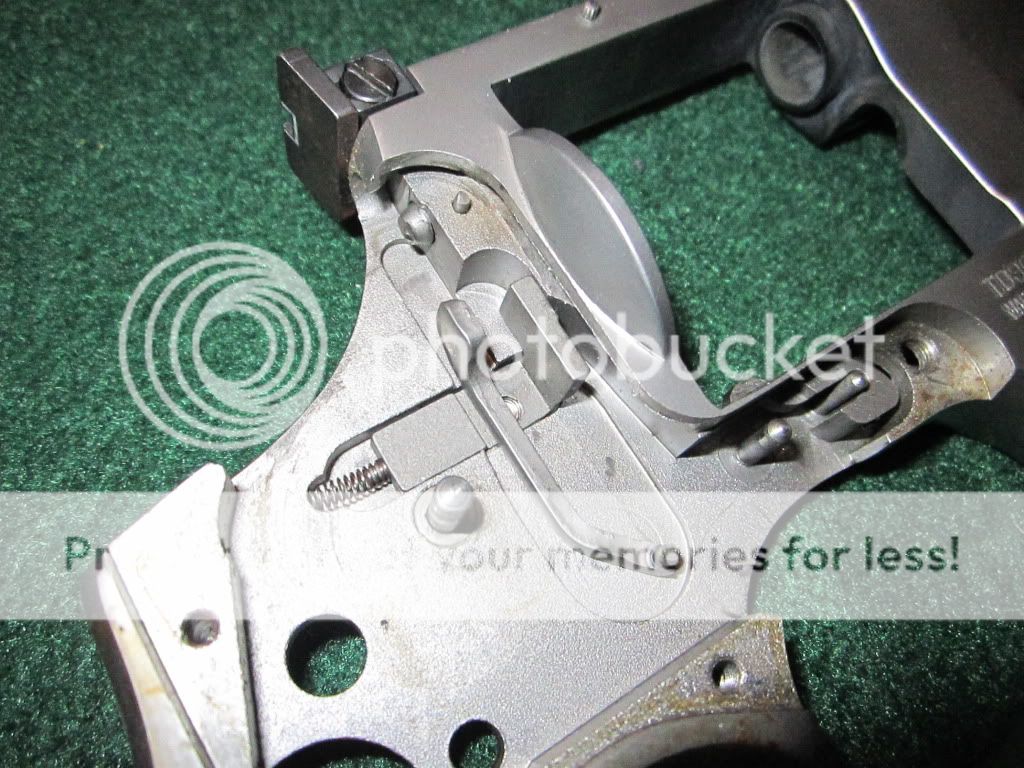
    Further disassembly of the trigger itself, the rest of the trigger mechanism and the cylinder stop. As you can see, there is a LOT of room for improvement for these parts with polishing, fitting, etc.


    handgun1009.jpg


    handgun1014.jpg


    handgun1015.jpg
     

    backfire

    Shooter
    Rating - 100%
    9   0   0
    Nov 6, 2011
    786
    18
    Location
    Photos of the trigger assy. All of those little pivot pins can be lightly polished to make the trigger operation as smooth as glass!!

    handgun1012.jpg


    handgun1013.jpg
     

    backfire

    Shooter
    Rating - 100%
    9   0   0
    Nov 6, 2011
    786
    18
    Location
    Removal of the bolt, bolt spring, thumb piece and thumb piece spring; using my new handy-dandy gunsmithing driver tool! It fits these screws PERFECTLY! I can't recommend these tools enough!!

    handgun1016.jpg


    handgun1017.jpg


    handgun1019.jpg
     

    backfire

    Shooter
    Rating - 100%
    9   0   0
    Nov 6, 2011
    786
    18
    Location
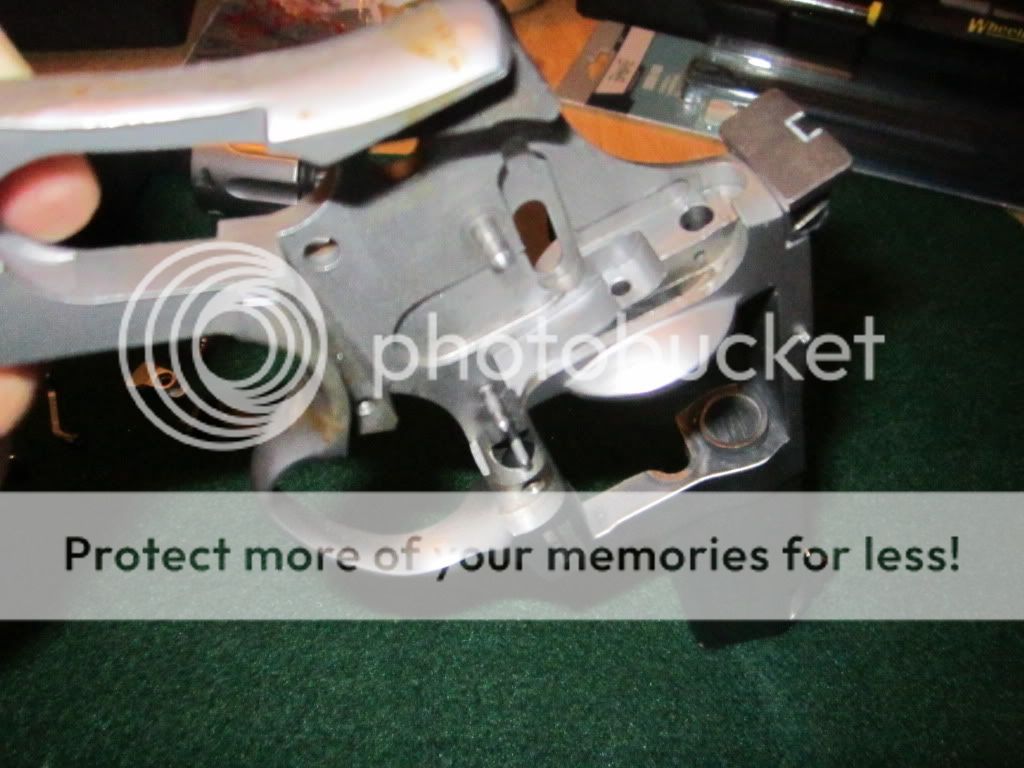
    Removed firing pin retention roll pin, the firing pin and spring from the frame. The only thing that's left in this entire gutted handgun frame is the front/rear sights. :eek:

    I hope I remember how to put this back together! :laugh:

    handgun1020.jpg


    handgun1022.jpg
     

    backfire

    Shooter
    Rating - 100%
    9   0   0
    Nov 6, 2011
    786
    18
    Location
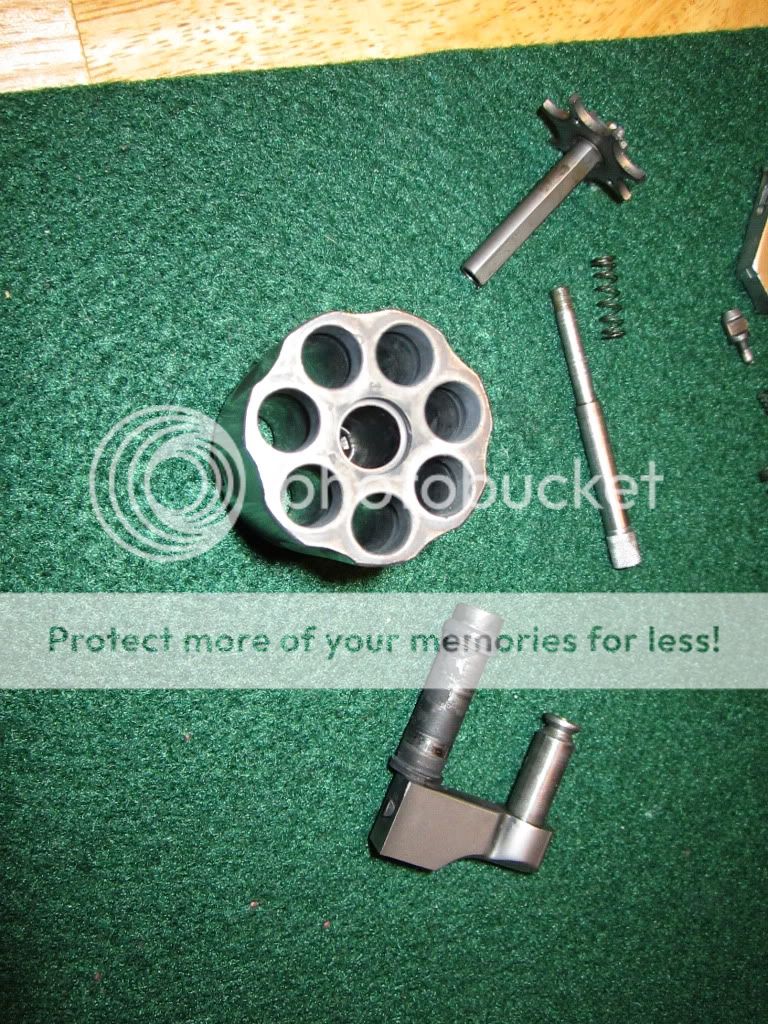
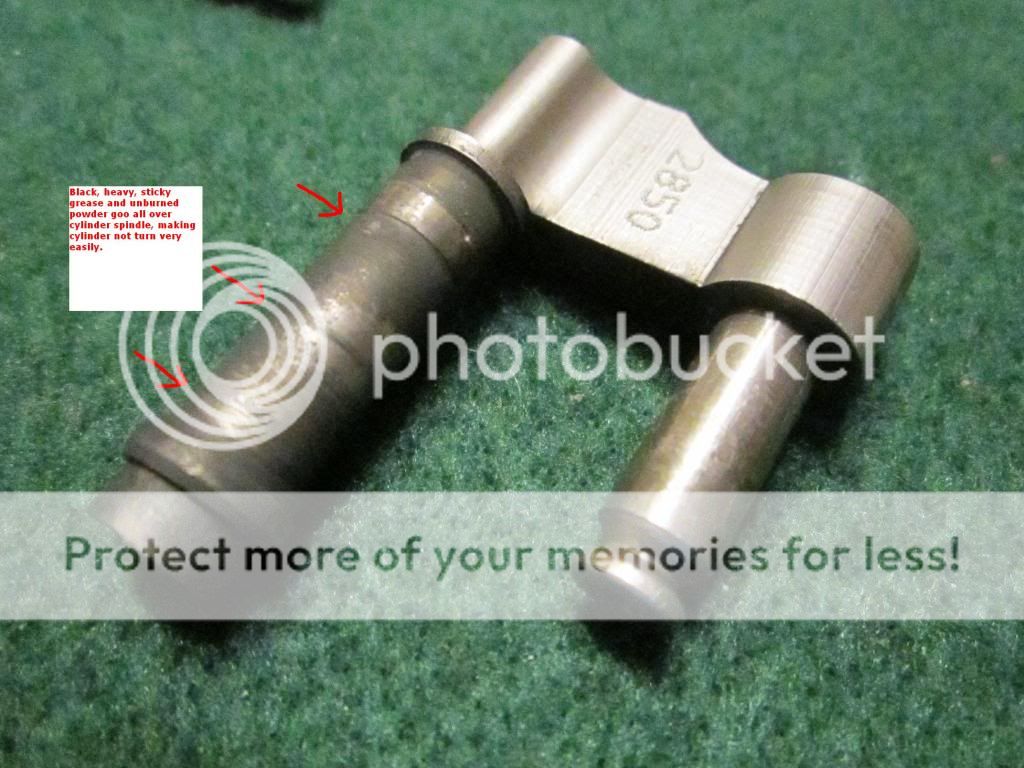
    Here the cylinder has been removed from the yoke using the pictorial guide I mentioned before, as well as, the extractor rod, springs, etc. As you can see, the yoke spindle is just filthy on my gun and it needs a good cleaning/lube BADLY!

    Note: The cylinder is secured onto the yoke via an internal snap ring, so the more you remove the cylinder from the yoke, the looser it will inevitably get, until one day, you'll have to replace cylinder parts if you want the gun to remain "tight". Therefore, I don't recommend the removal of the cylinder from the yoke everytime you clean it, otherwise you'll just prematurely wear the thing out and make it "sloppy".

    Since I intend on using this gun in novice shooting competition in the future, I'll probably only remove the cylinder once per year for its yearly "through-and'through" cleaning.

    handgun1023.jpg


    handgun1030.jpg
     

    backfire

    Shooter
    Rating - 100%
    9   0   0
    Nov 6, 2011
    786
    18
    Location
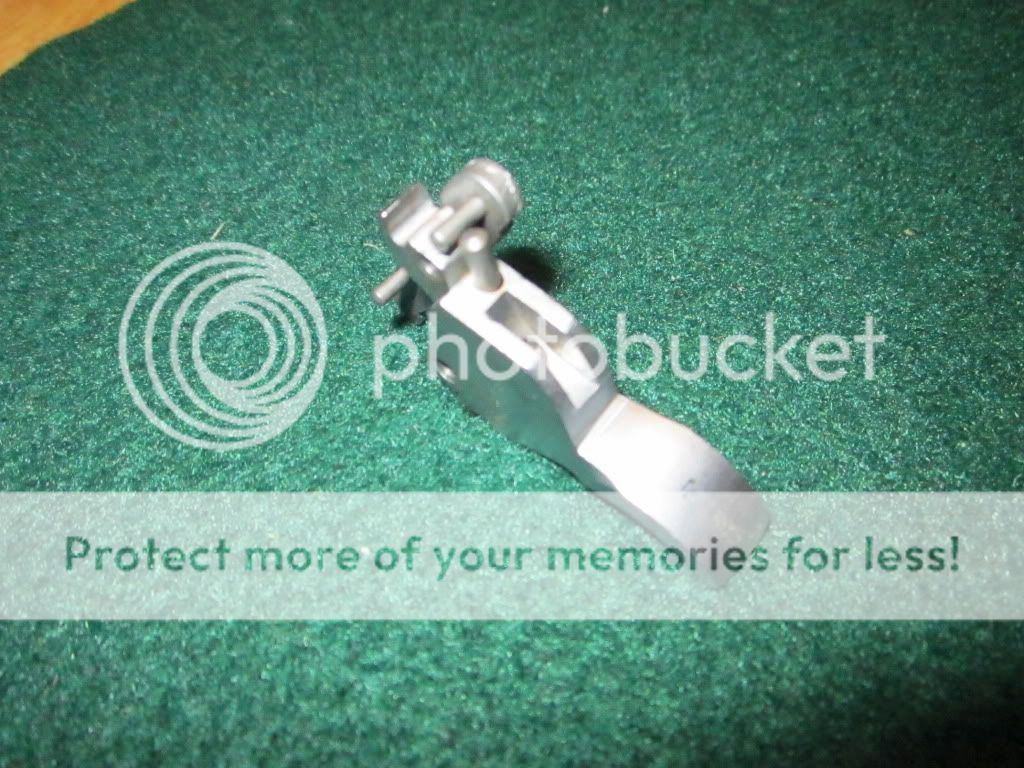
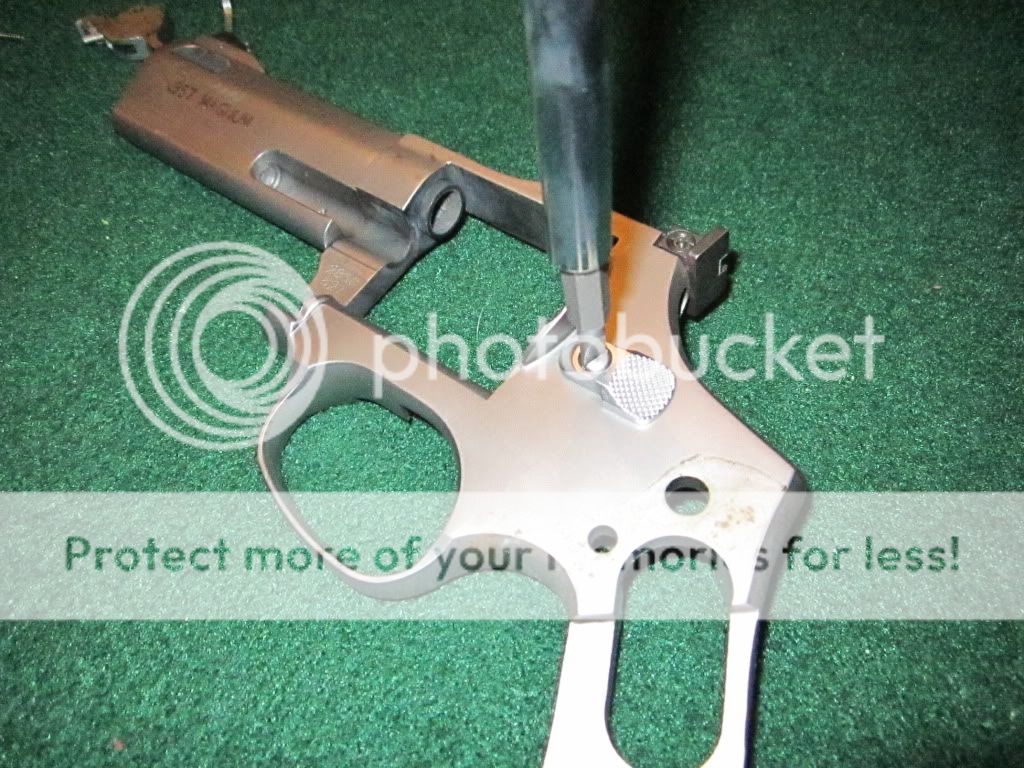
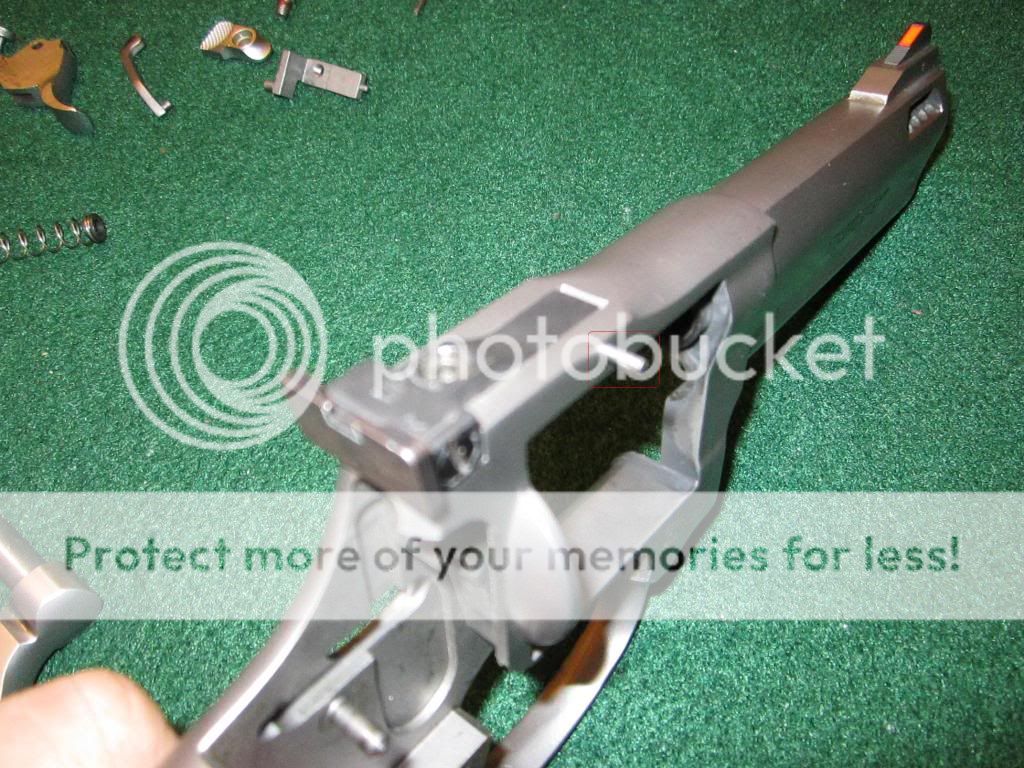
    Time to remove the sights. I chose to leave the front sight alone, since it was pinned in pretty tight and I didn't want to disturb it. Don't fix it if isn't broke right? :):

    The rear sight is a different story however, as it's always felt kind of "loose" and the accuracy of the gun has never been what it should be in my opinion. I removed the little roll pin from the front of the rear sight insert and then removed the elevation adjustment screw on the top.

    handgun1025.jpg
     

    backfire

    Shooter
    Rating - 100%
    9   0   0
    Nov 6, 2011
    786
    18
    Location
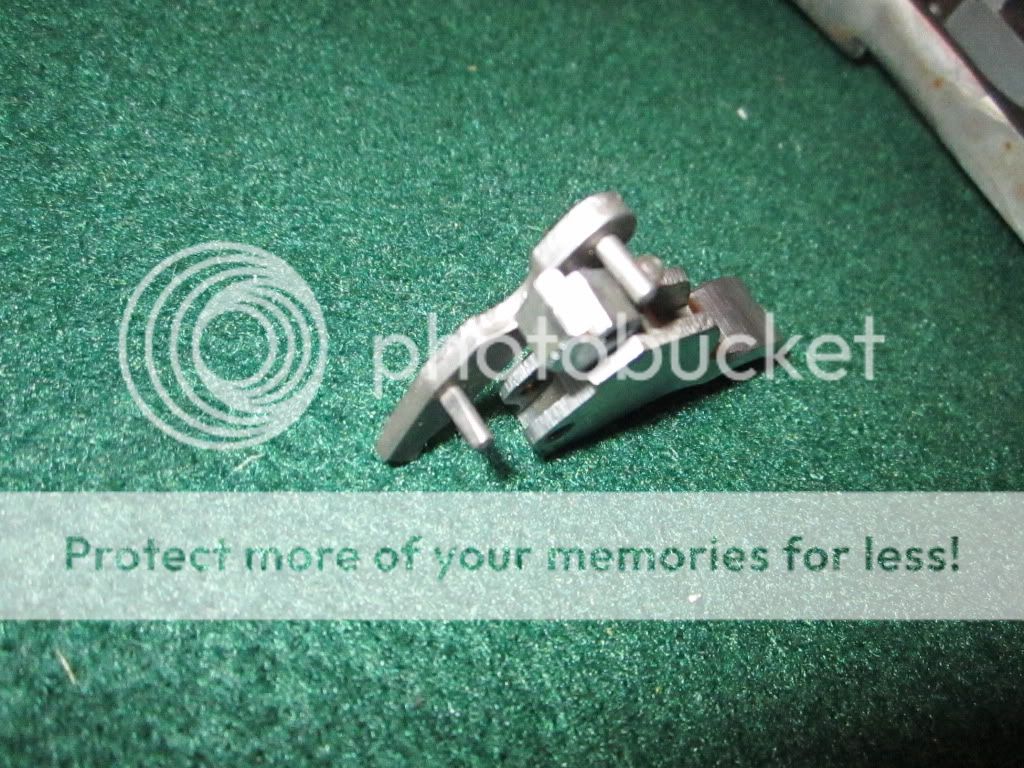
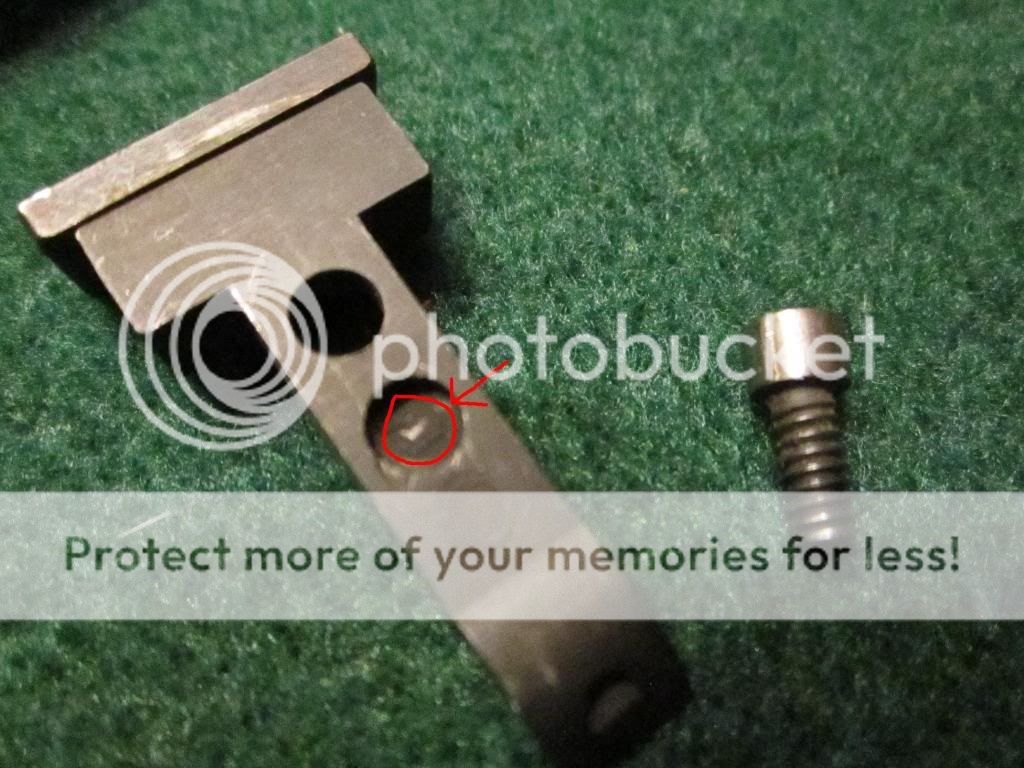
    Rear sight removed and even through we purchased this gun brand new a few years ago, plus it's never been apart; I was surprised to find a few things...

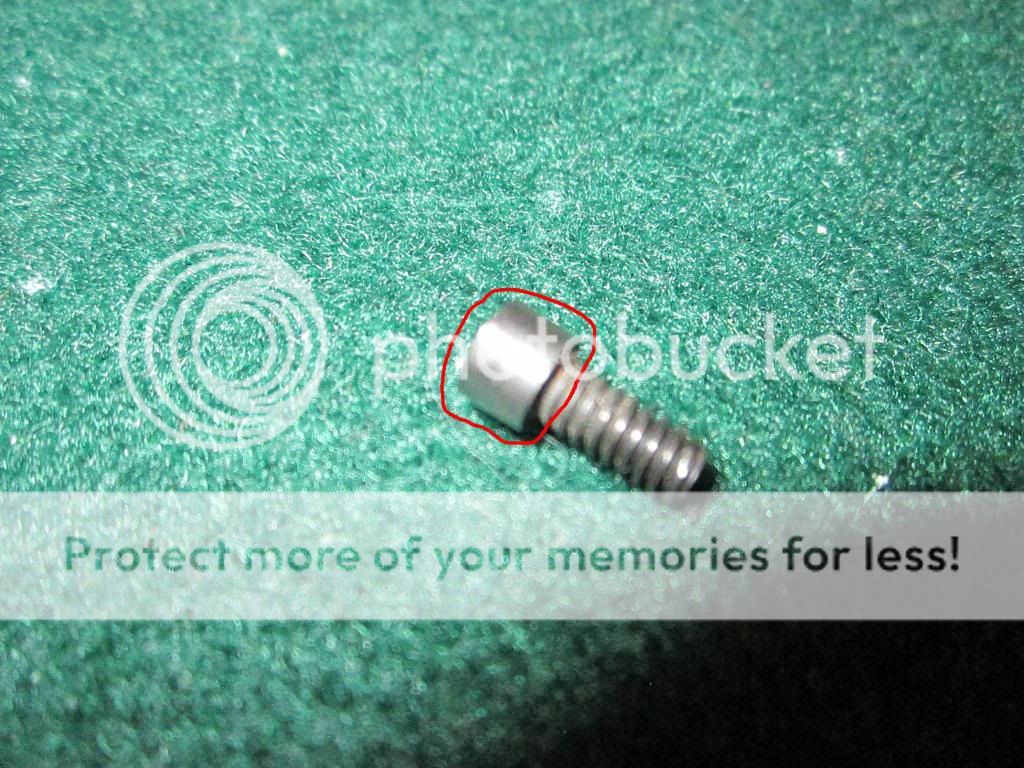
    1. The outside of the elevation screw head had been polished or ground down with what appears to be a means to get it to fit within the well of the rear sight hole pocket. This had to have been done at Taurus, as I'm the only owner and it's never been apart!

    2. I also found the elevation spring to be completely missing!! :xmad: It was in there at some point, as you can clearly see the witness marks left in the spring pockets on the frame and on the sight insert, by the spring itself at some time in the gun's past.
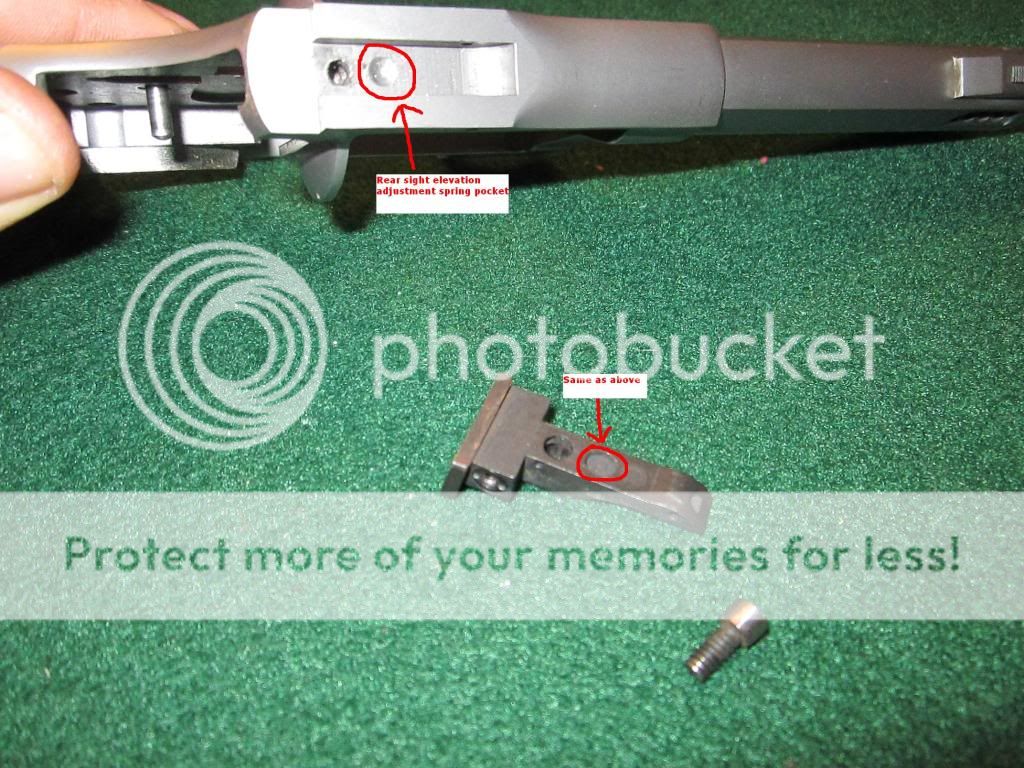
    3. Obviously, someone at Taurus has had this thing apart or forgot to install this very important spring during assembly for the first time.


    I'll need to get me a new spring for re-assembly and after discovering this, it's no wonder the sight felt "loose" and the gun wasn't as accurate as it should be....

    handgun1026.jpg


    handgun1027.jpg


    handgun1029.jpg
     

    backfire

    Shooter
    Rating - 100%
    9   0   0
    Nov 6, 2011
    786
    18
    Location
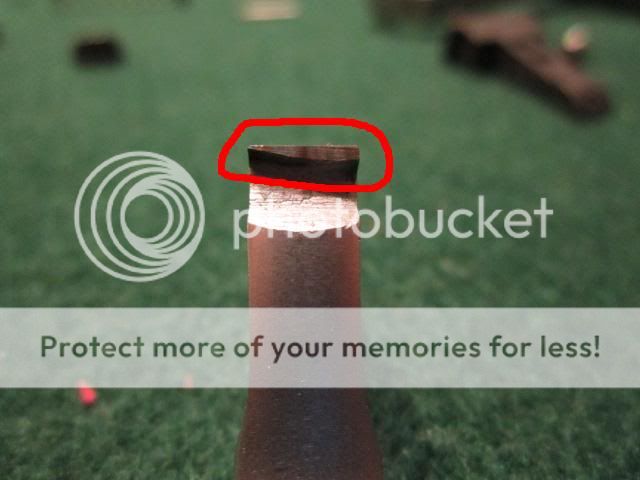
    This photo shows the leading edge of the trigger groove that engages into the cylinder stop. As you can clearly see, this has been machined pretty sloppily from Taurus, where it's off-center and thinner on one end than the other- machined at an angle.

    I debated on getting a new trigger because of this, but I've decided not to, since the cylinder stop isn't a critical thing that directly affects the feel of the trigger squeeze in firing, but is there as a safety device instead. It has always worked fine, so I'm going to polish this area smooth and lightly file them both to even them up with each other a bit; taking care not to make the edge too thin. If it gives me problems later, I'll replace it accordingly.

    Tis just goes to show you that you never know what's "inside" your gun from the manufacturer, until you actually take a look for yourself....

    handgun1039.jpg
     

    backfire

    Shooter
    Rating - 100%
    9   0   0
    Nov 6, 2011
    786
    18
    Location
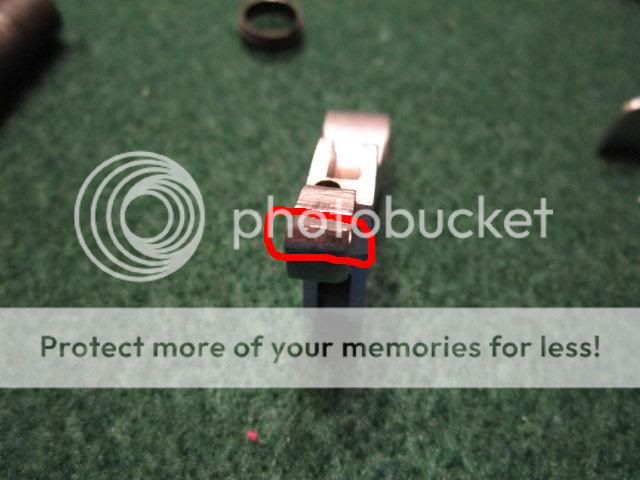
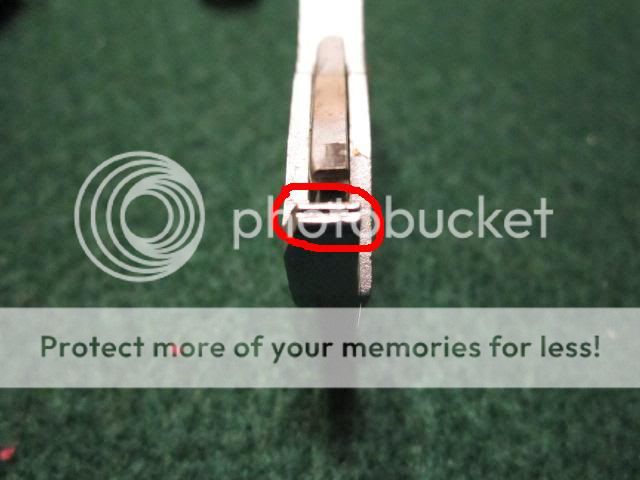
    These pics are of the business-end of the trigger/hammer assy. that you actually feel when you squeeze the trigger. As you can see, both of these critical edges are course and full of burrs, snags, etc. It's amazing the gun shot as smooth as it did in SA!

    The condition and shape of these two mating machined edges are what determine the "pull" wieght and trigger "feel". Since I'm using this gun for future novice target competition, I want to try to attain a 4-5 lb. "hair" trigger pull that breaks "clean" like a glass rod. The factory trigger pull in SA is approx. 6-9 lbs. and it feels "gritty".

    I'll only be "touching" the stepped edge of the hammer sear edge with the Arkansa Stone, so as not to shange it's design too much, making the trigger too light. The other sear edge on the trigger itself will get a full polish job.

    handgun1037.jpg


    handgun1038.jpg
     

    backfire

    Shooter
    Rating - 100%
    9   0   0
    Nov 6, 2011
    786
    18
    Location
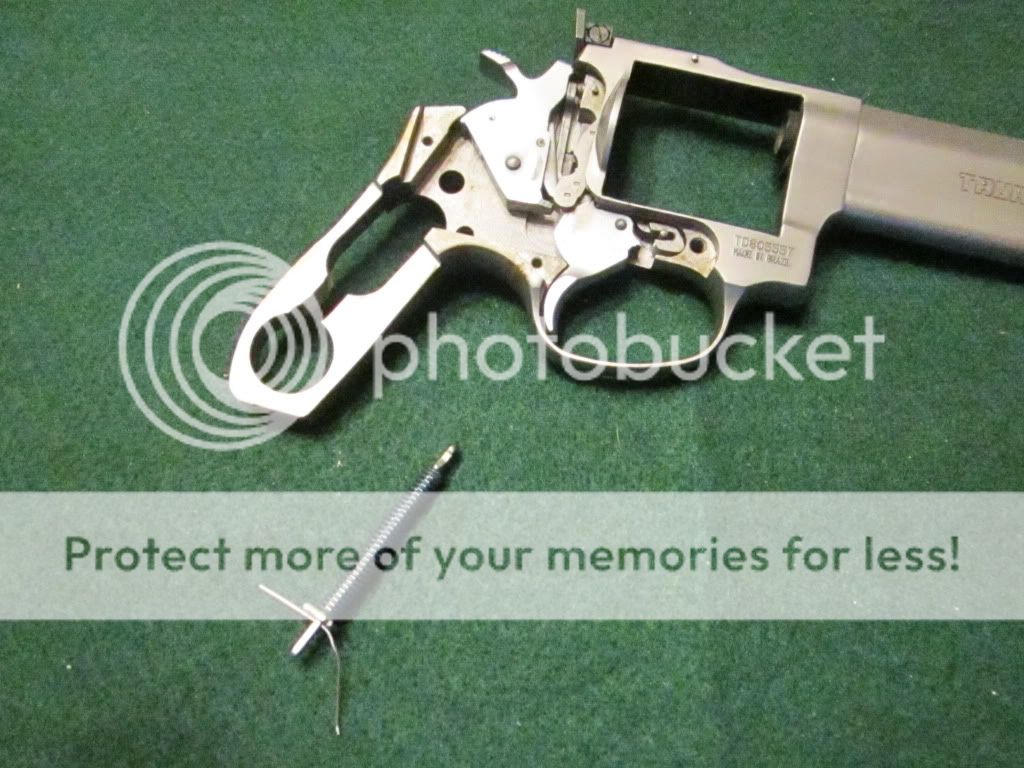
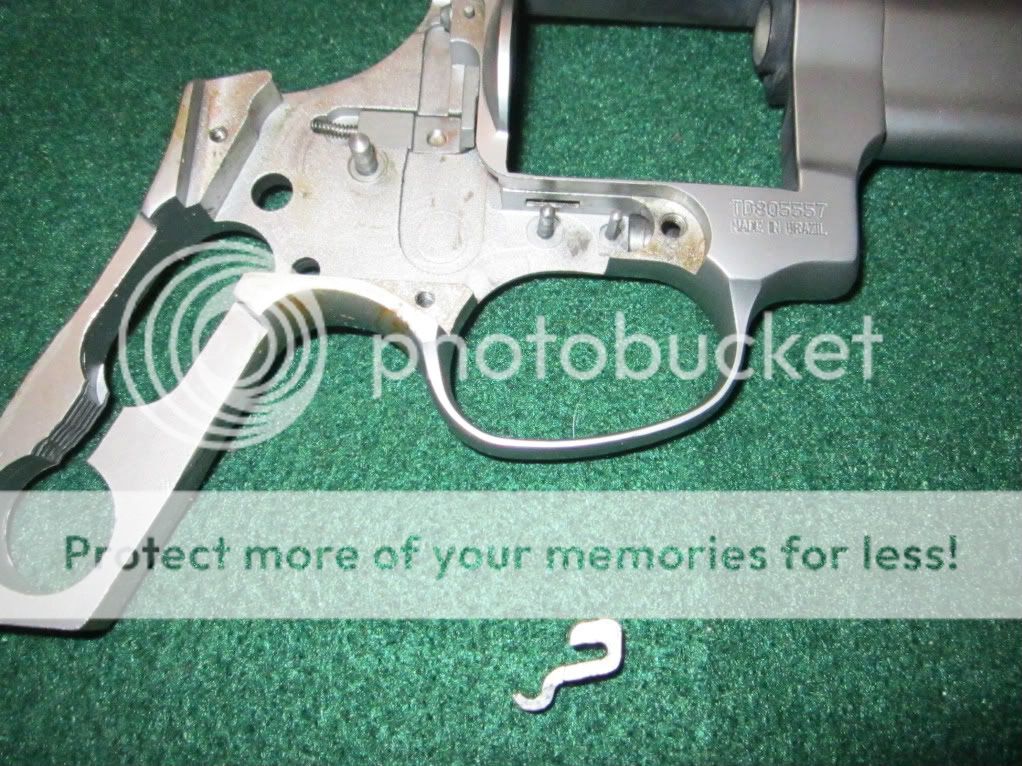
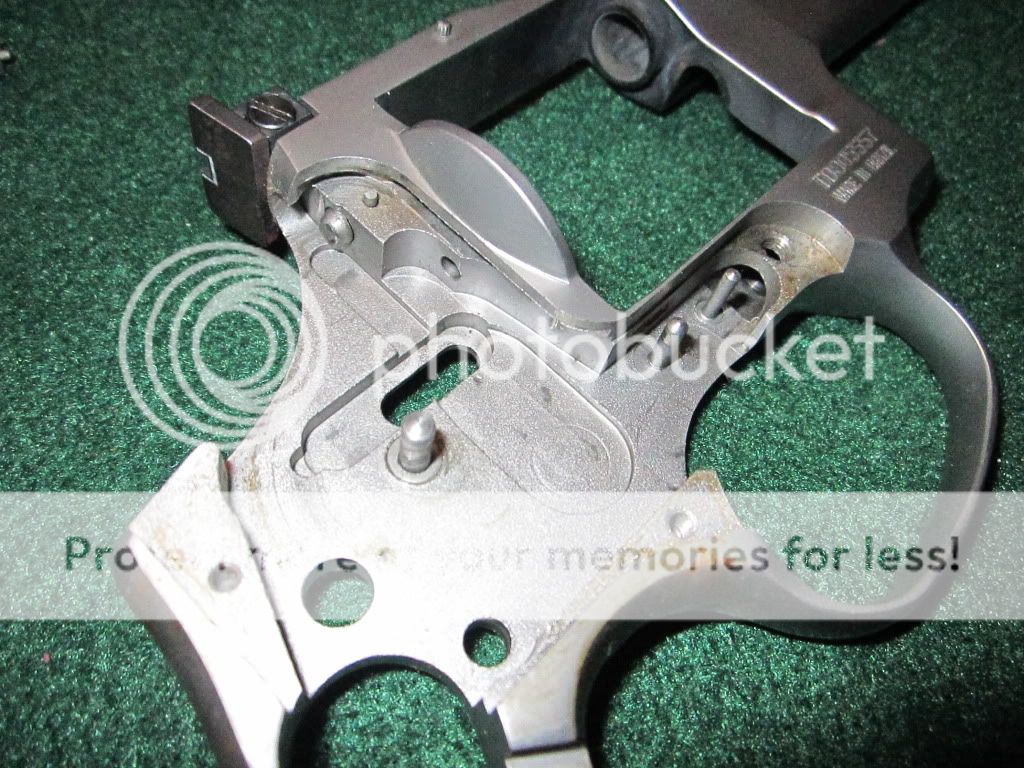
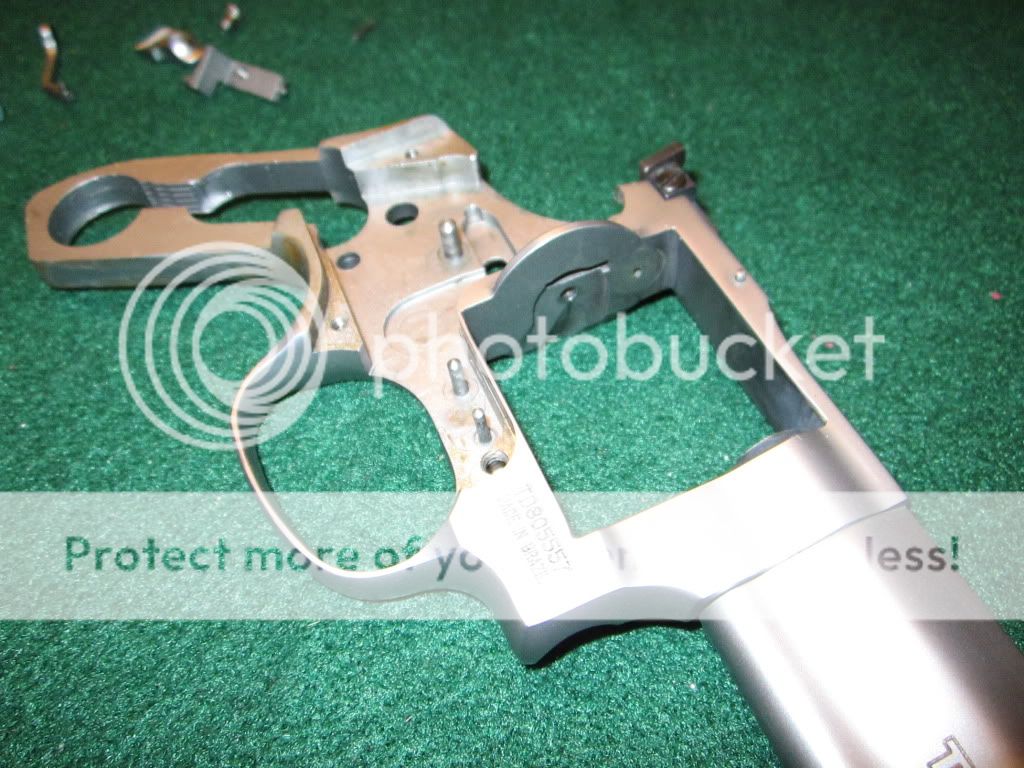
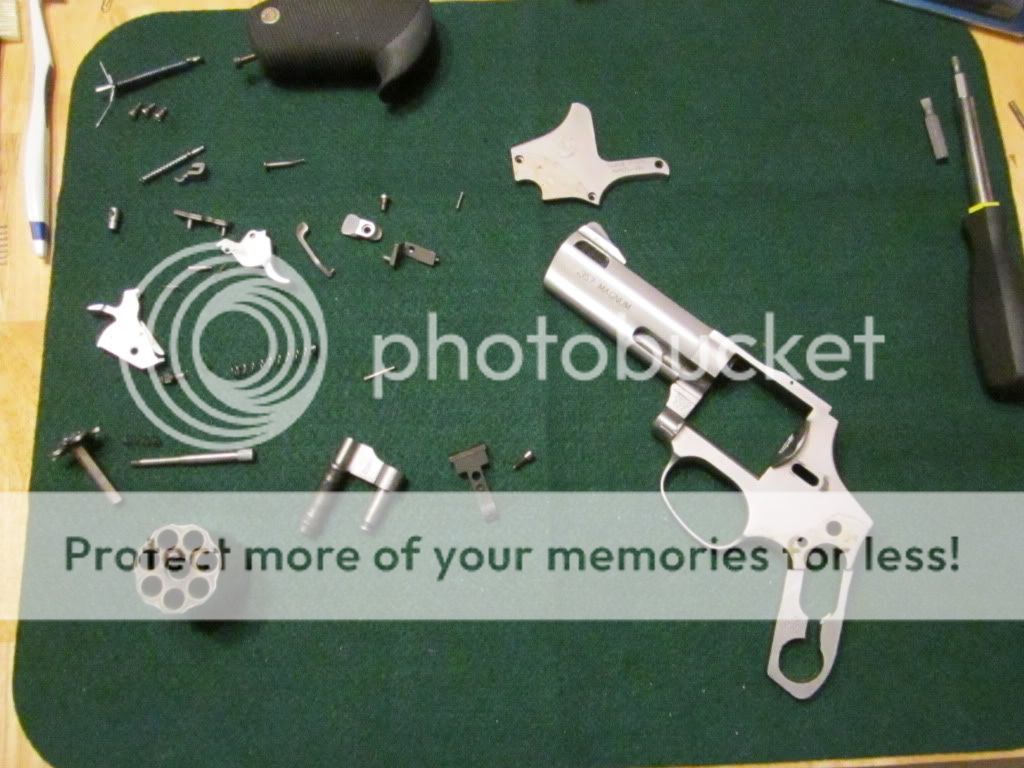
    Well, this is where I'm at now- a totally gutted revolver. I've got a lot of work to do before she's ready for re-assmbly and then test firing. Hopefully this has been helpful to those interested. :)

    More to come later...

    handgun1031.jpg
     

    eric001

    Vaguely well-known member
    Rating - 100%
    9   0   0
    Apr 3, 2011
    1,863
    149
    Indianapolis
    Great project! I'm not sure I'm brave enough to take my 627 down like that--I've got a horrible habit of not being able to put things back together without "extra" pieces... I'll be interested to see what kind of results you get after all your hard work on the gun. Looks like a great job so far!!
     

    backfire

    Shooter
    Rating - 100%
    9   0   0
    Nov 6, 2011
    786
    18
    Location
    Thanks for the words guys. :)

    I've spent about an hour on the trigger itself; chamfering all the sharp edges w/ a micro-file, "rough" polishing the entire thing w/ 1500g sand paper, then following that up w/ the Arkansas Stone to square-up & polish the sear edges, finally ending w/ Flitz Metal Polish. I didn't go crazy on anything and took my time, making sure I didn't remove any critical metal, only polishing and shaping as needed to get the job done in the areas of metal-to-metal contact.

    FYI- My apologies for the grainy and generally crappy up-close macro pictures... :( I only have our "point-n-shoot" camera to use and it leaves a lot to be desired in the photo quality department- especially macro and it's always hard to keep the "glare" out of the photos too....
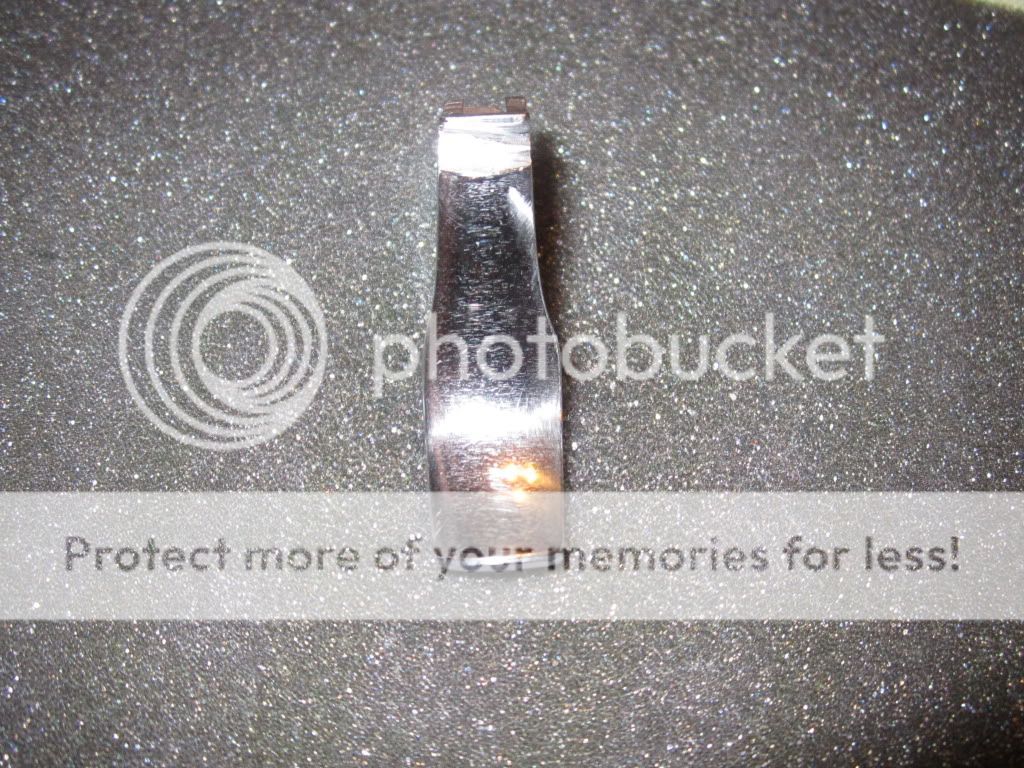
    The first pic is of the polished trigger face that your finger actually rests on. The pics don't do the polish-job justice here, as the camera only picks up the actual grain of the metal and not so much of the mirror finish it has. I can tell you this though..it's so smooth to the touch and mirror-like in appearance when you look at it, it almost slips out of your hand fingers when handling it- it's that smooth!

    I went ahead and polished the entire trigger as a whole for asthetic reasons more than anything else- just to add a little touch of "bling" to the otherwise matte finish of the stainless steel gun. Plus, I like the smooth feel of the polished trigger face on my finger as I squeeze to fire. This may sound funny, but it kind-of feels "soft" to the touch to me when it's like this.. :)

    handgun-2016.jpg
     
    Top Bottom