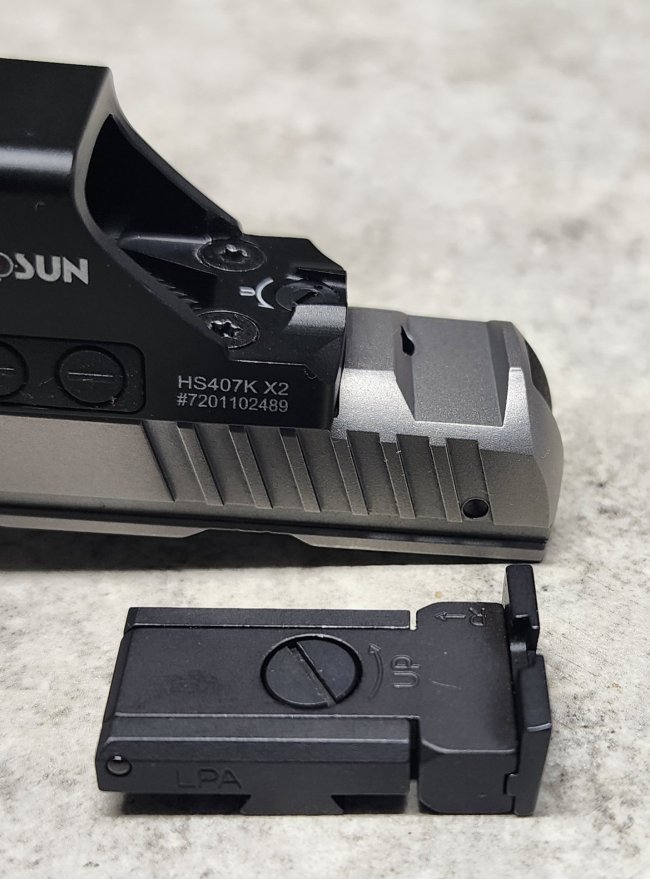
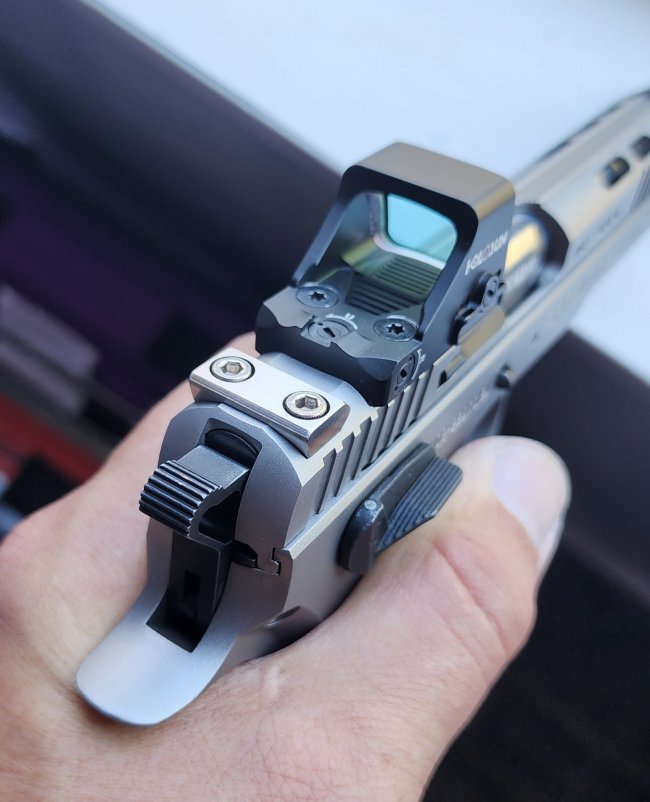
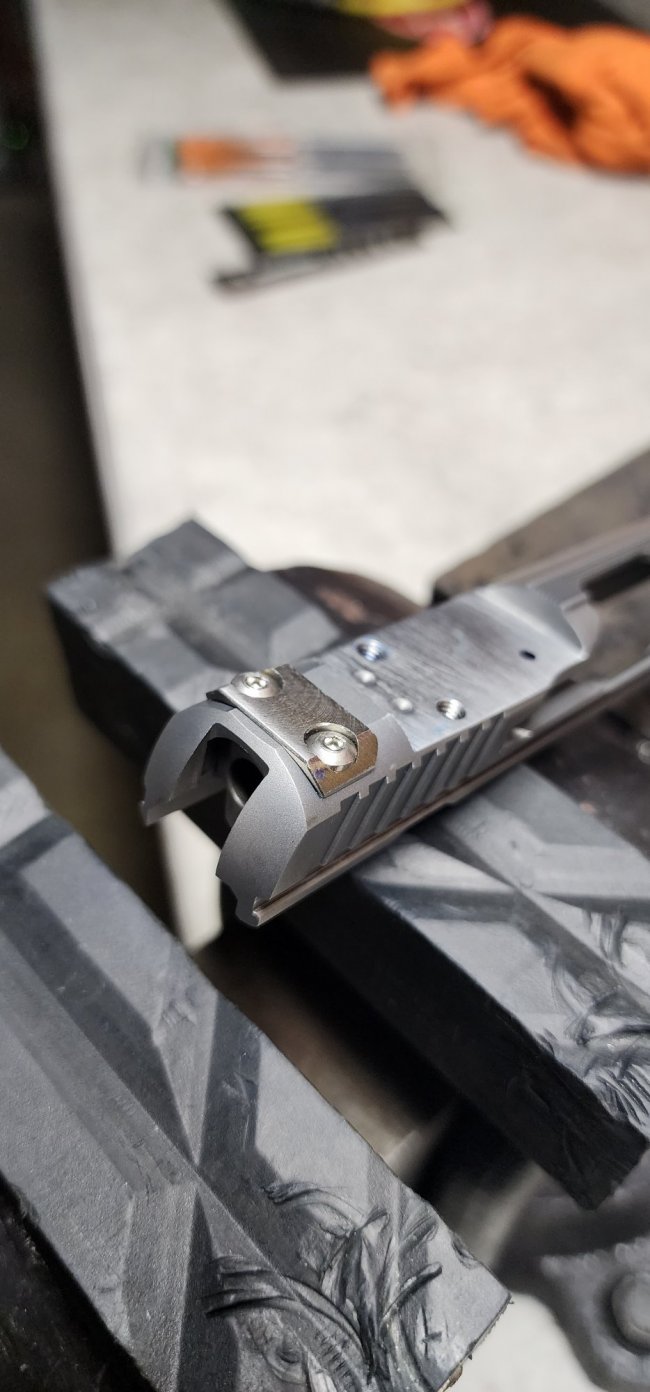
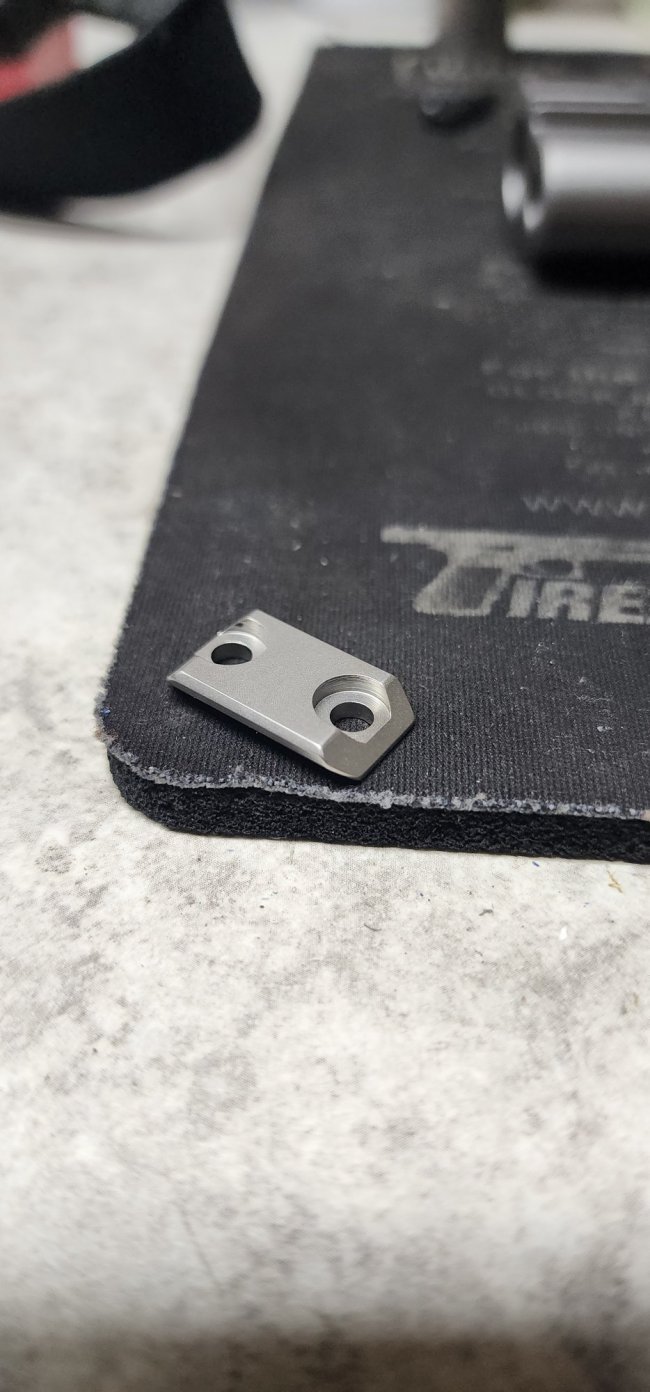
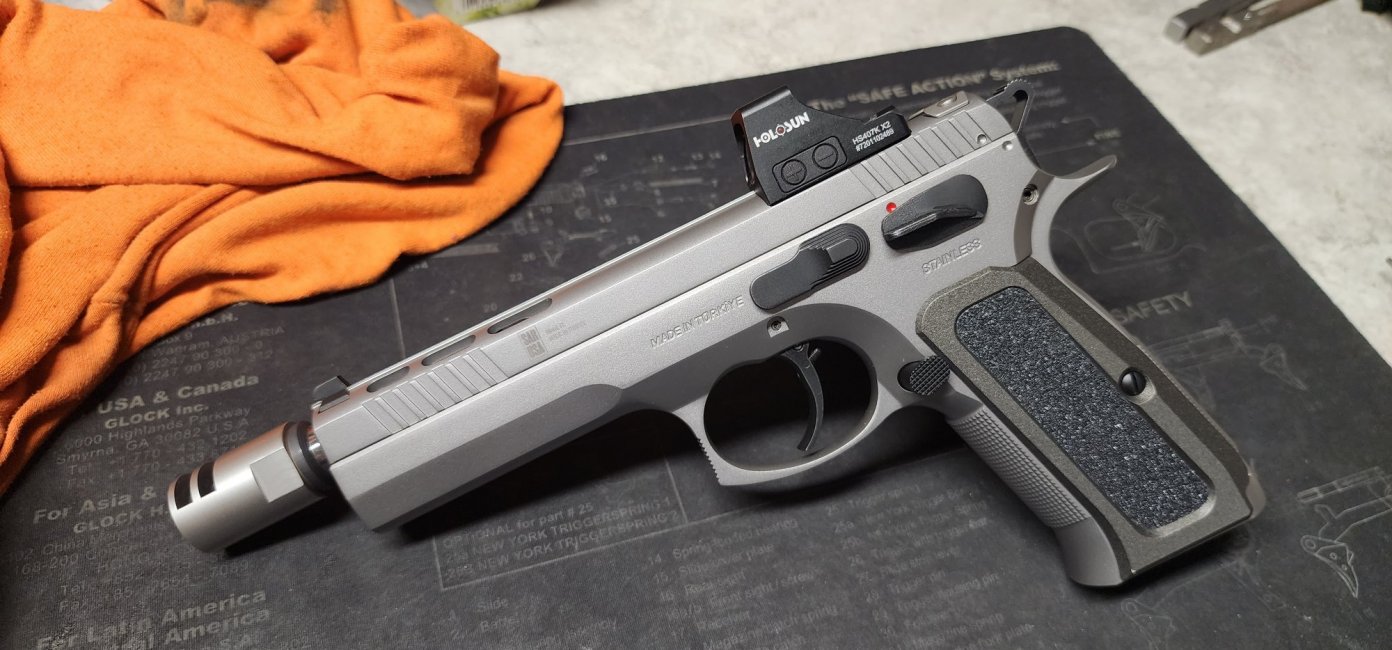
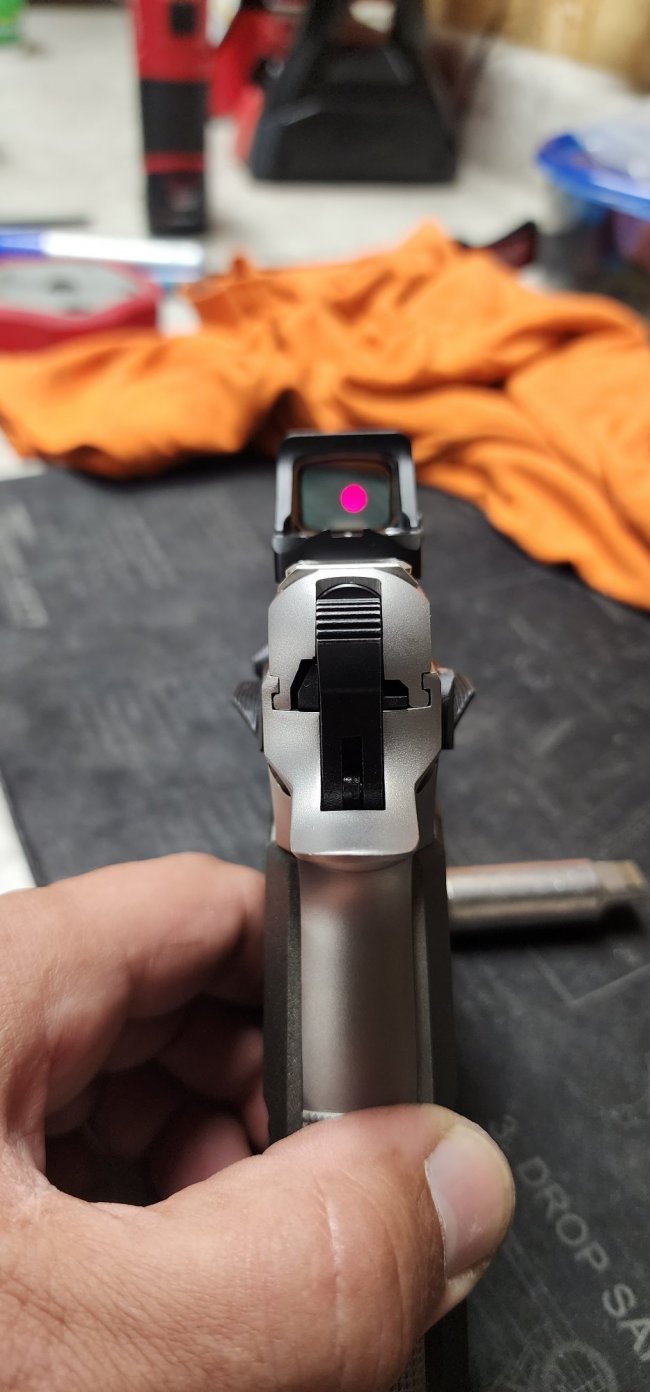
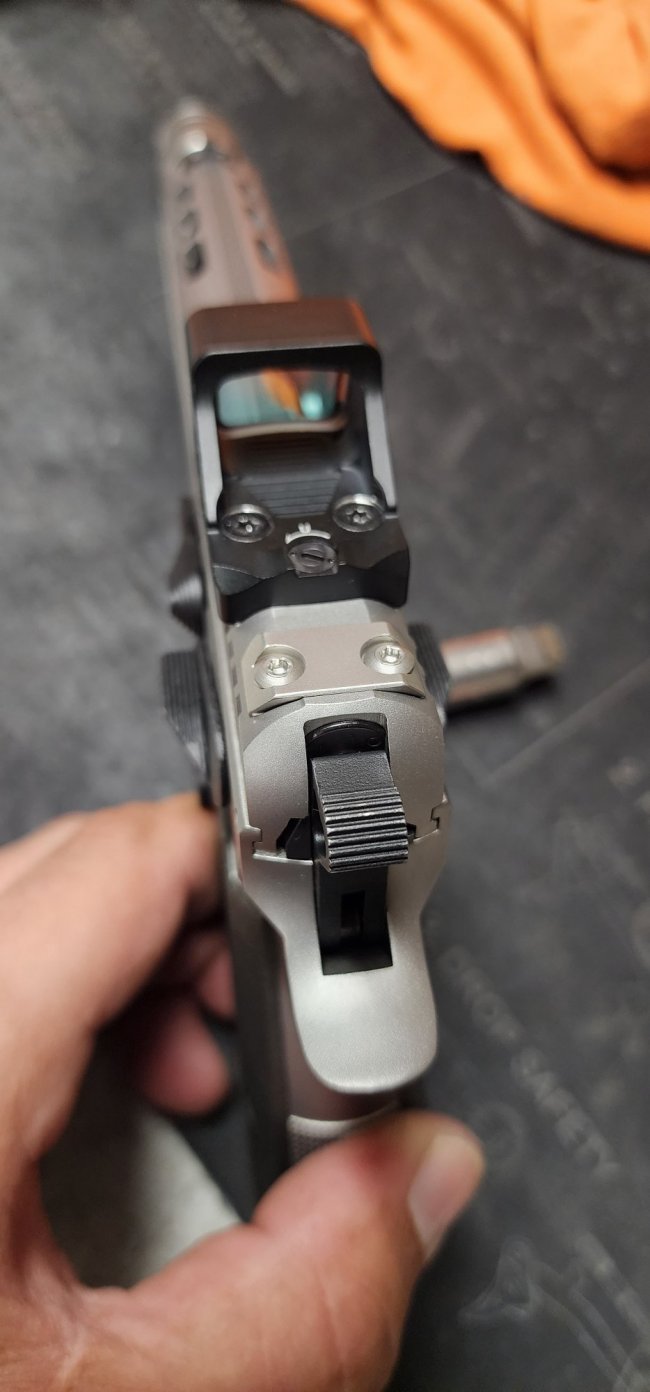
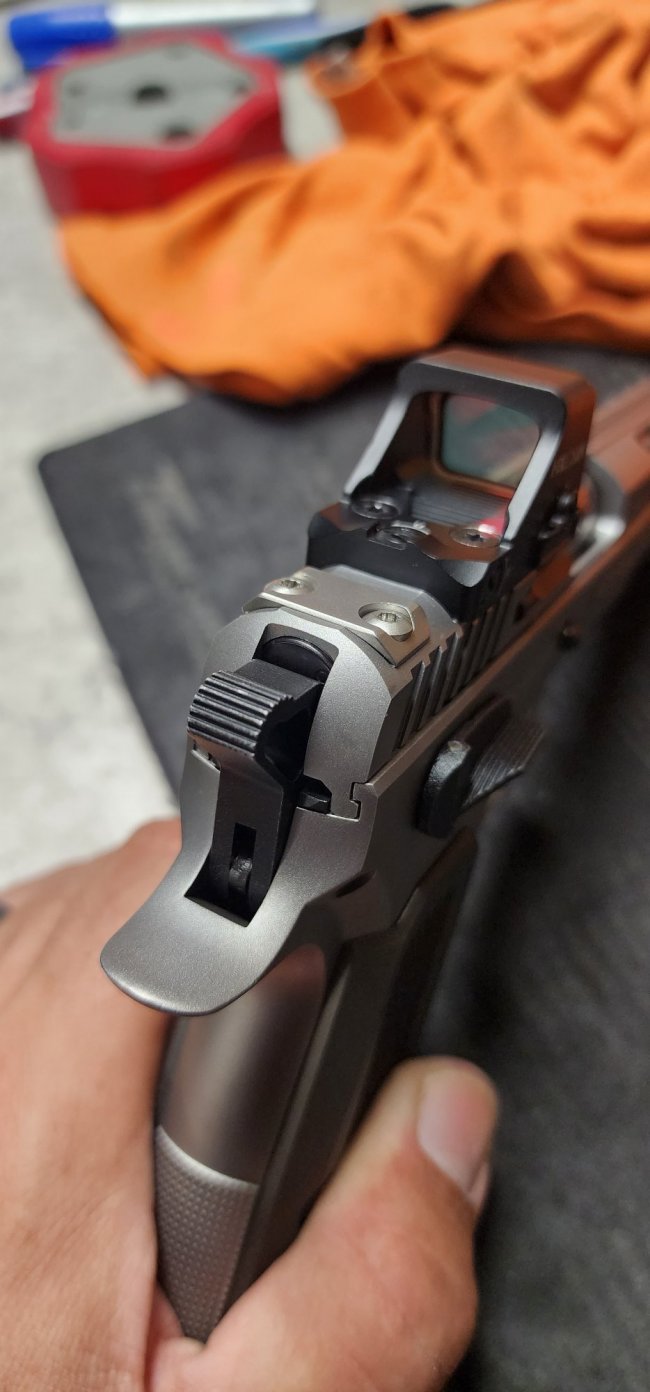
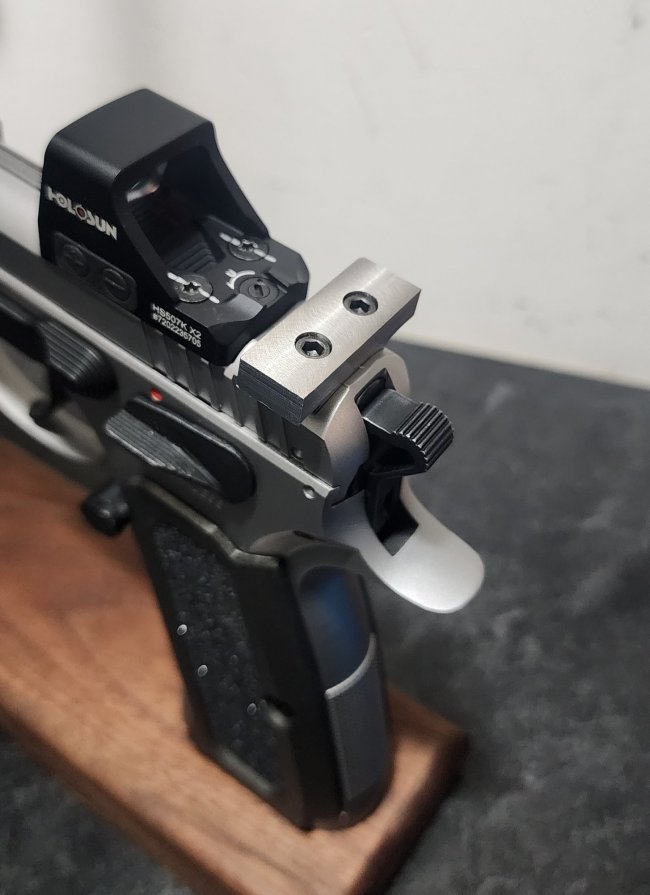
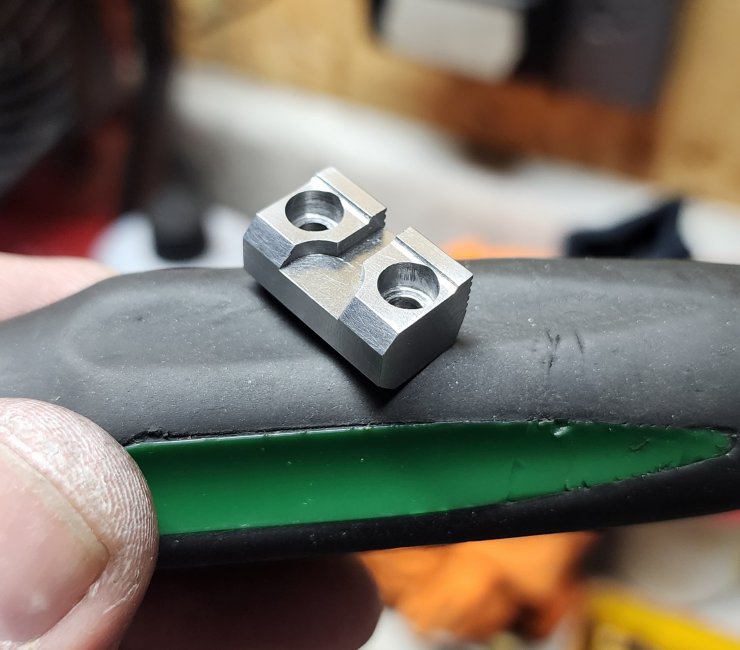
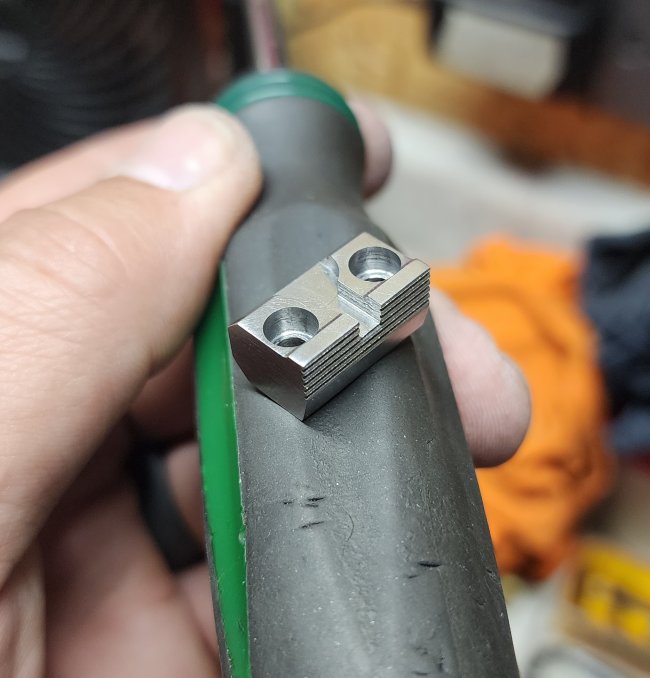
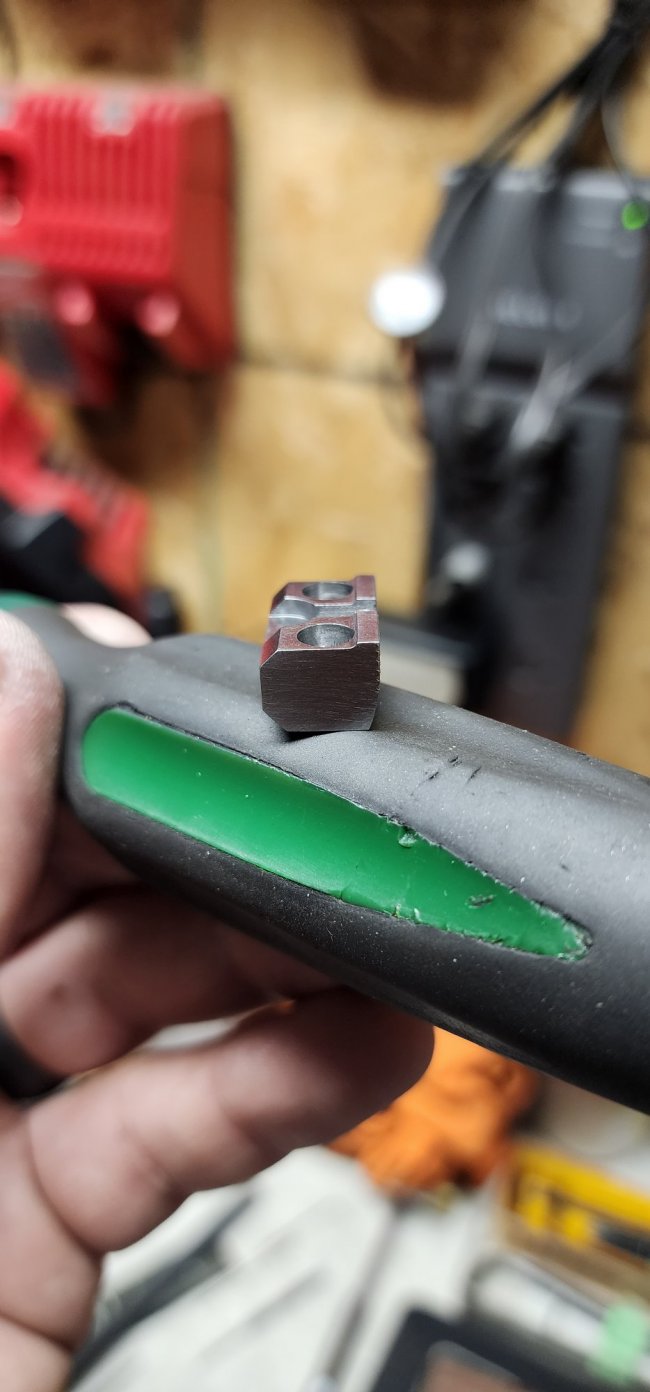
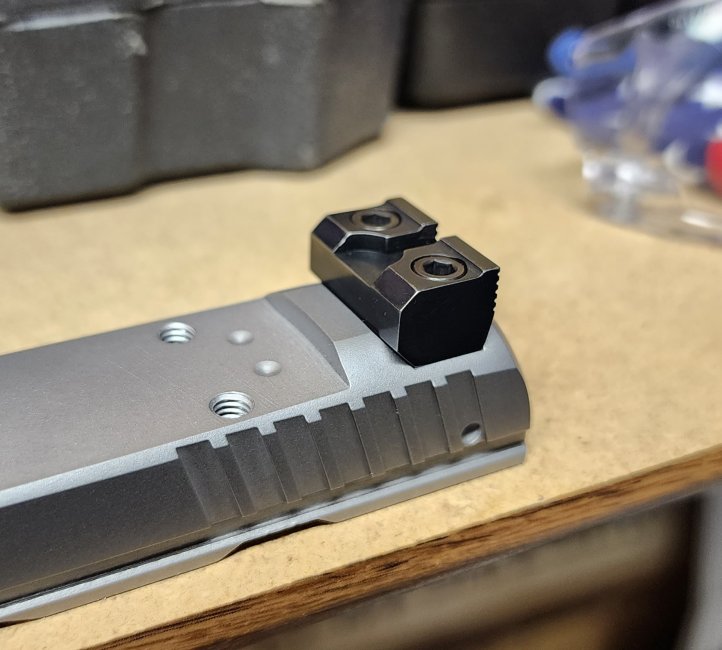
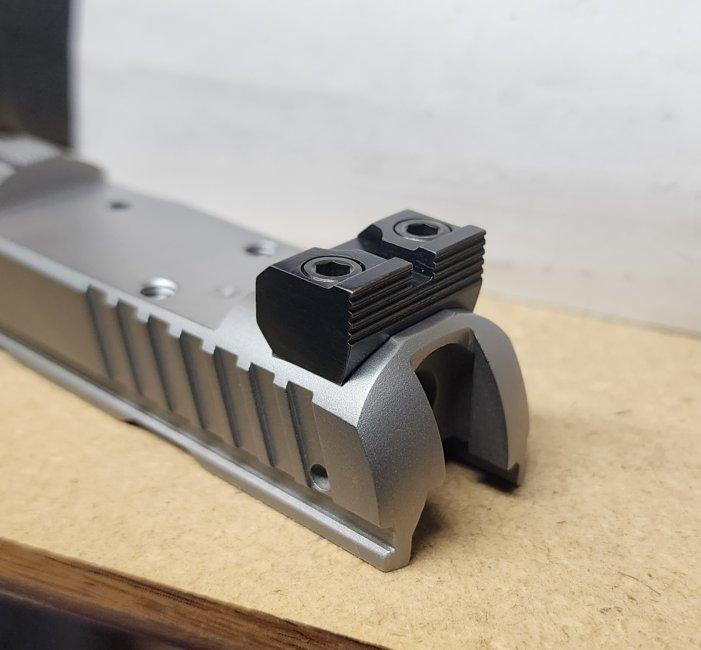
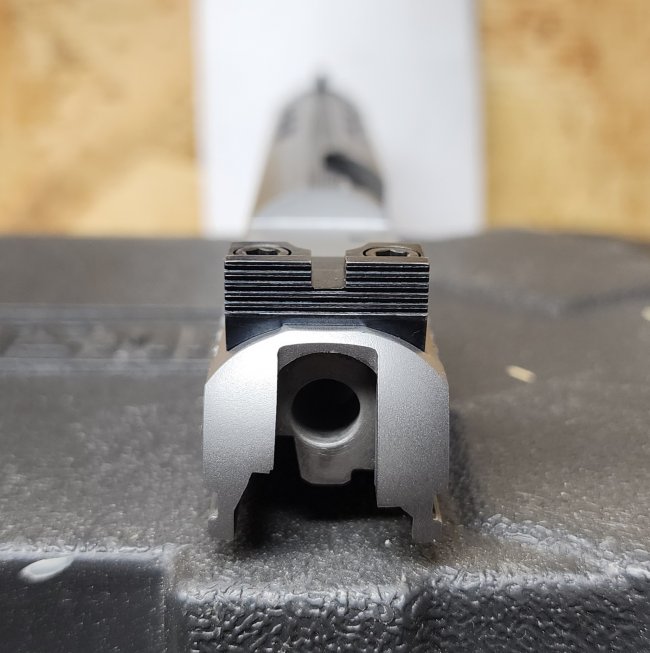
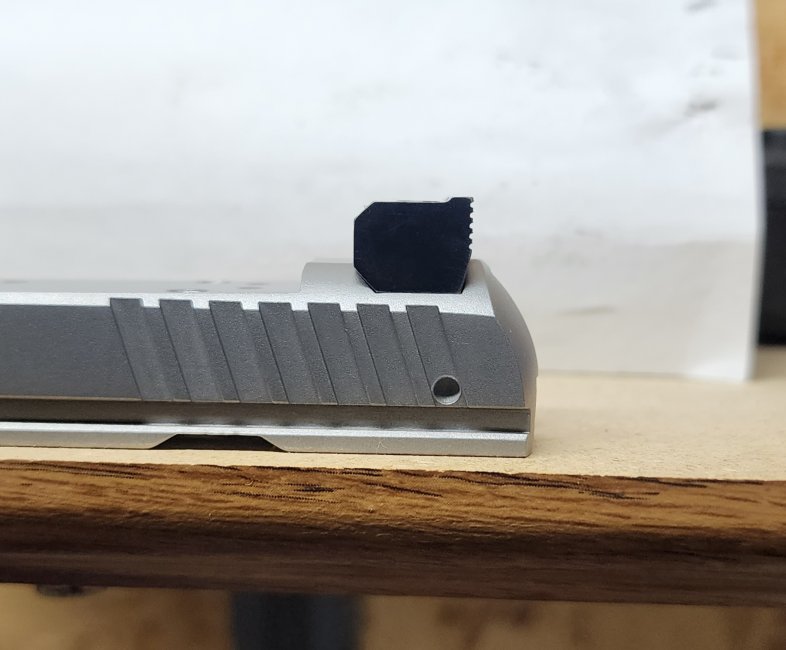
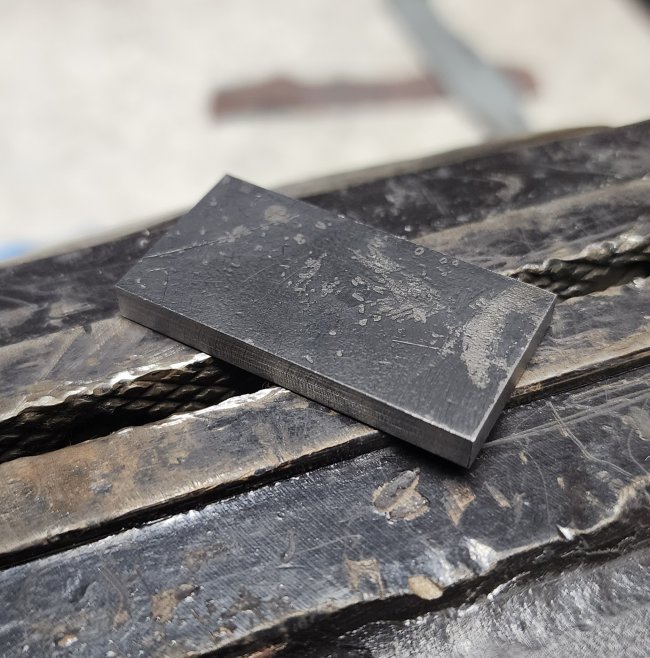
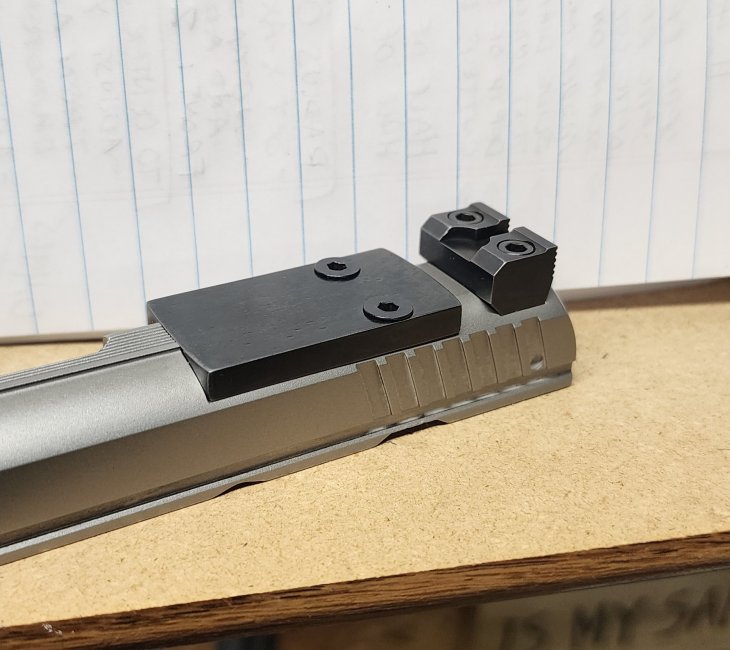
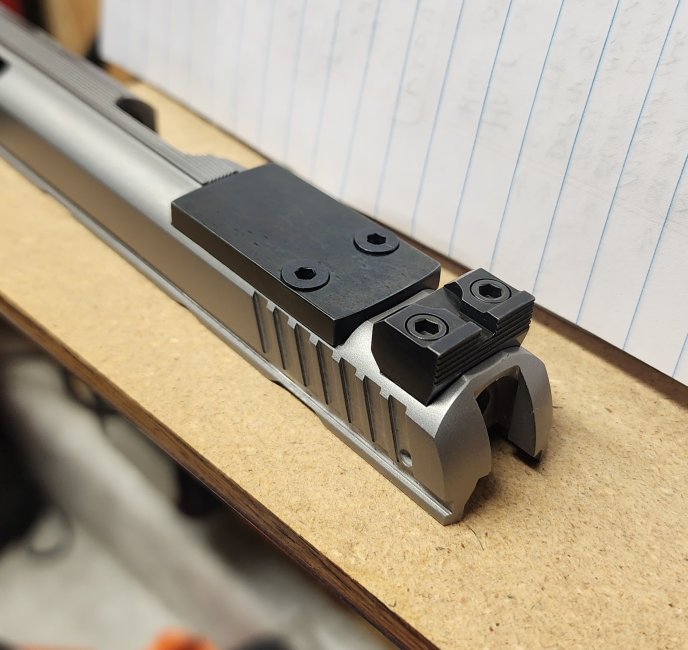
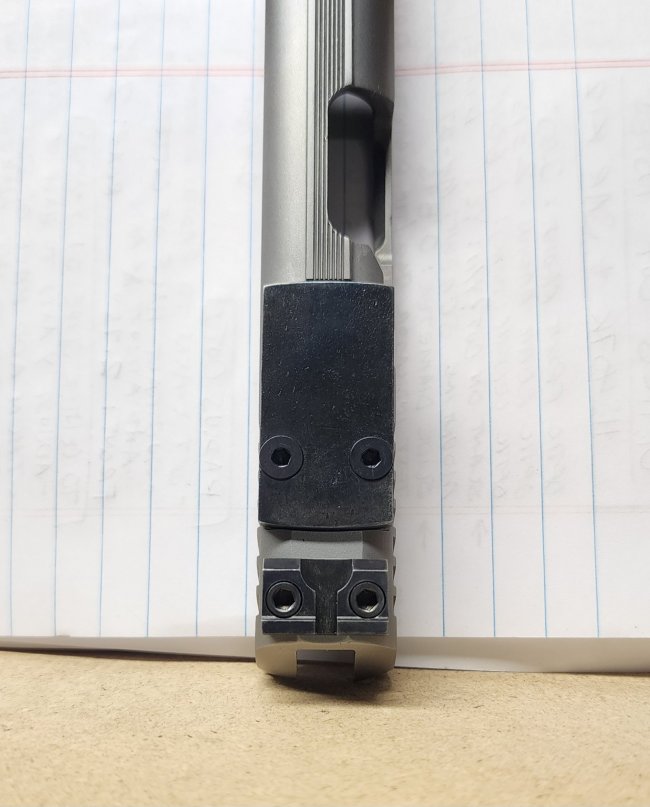
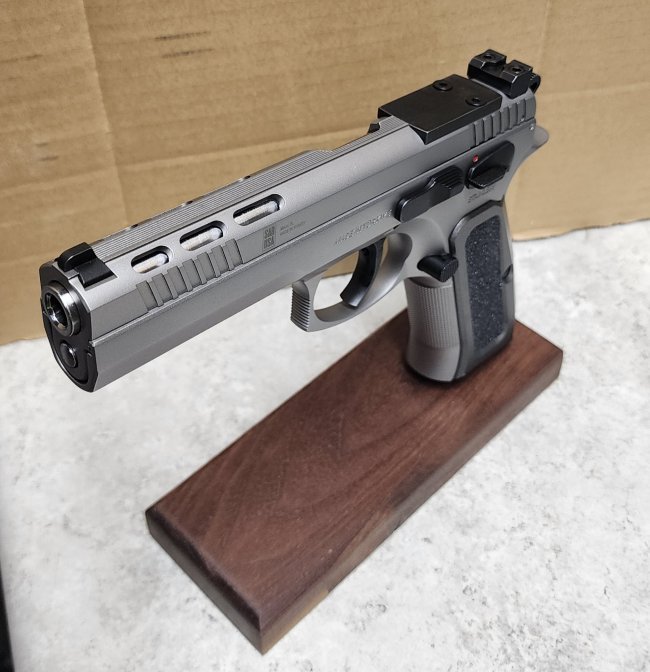
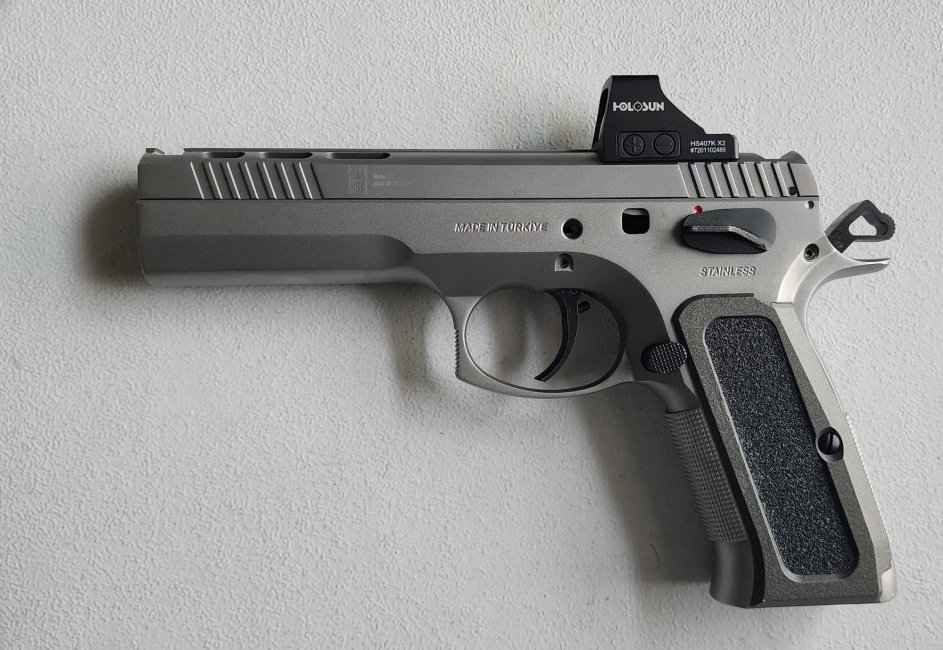
I bought this Sar K12 Sport X as part of my 40th birthday present to myself last year. I've been loving the gun, but the black-on-black sights weren't doing it for me, and the recent threaded barrel upgrade changed my point of impact high enough that I was out of elevation on the rear sight. So, I decided it was time for another Holosun to the rescue. The Sar K12 is essentially a Tanfoglio small frame clone and has a skinny slide. I typically don't care for adapter plates and wanted the optic to sit low, so I went with a 407K for the narrower screw pattern. I have the 6moa dot on some other guns and it doesn't bother me, but if it does on this gun, I can always swap down the road for a 507K with a 2moa dot.
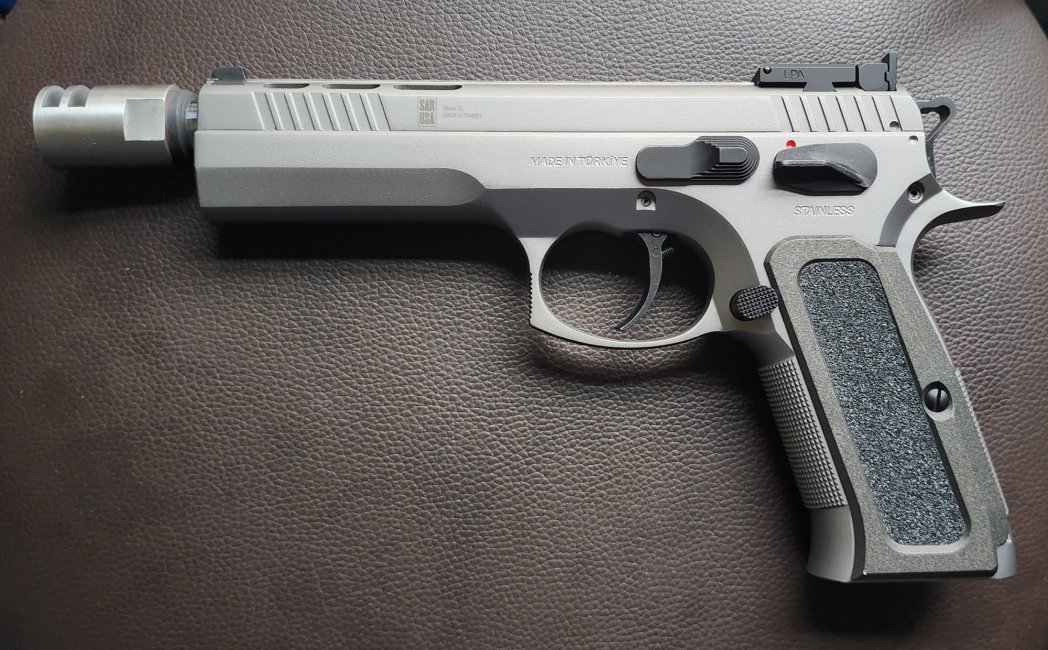
Before pic. Factory black serrated iron sights, rear is an LPA adjustable for windage and elevation. Factory threaded barrel, Superstition Precision comp, polished internals, Galloway Precision reduced power spring kit. The gun is super fun to shoot (it's in 9mm).
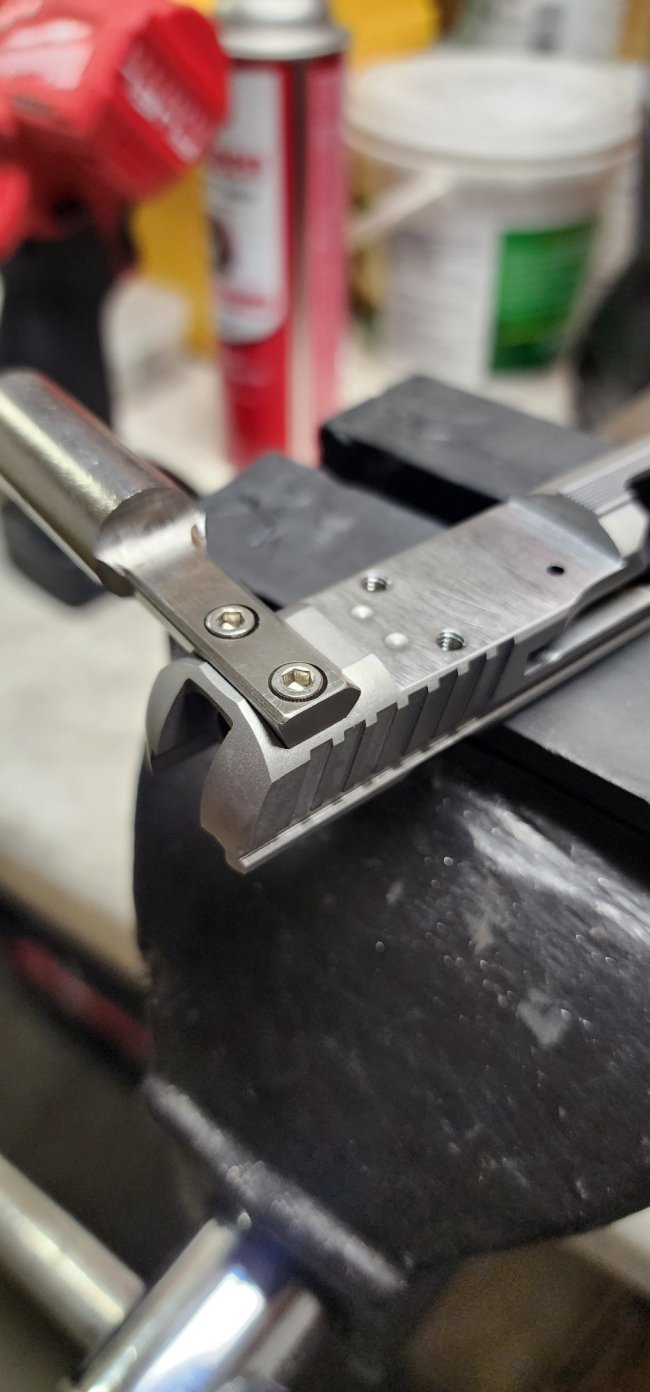
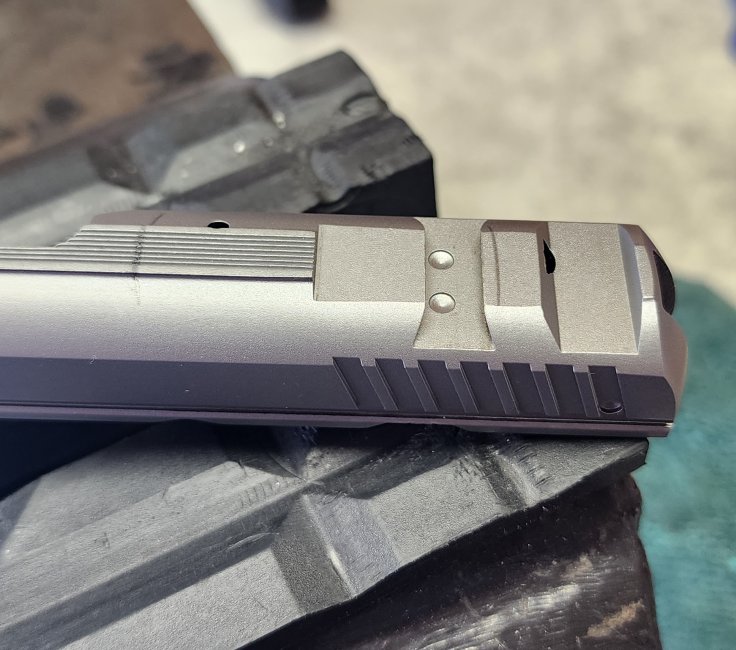
Rear sight removed, measured up the location of the cut (had to be ahead of firing pin safety plunger). Pencil lines are just for a relative visual reference, not supposed to be 100% accurate. Notice the nice safety plunger peep hole that Sar leaves but is covered by the rear sight. More on that later.
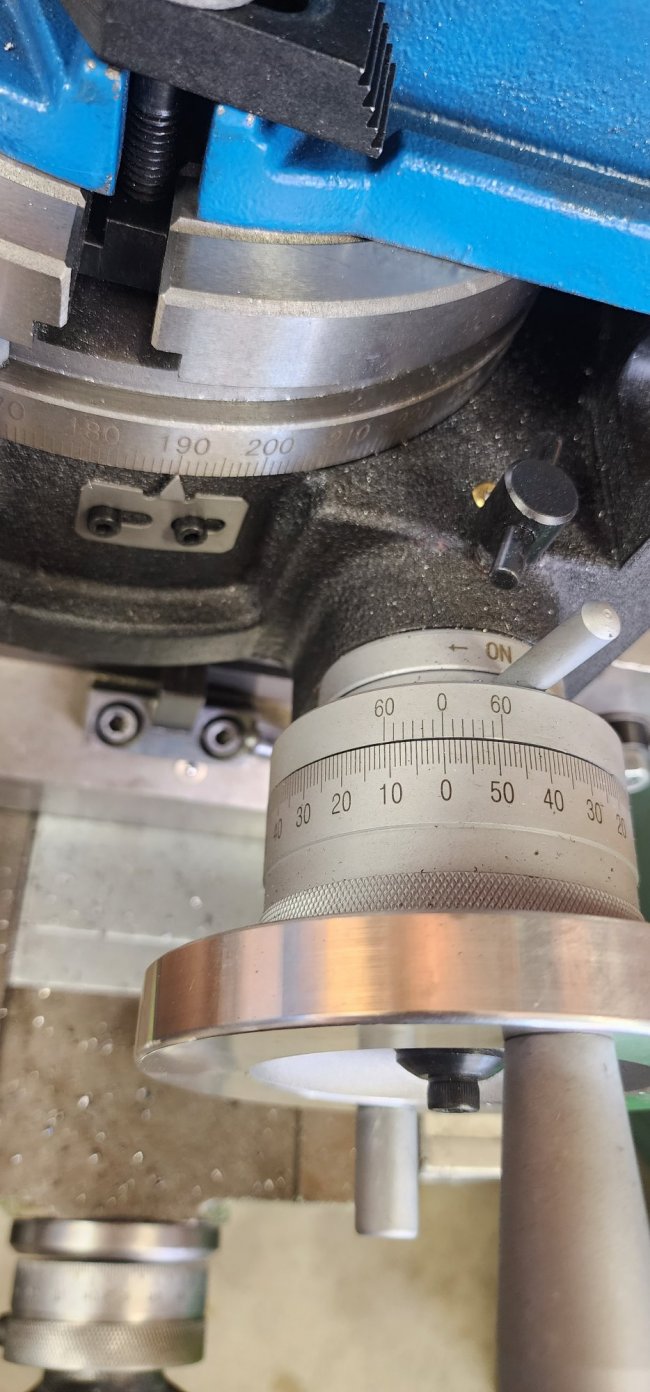
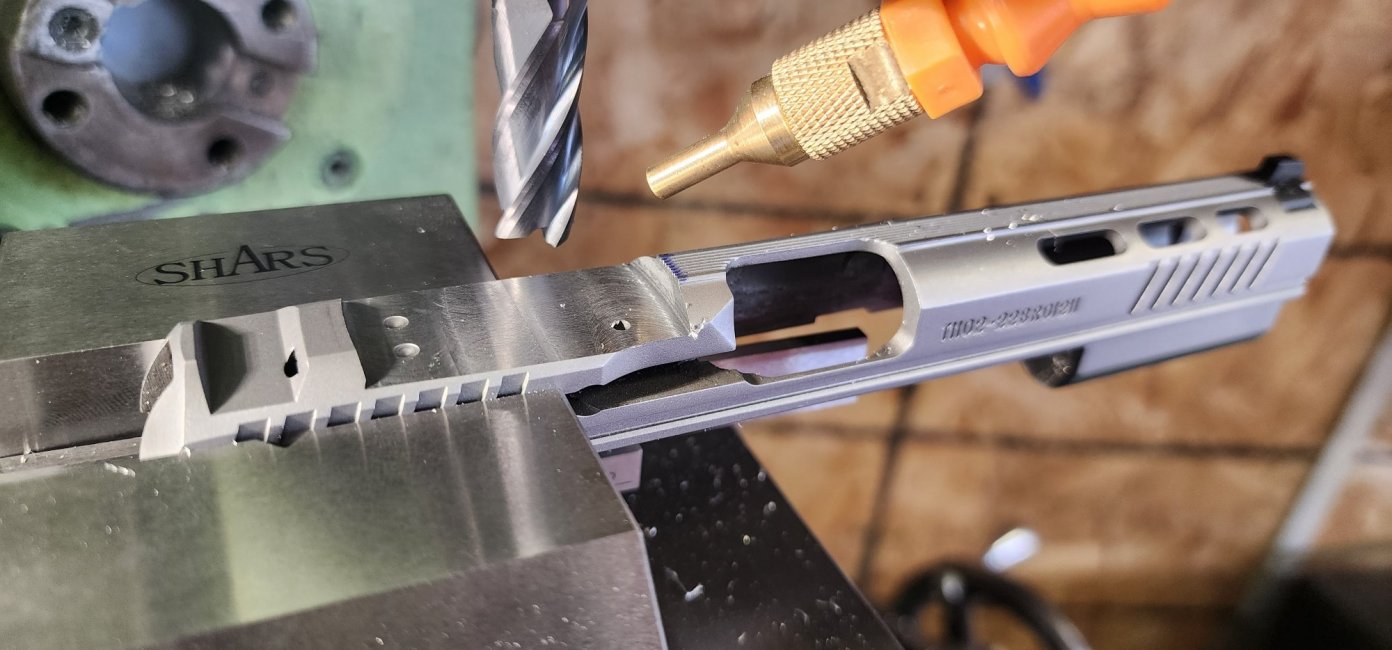
Rotary table fun and the cutting begins. The 407K / 507K cut is a giant PITA on a manual lathe with a rotary table, because it has a radius cut on the front AND rear. By my measurements, the front was a 3" radius, and the rear was 2 3/8". This got a 1-degree angled cut due to the design of the gun (barrel is angled when in battery).
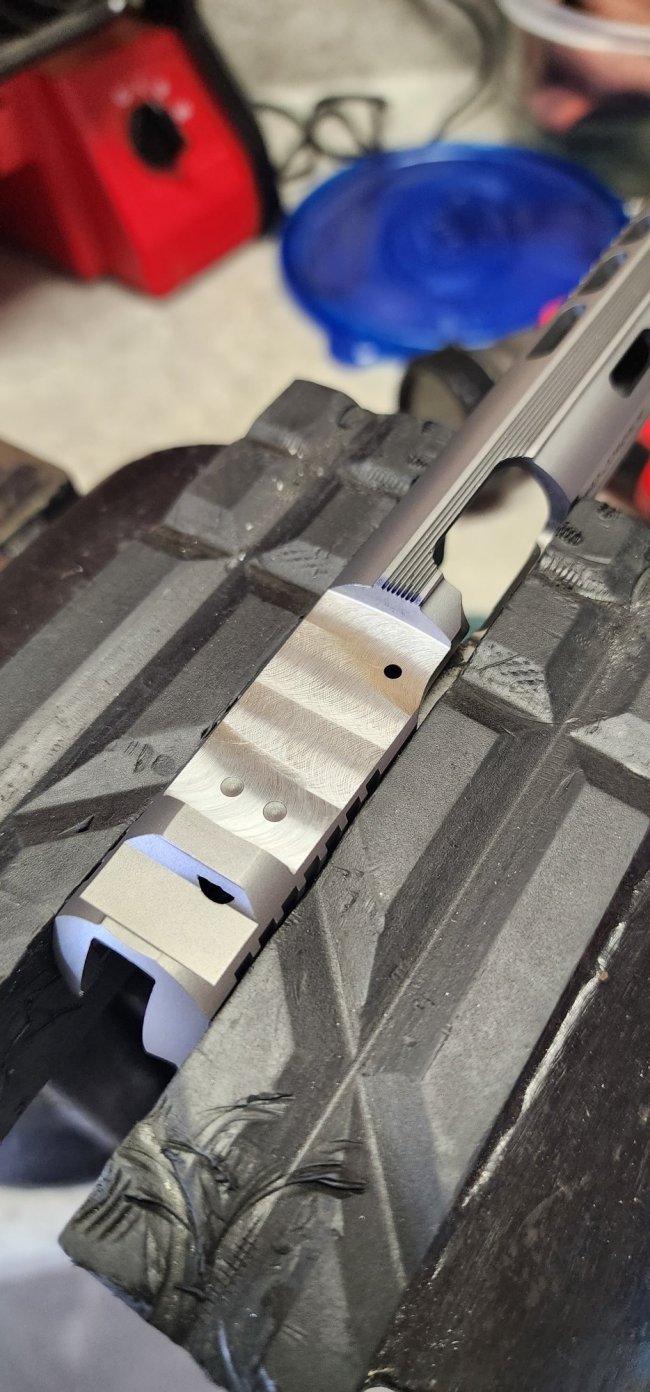
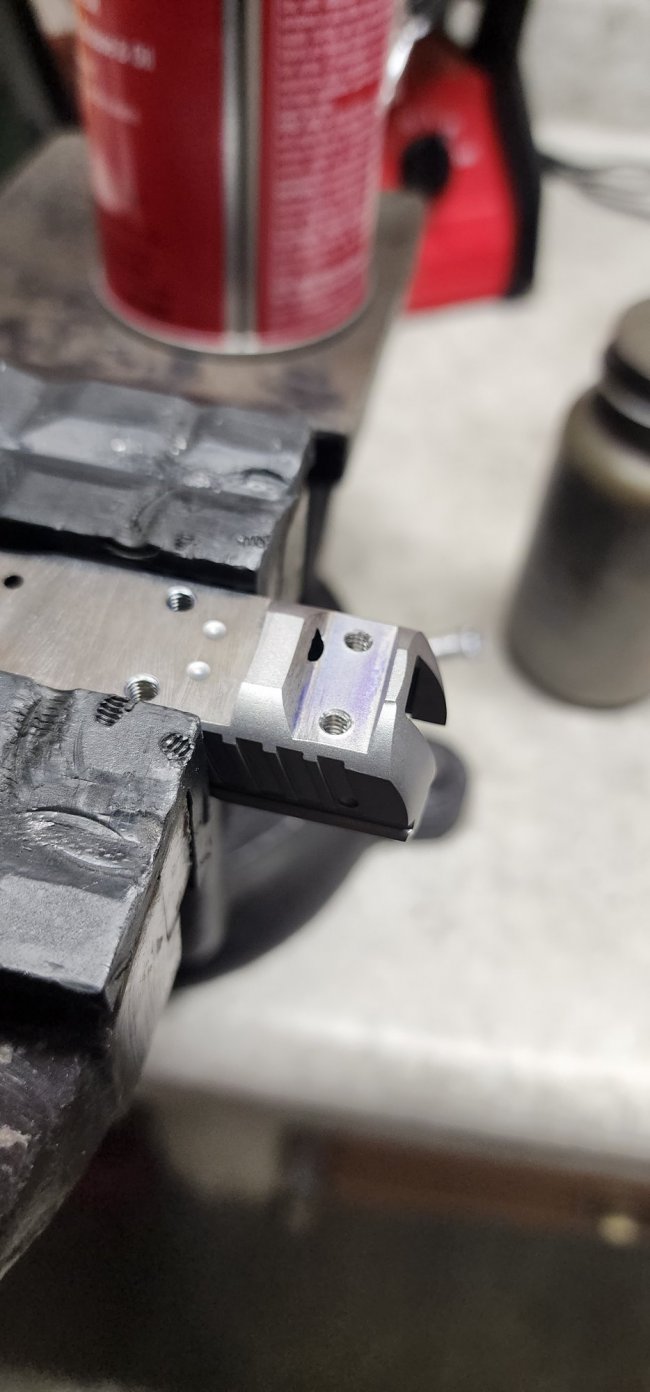
Checked for fitment, made it a little too tight and this cost me time with files and emory cloth. Also, having to flip the slide around for the 2nd radius gave me a slightly uneven cut, so I had to true it up with a flat file, which also took a lot of time (that was after I did the threads on next segment, just mentioning it now). I'm not a machinist, so the only thing I could think of, was that it's probably best to have this done on a CNC where the slide is mounted once and not flipped 180 in between cuts. I did my best with my current knowledge and equipment, but I'm also human and still learning this stuff as I go.
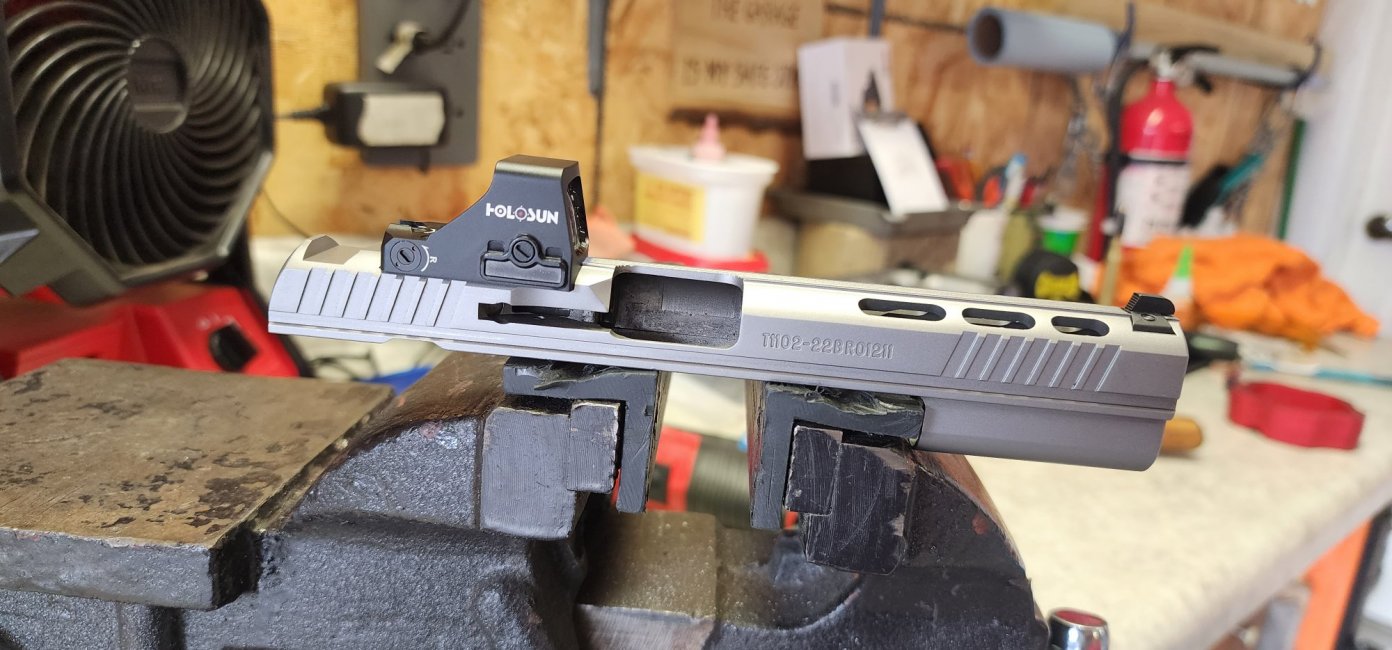
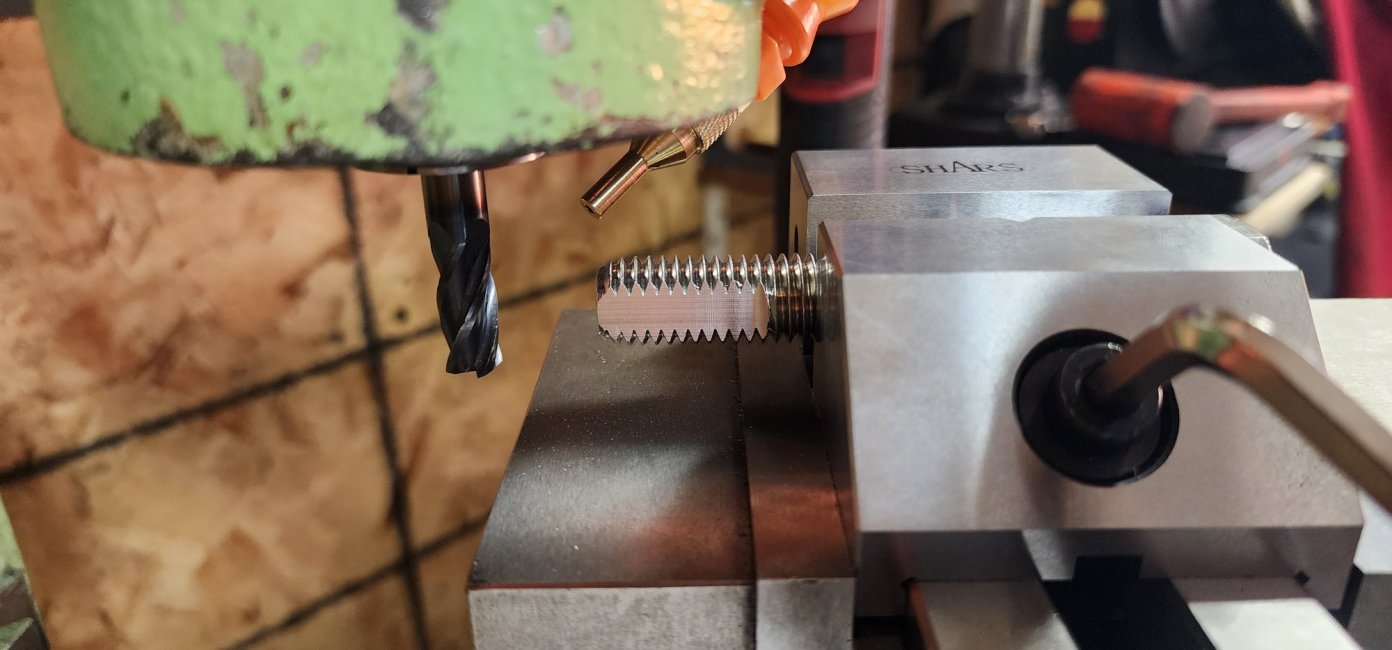
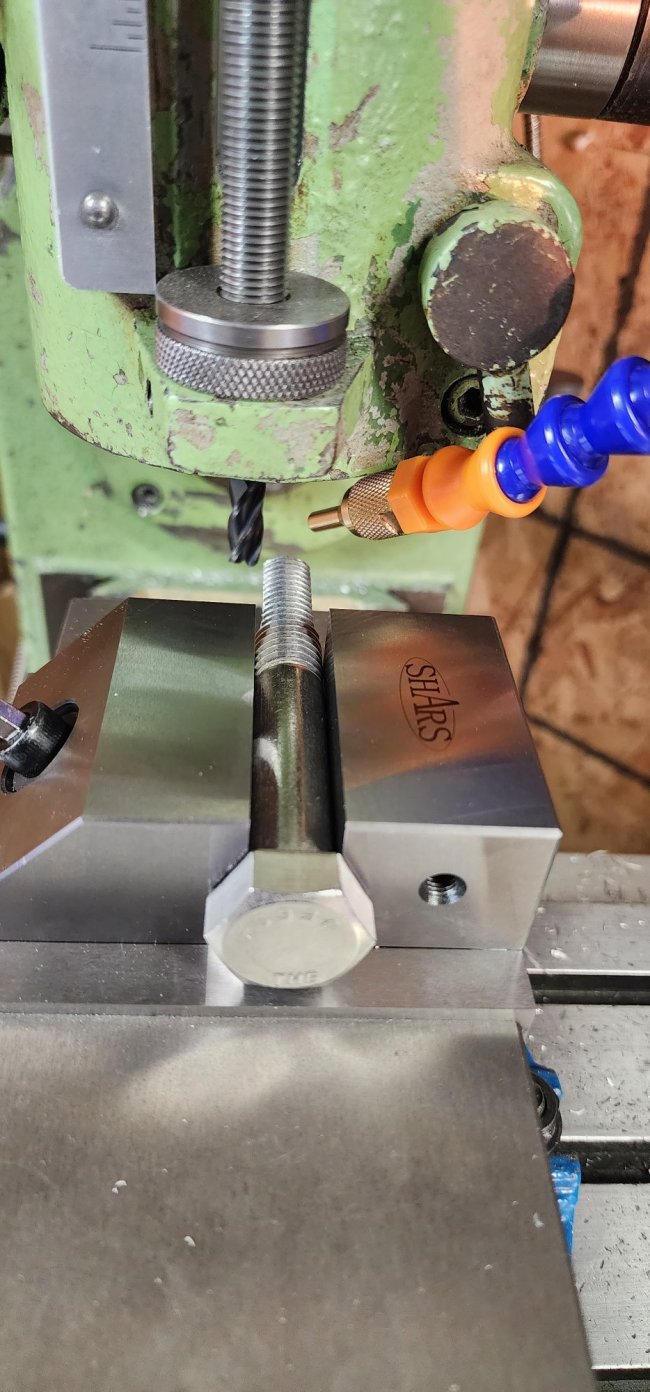
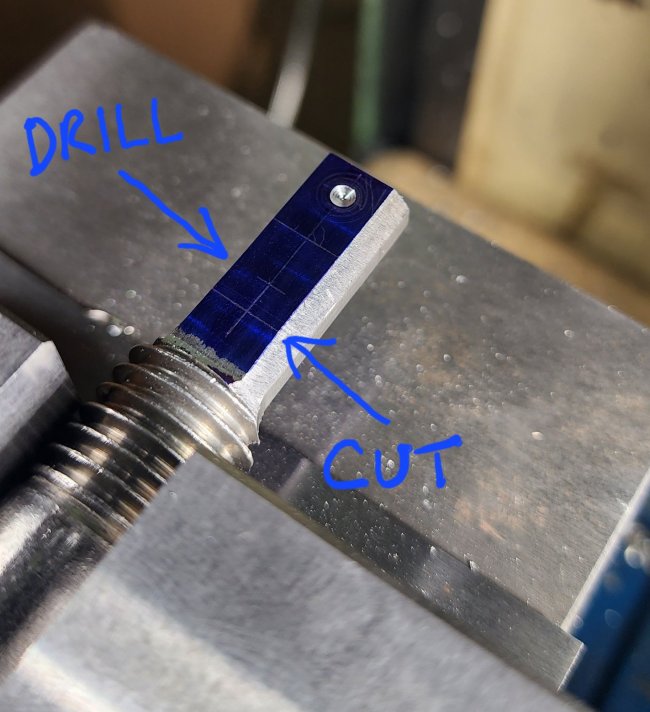
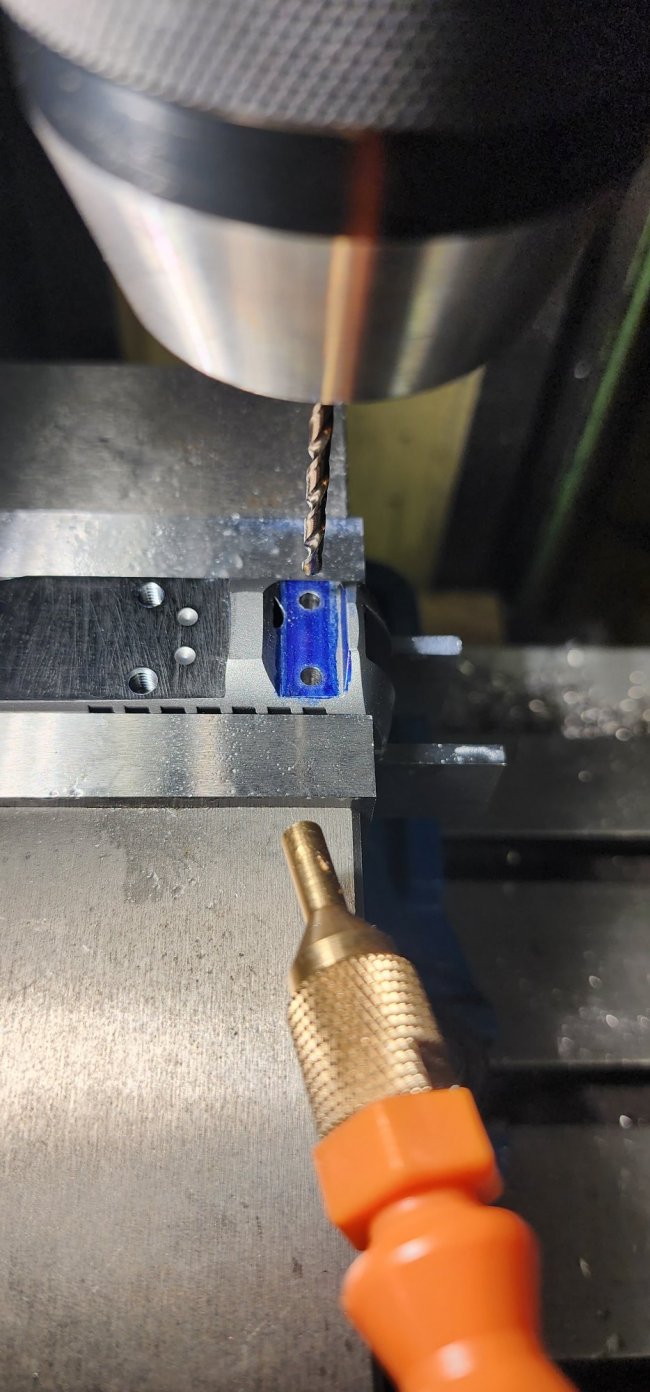
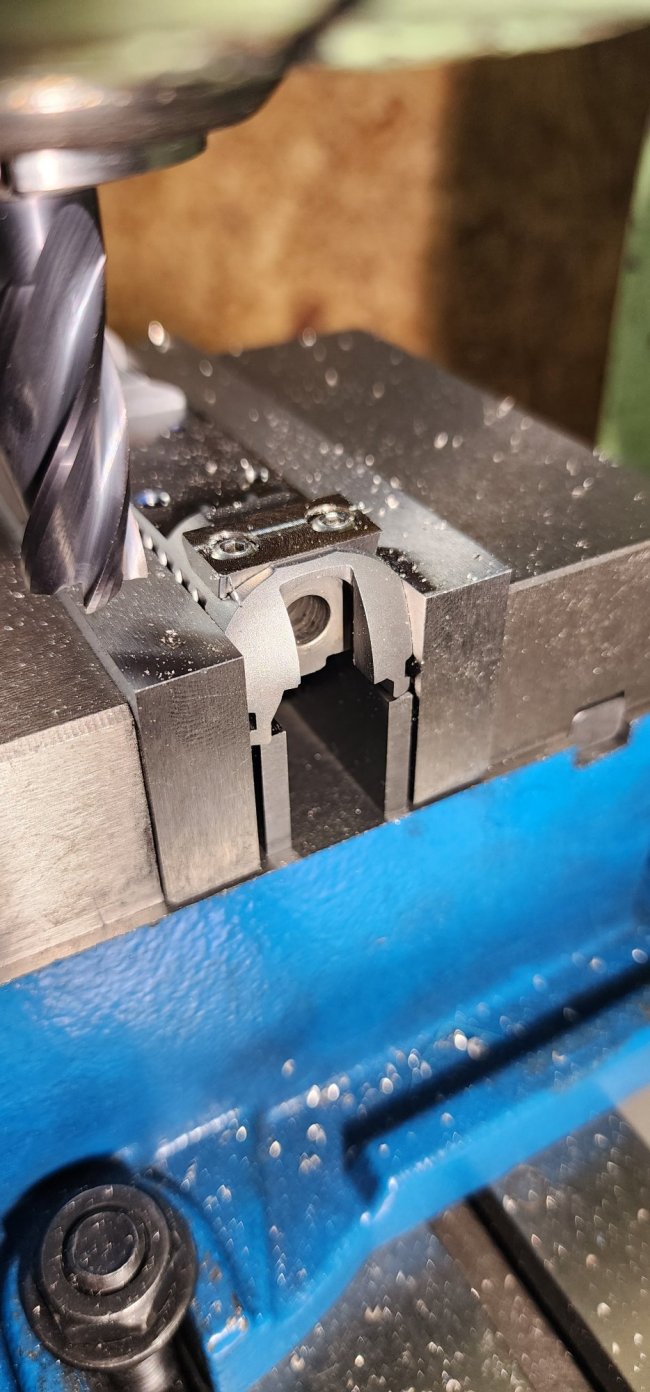
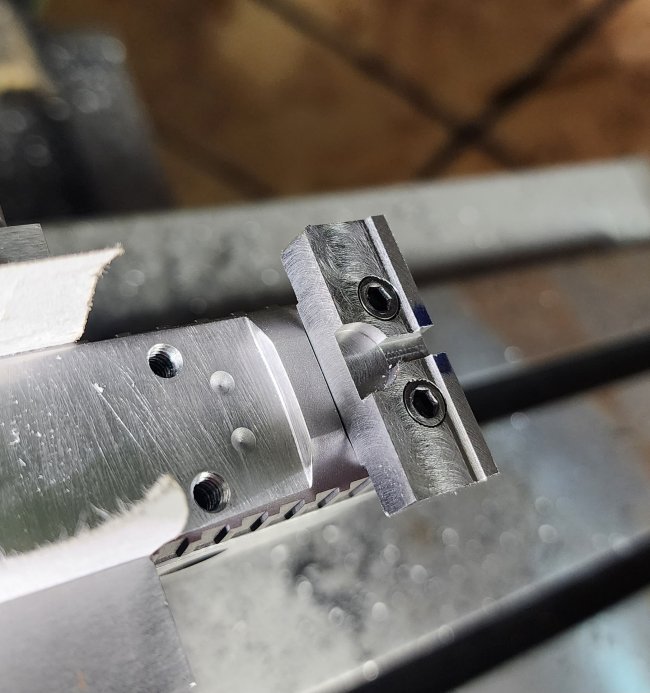
Time to drill and tap threads. Also pictured is my practice slide (1911). Threads are M4-0.7 and I used a new drill bit along with new taps. Stainless is not my friend, but it came out okay with no major issues.
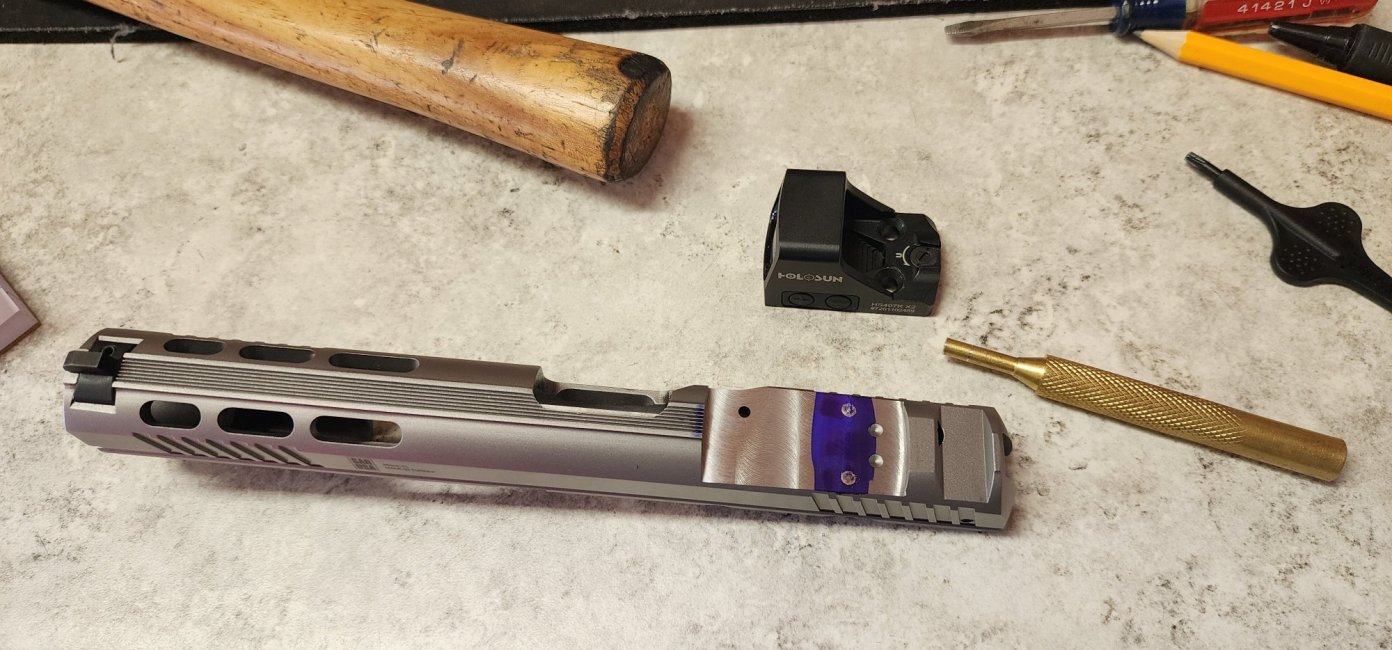
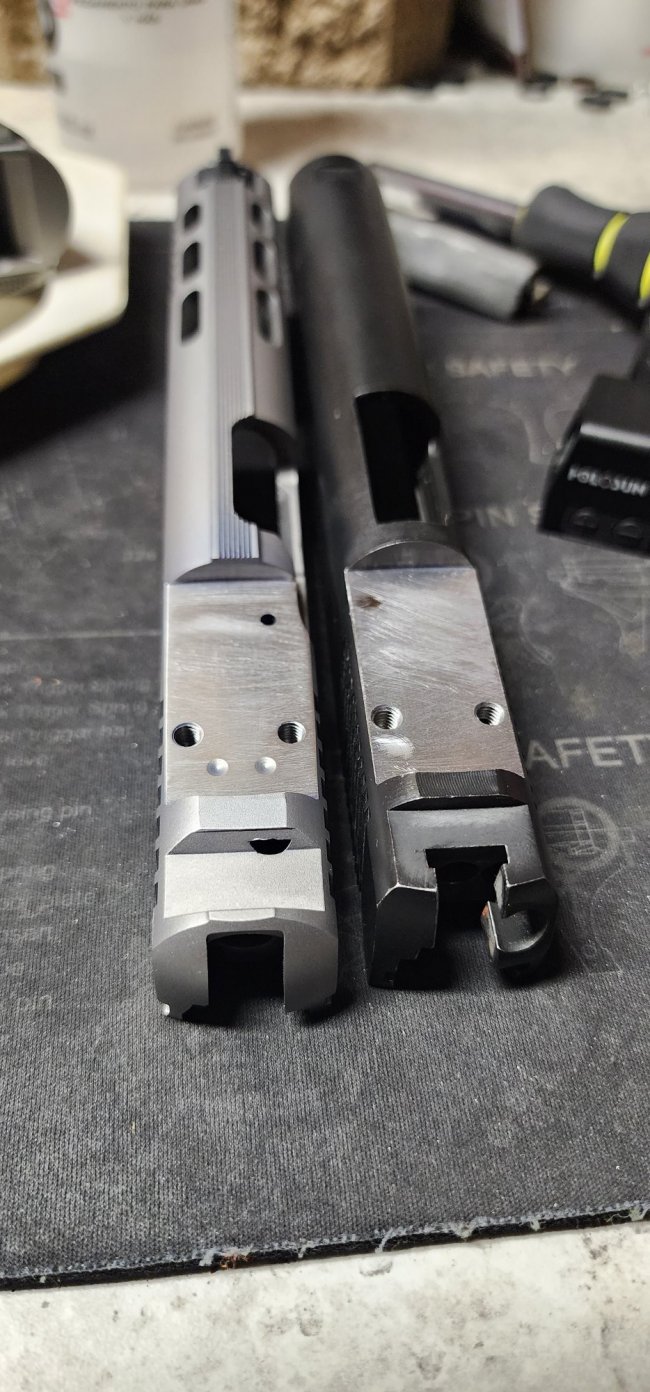
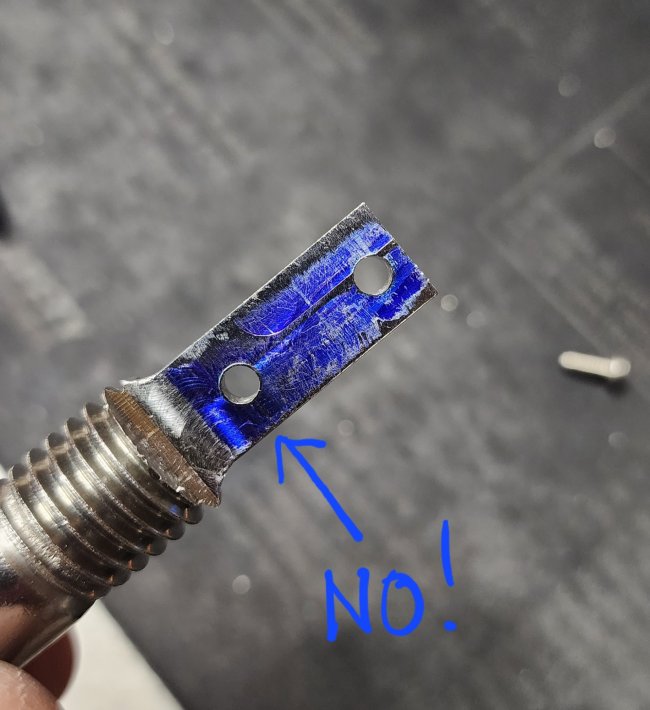
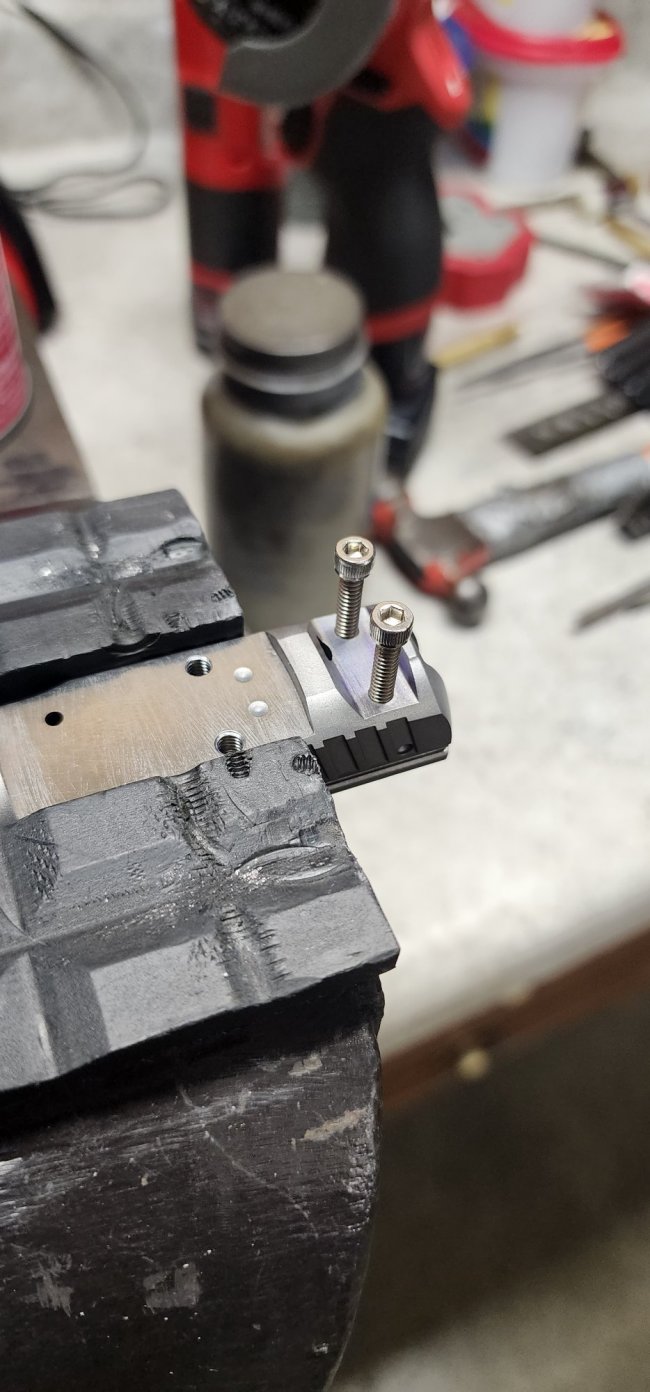
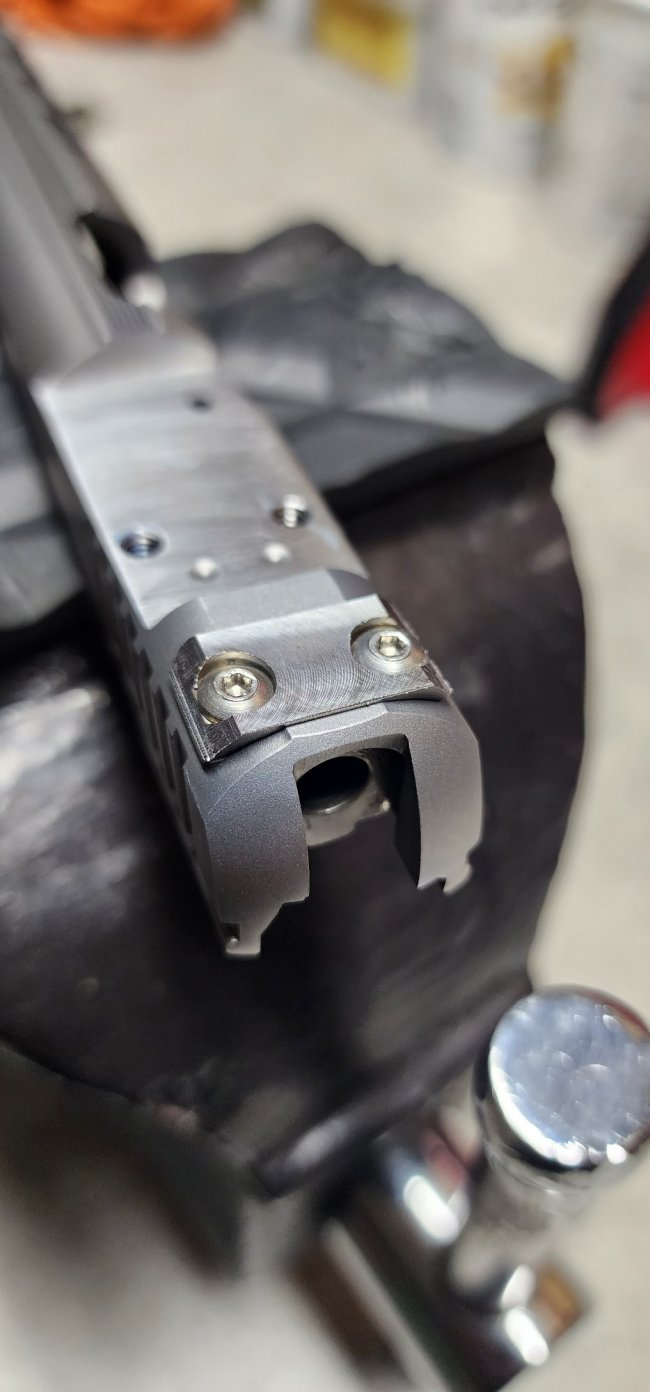
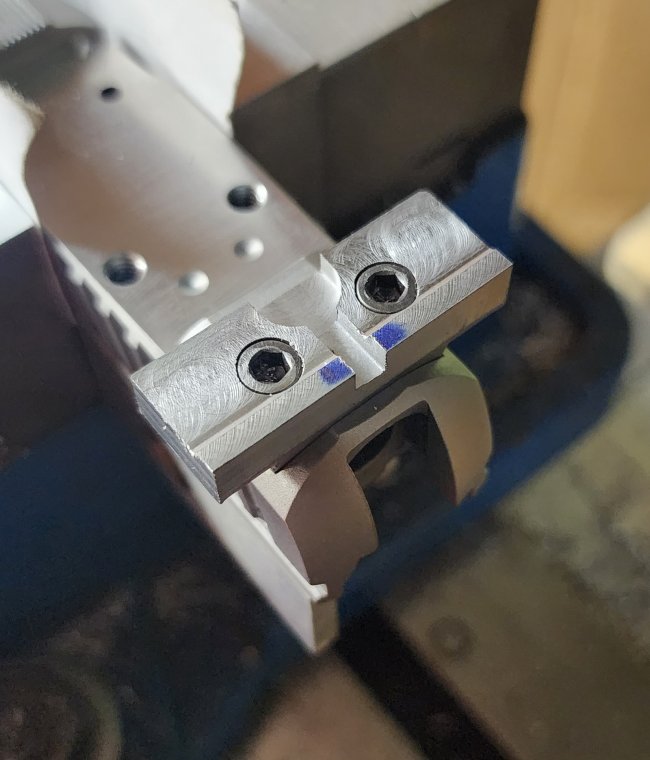
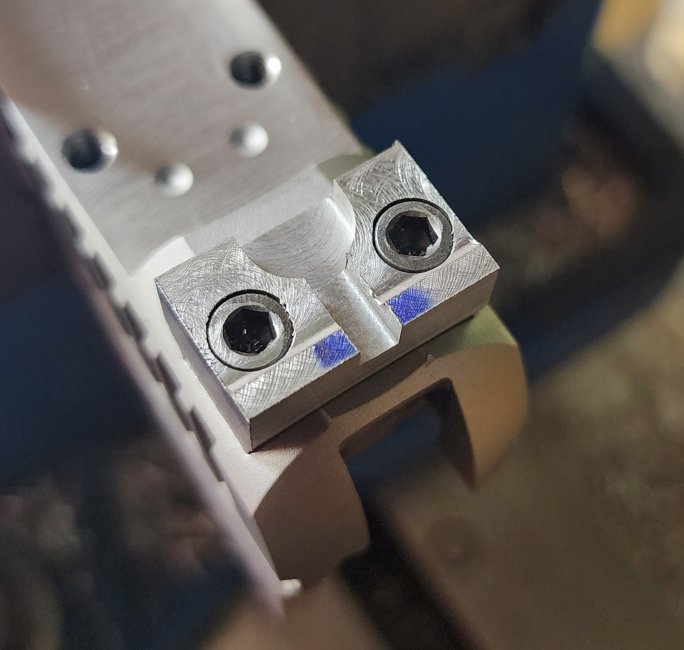
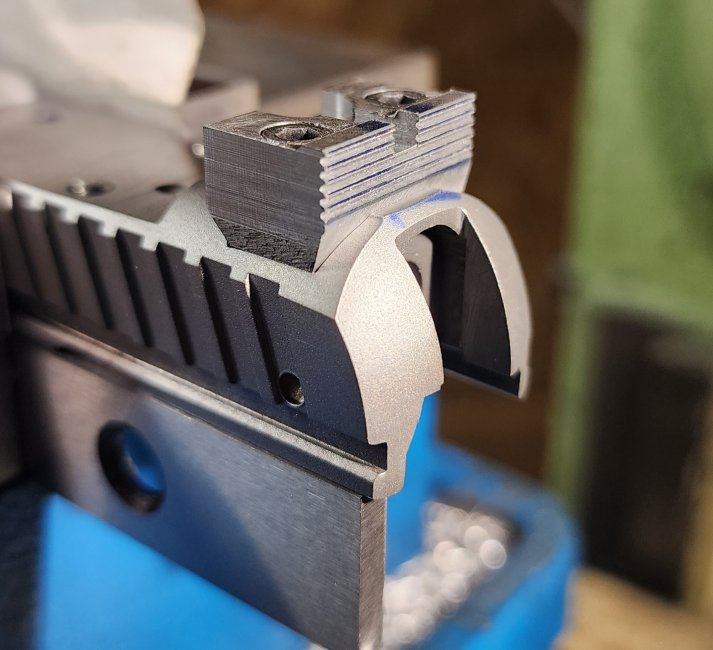
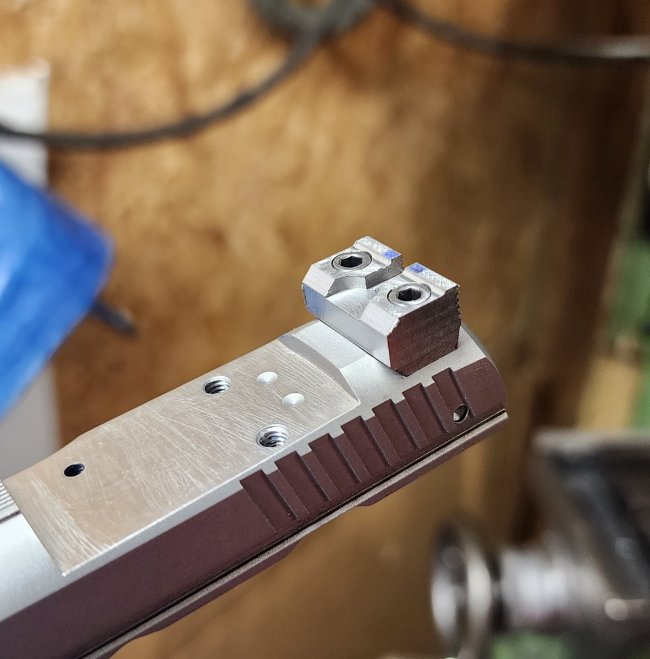
Red dot portion is completed. Had the front sight removed because I was going to make a dovetailed blank, but changed my mind and eventually put the original front sight back in place. Next chapter is dealing with the void left at the back of the slide,
Before pic. Factory black serrated iron sights, rear is an LPA adjustable for windage and elevation. Factory threaded barrel, Superstition Precision comp, polished internals, Galloway Precision reduced power spring kit. The gun is super fun to shoot (it's in 9mm).

Rear sight removed, measured up the location of the cut (had to be ahead of firing pin safety plunger). Pencil lines are just for a relative visual reference, not supposed to be 100% accurate. Notice the nice safety plunger peep hole that Sar leaves but is covered by the rear sight. More on that later.

Rotary table fun and the cutting begins. The 407K / 507K cut is a giant PITA on a manual lathe with a rotary table, because it has a radius cut on the front AND rear. By my measurements, the front was a 3" radius, and the rear was 2 3/8". This got a 1-degree angled cut due to the design of the gun (barrel is angled when in battery).


Checked for fitment, made it a little too tight and this cost me time with files and emory cloth. Also, having to flip the slide around for the 2nd radius gave me a slightly uneven cut, so I had to true it up with a flat file, which also took a lot of time (that was after I did the threads on next segment, just mentioning it now). I'm not a machinist, so the only thing I could think of, was that it's probably best to have this done on a CNC where the slide is mounted once and not flipped 180 in between cuts. I did my best with my current knowledge and equipment, but I'm also human and still learning this stuff as I go.

Time to drill and tap threads. Also pictured is my practice slide (1911). Threads are M4-0.7 and I used a new drill bit along with new taps. Stainless is not my friend, but it came out okay with no major issues.


Red dot portion is completed. Had the front sight removed because I was going to make a dovetailed blank, but changed my mind and eventually put the original front sight back in place. Next chapter is dealing with the void left at the back of the slide,


