

Stock Refinishing - The Process (a brief recap and tutorial - pic heavy)
I posted a thread a week or so ago about refinishing stocks to get some input. After reading a few posts here and reading a bunch of results from Googling the same topic I went to Walmart, got some supplies, and started my first re-finishing job. As promised, here is the process and progress.
The rifle in question is a Remington 700 in .270 winchester with Nikon ProStaff BDC glass.
I don't consider this a job well done. It was half learning process, half materials experimentation. On a 1 to 10 scale, the end result came out to about a 7 or maybe 8 in the right light. It was a fun experience though, and I learned quite a bit - especially considering this is the first time I've ever refinished anything.
I did end up with a more matte finish than gloss, which is what I wanted. Sorry the pictures suck, I'm terrible at photography.
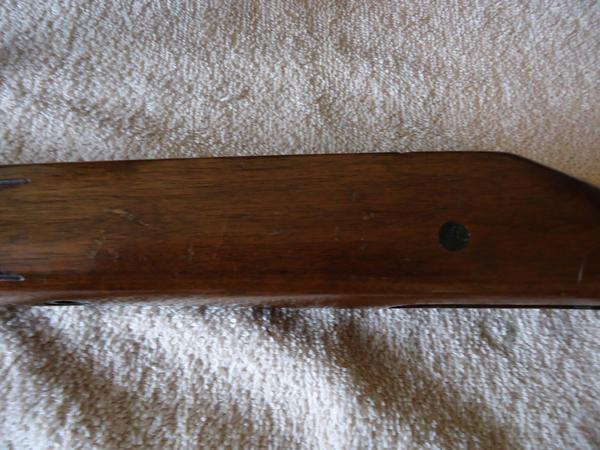
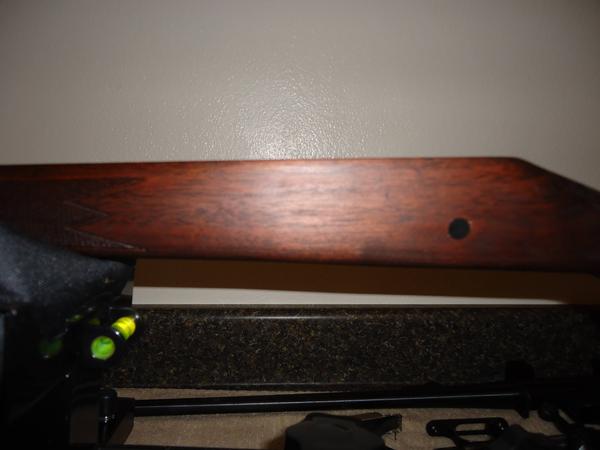
Original stock, and blemishes:

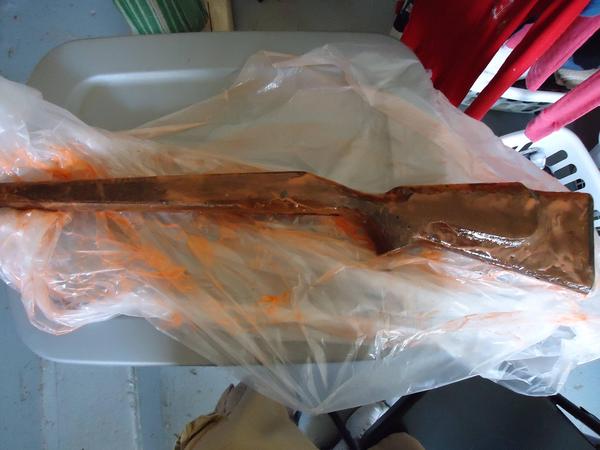
Sprayed with a stripping agent:
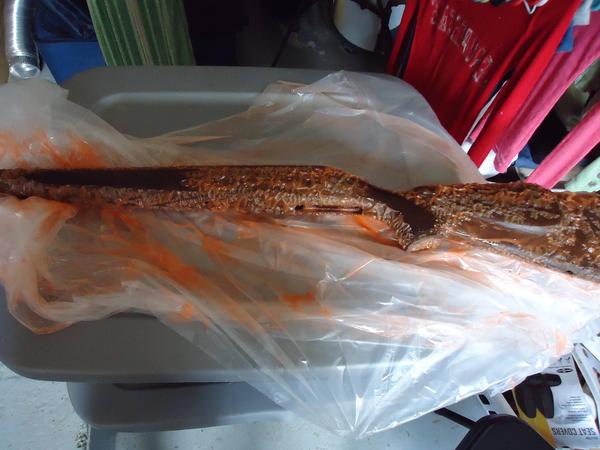
30 mins later - finish peeling off:
Bare wood, after stripping:
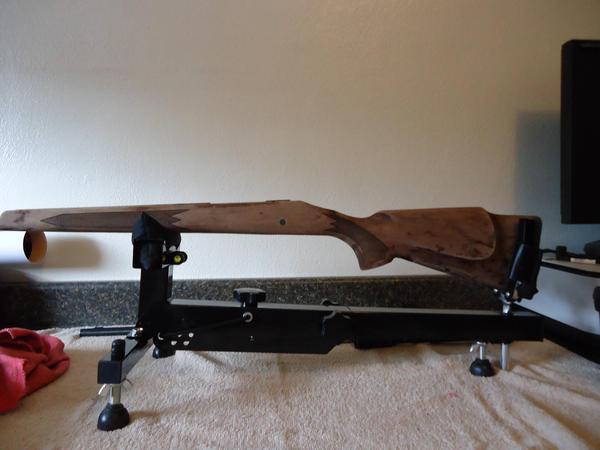
After some sanding:
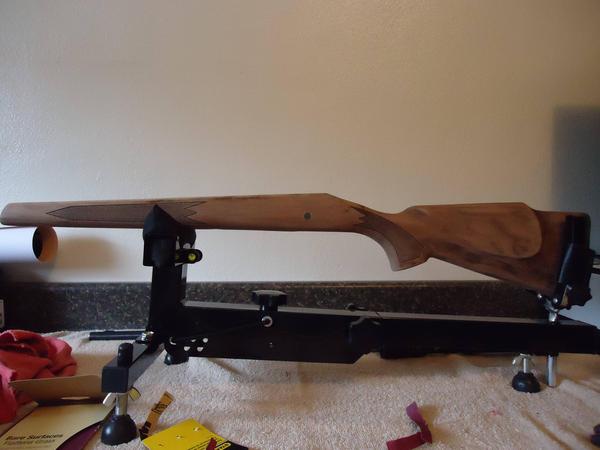
More Sanding:
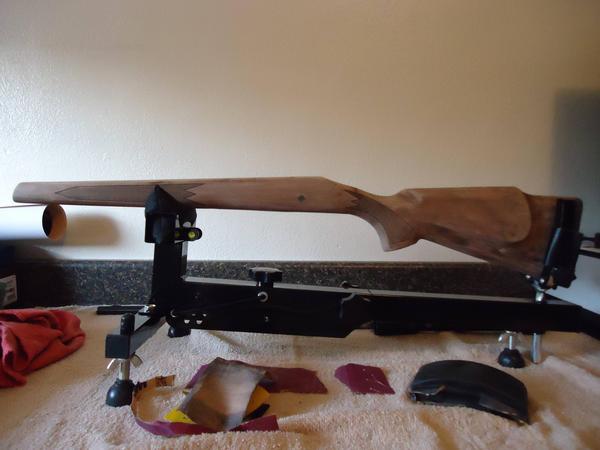
Washed with mineral spirits, then stained.:
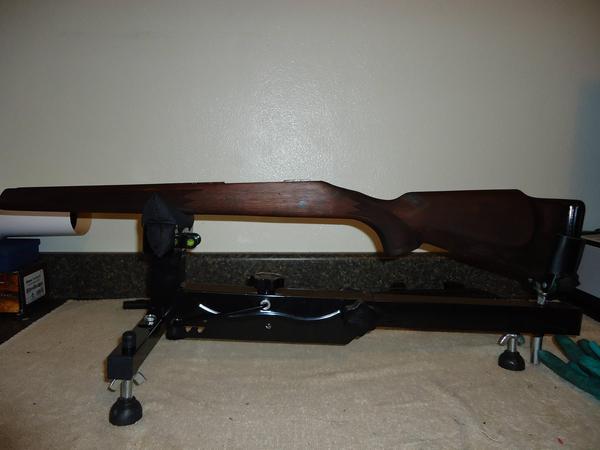
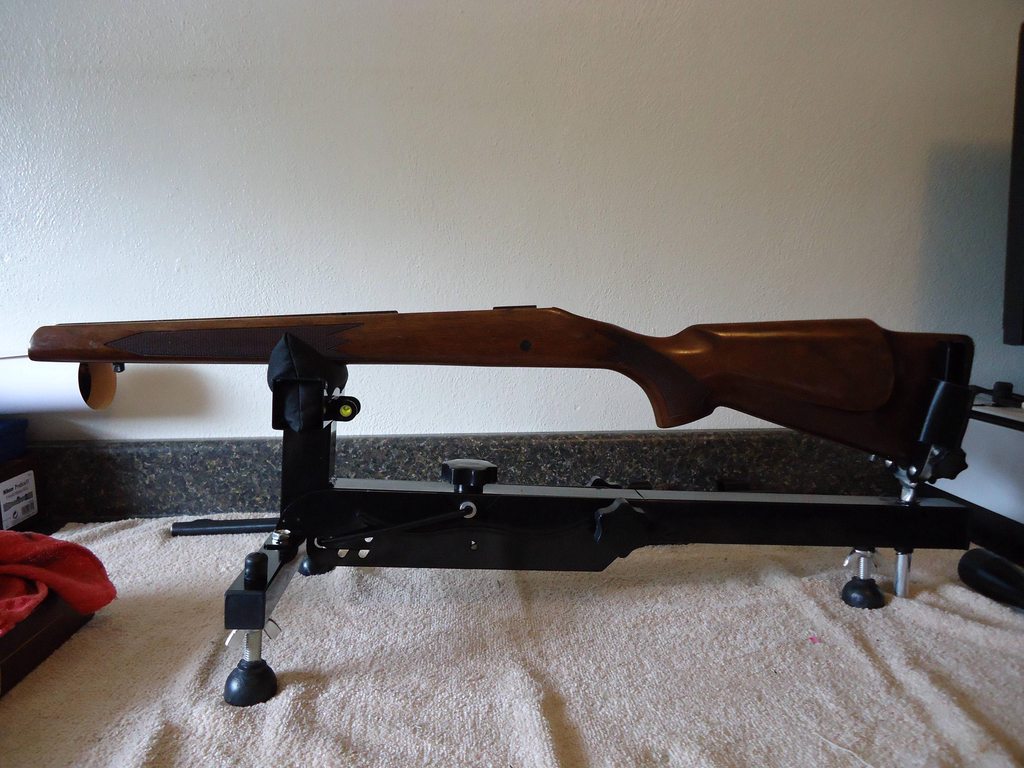
After 6 daily coats of hand-rubbed boiled linseed oil:


Products used:
Process Followed:
Lessons Learned:

I posted a thread a week or so ago about refinishing stocks to get some input. After reading a few posts here and reading a bunch of results from Googling the same topic I went to Walmart, got some supplies, and started my first re-finishing job. As promised, here is the process and progress.
The rifle in question is a Remington 700 in .270 winchester with Nikon ProStaff BDC glass.
I don't consider this a job well done. It was half learning process, half materials experimentation. On a 1 to 10 scale, the end result came out to about a 7 or maybe 8 in the right light. It was a fun experience though, and I learned quite a bit - especially considering this is the first time I've ever refinished anything.
I did end up with a more matte finish than gloss, which is what I wanted. Sorry the pictures suck, I'm terrible at photography.
Original stock, and blemishes:
Sprayed with a stripping agent:
30 mins later - finish peeling off:
Bare wood, after stripping:
After some sanding:
More Sanding:
Washed with mineral spirits, then stained.:
After 6 daily coats of hand-rubbed boiled linseed oil:
Products used:
- Sandpaper (150, 250, 350, 400 grits)
- Mineral Spirits
- Citristrip
- Stripping pad
- Min-wax wood finish stain & sealer.
- Boiled linseed oil
Process Followed:
- Strip with stripping agent, follow directions on can. Use stripping pad to rub off the rest.
- Sand with 3 or 4 grits, getting progressively more fine, cleaning thouroughly between each grit (wipe down with mineral spirits)
- Stain
- Rub in a coat of boiled linseed oil by hand, each day for a week.
Lessons Learned:
- Wear gloves. Stripping agents burn in cuts and scrapes.
- There is no such thing as too much sanding. I did about half as much sanding as I should have, this is why the coat is uneven in places.
- Use a VERY LIGHT coat of stain. Mine was sticky for days - I eventually had to rub it down with paint thinner and wash it in the tub to get enough excess off for it to dry properly.
- Get a lighter color than you think you need. I used Red Mahogany 225. I wanted a little more red and less brown, but ah well.
- This process takes time, patience pays off in the end.
Last edited:
")

