IndyGunworks
Grandmaster

DIY Steel Target Project *pics*
Ok, i have been meaning to post this for a while now and since my plans to shoot today got cancelled by mother nature here goes....
My goal was to make a SAFE steel shooting gallery, Redneckmedic gave me some steel railroad tie plates and they sat in my shop for a long time and a few weeks ago i finally decided to build it....
The idea was changed at least three or four times before redneck and i decided on a final game plan....
Parts
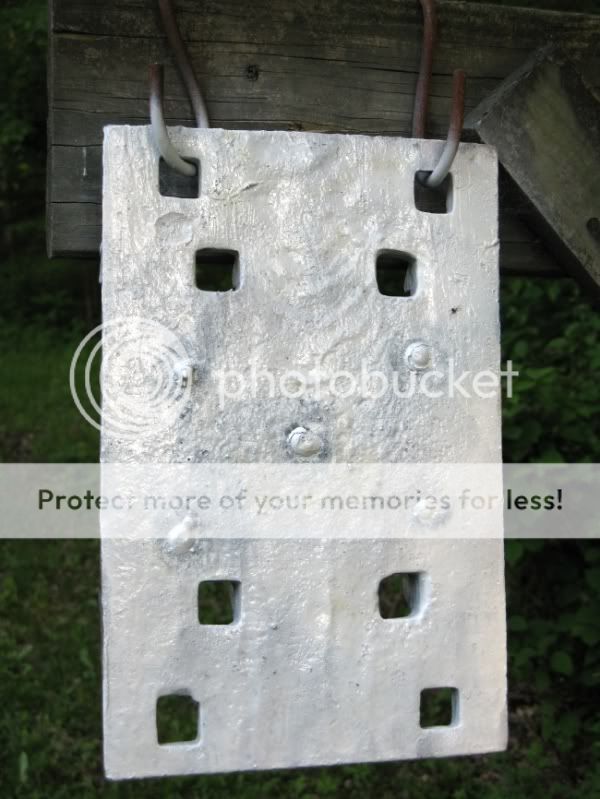
4 railroad tie plates
16 feet heavy duty logging chain
2 fence posts
1 80#back of quickcrete
2 2.5 feet sections of 3 inch PVC
2 5 gallon buckets
4 screws
4 Ibolts
4 washers
4 nuts
1 can spray paint
2 3inch steel pipes
water
We started by putting two screws going opposite directions at the bottom of the PVC this is to keep them from slipping out of the concrete once its cured. we mixed the concrete half the 80 pound bag in each and inserted the PVC pipe centered it and left it to cure...
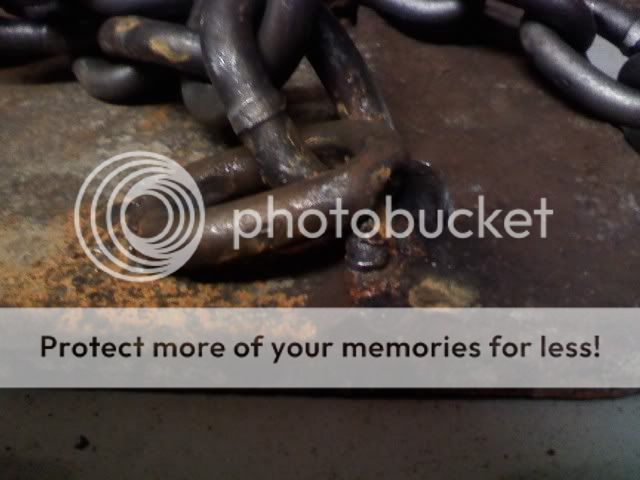
while it was curing we cut the chain into 8 two foot sections and welded two lengths of chain to the back of the railroad tie plates at an angle that would deflect the bullet downwards.
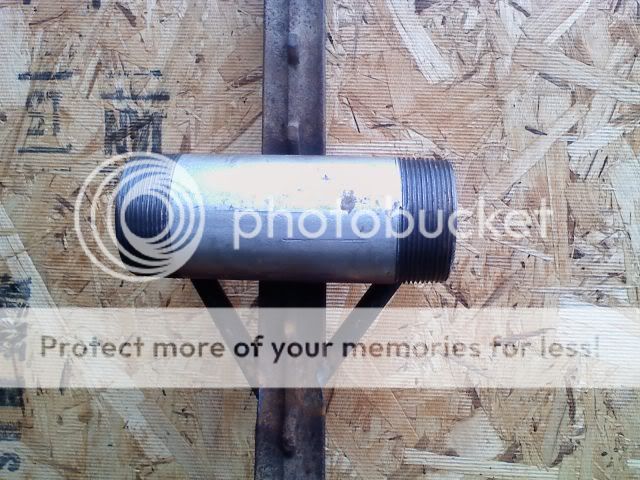
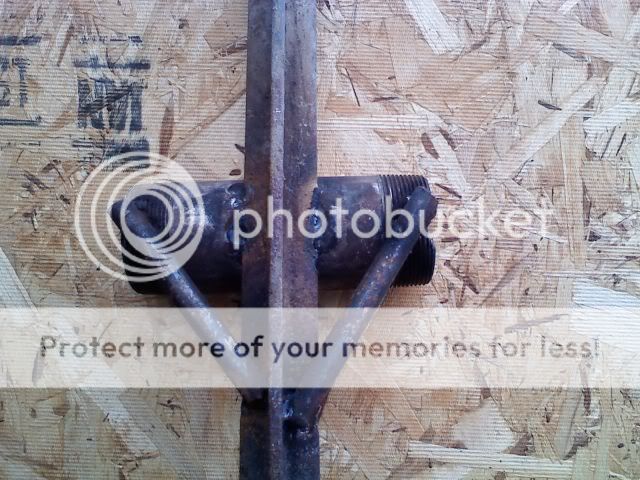
next we welded the two three inch pipes onto the two fence posts which will allow me to slide the cross bar through allowing this to be completely taken down and transported in the back of my pick up truck.
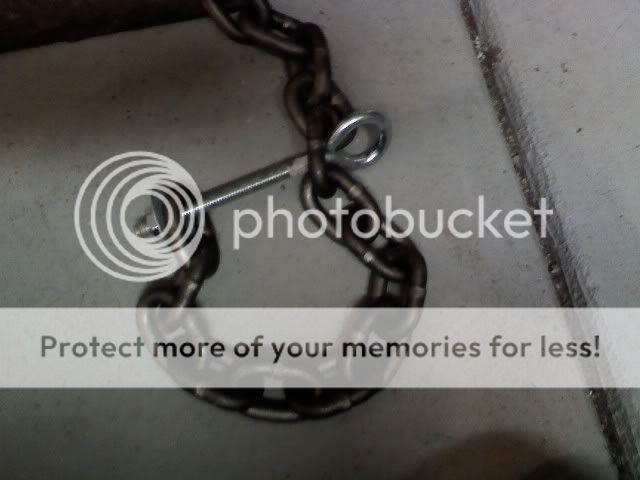
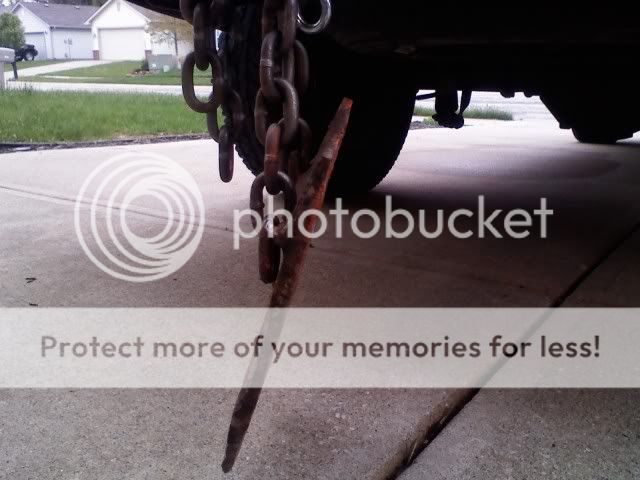
the two uprights slide into the pvc in the concrete weighted buckets and the cross bar slides through the pipe in the uprights... then with the ibolts and hard wear you attach the targets by wrapping the chain around the cross bar and bolting the chain onto itself... an added bonus is you can change the heigth of the targets making it even more challenging to shoot fast. this is how the plates attach to the cross bar
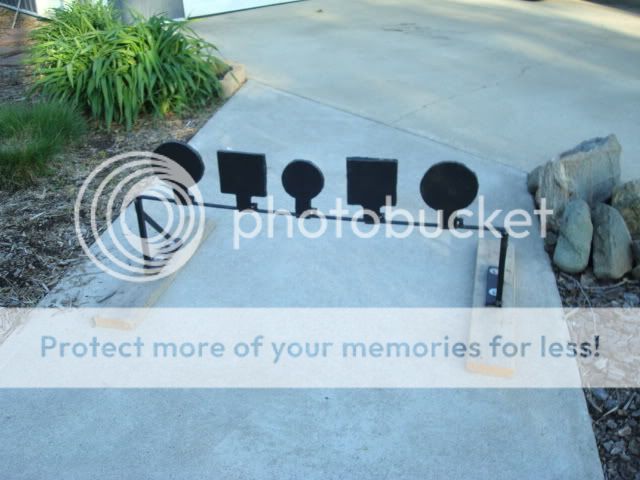
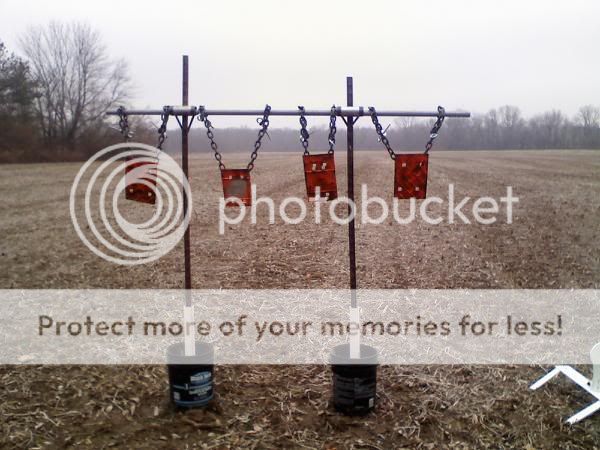
spray paint the targets the color of your choice and blast away... this is what it looks like assembled.
we ran into one issue... when we first started shooting it one of the welds broke and a target was hanging by only one length of chain... we still shot it and we rewelded it and have not had any problems with it since...
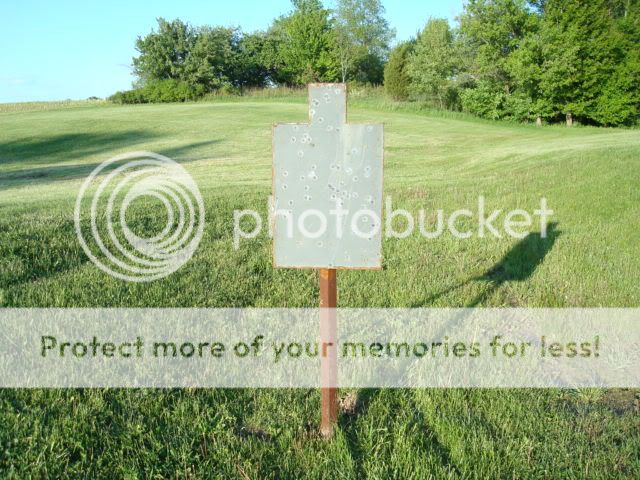
safety was a huge concern and all PPE was worn as it should be, but i am happy to say that ALL of the bullets were completely destroyed and you could see speckles in the mud below the target from where the bullet fragments were deflected downwards... we experienced NO splashback at all.
The target did fall over once but i attribute that to the really muddy field we had it set up in... it wasnt level and we used rocks to level out the 5 gallon buckets and over time they sank into the mud allowing it to fall... i would reccomend 60-80 pounds of concrete per bucket instead of the 40 i used.. i may add more if it continutes to be a problem...
this will handle any hand gun caliber you want to throw at it. I dont think it would stand up to centerfire rifle calibers though given that the steel railroad ties are pretty soft metal and had been rusting for years and years...
total time investment 1 day maybe 5 hours...
$$$ investment was 78 dollars... i bought the chain PVC metal pipe hardware and concrete... the 5 gallon buckets railroad tie plates and fence posts were all free but can be purchased for not much cost... this project could easily be built for less than 100 dollars if you can find the railroad tie plates.
Ok, i have been meaning to post this for a while now and since my plans to shoot today got cancelled by mother nature here goes....
My goal was to make a SAFE steel shooting gallery, Redneckmedic gave me some steel railroad tie plates and they sat in my shop for a long time and a few weeks ago i finally decided to build it....
The idea was changed at least three or four times before redneck and i decided on a final game plan....
Parts
4 railroad tie plates
16 feet heavy duty logging chain
2 fence posts
1 80#back of quickcrete
2 2.5 feet sections of 3 inch PVC
2 5 gallon buckets
4 screws
4 Ibolts
4 washers
4 nuts
1 can spray paint
2 3inch steel pipes
water
We started by putting two screws going opposite directions at the bottom of the PVC this is to keep them from slipping out of the concrete once its cured. we mixed the concrete half the 80 pound bag in each and inserted the PVC pipe centered it and left it to cure...
while it was curing we cut the chain into 8 two foot sections and welded two lengths of chain to the back of the railroad tie plates at an angle that would deflect the bullet downwards.
next we welded the two three inch pipes onto the two fence posts which will allow me to slide the cross bar through allowing this to be completely taken down and transported in the back of my pick up truck.
the two uprights slide into the pvc in the concrete weighted buckets and the cross bar slides through the pipe in the uprights... then with the ibolts and hard wear you attach the targets by wrapping the chain around the cross bar and bolting the chain onto itself... an added bonus is you can change the heigth of the targets making it even more challenging to shoot fast. this is how the plates attach to the cross bar
spray paint the targets the color of your choice and blast away... this is what it looks like assembled.
we ran into one issue... when we first started shooting it one of the welds broke and a target was hanging by only one length of chain... we still shot it and we rewelded it and have not had any problems with it since...
safety was a huge concern and all PPE was worn as it should be, but i am happy to say that ALL of the bullets were completely destroyed and you could see speckles in the mud below the target from where the bullet fragments were deflected downwards... we experienced NO splashback at all.
The target did fall over once but i attribute that to the really muddy field we had it set up in... it wasnt level and we used rocks to level out the 5 gallon buckets and over time they sank into the mud allowing it to fall... i would reccomend 60-80 pounds of concrete per bucket instead of the 40 i used.. i may add more if it continutes to be a problem...
this will handle any hand gun caliber you want to throw at it. I dont think it would stand up to centerfire rifle calibers though given that the steel railroad ties are pretty soft metal and had been rusting for years and years...
total time investment 1 day maybe 5 hours...
$$$ investment was 78 dollars... i bought the chain PVC metal pipe hardware and concrete... the 5 gallon buckets railroad tie plates and fence posts were all free but can be purchased for not much cost... this project could easily be built for less than 100 dollars if you can find the railroad tie plates.
Last edited:


")