SPFD 1911 GI SS Project

The #1 community for Gun Owners in Indiana

Member Benefits:

  • Fewer Ads!
  • Discuss all aspects of firearm ownership
  • Discuss anti-gun legislation
  • Buy, sell, and trade in the classified section
  • Chat with Local gun shops, ranges, trainers & other businesses
  • Discover free outdoor shooting areas
  • View up to date on firearm-related events
  • Share photos & video with other members
  • ...and so much more!
  • drillsgt

    Grandmaster
    Rating - 100%
    108   0   0
    Nov 29, 2009
    9,637
    149
    Sioux Falls, SD
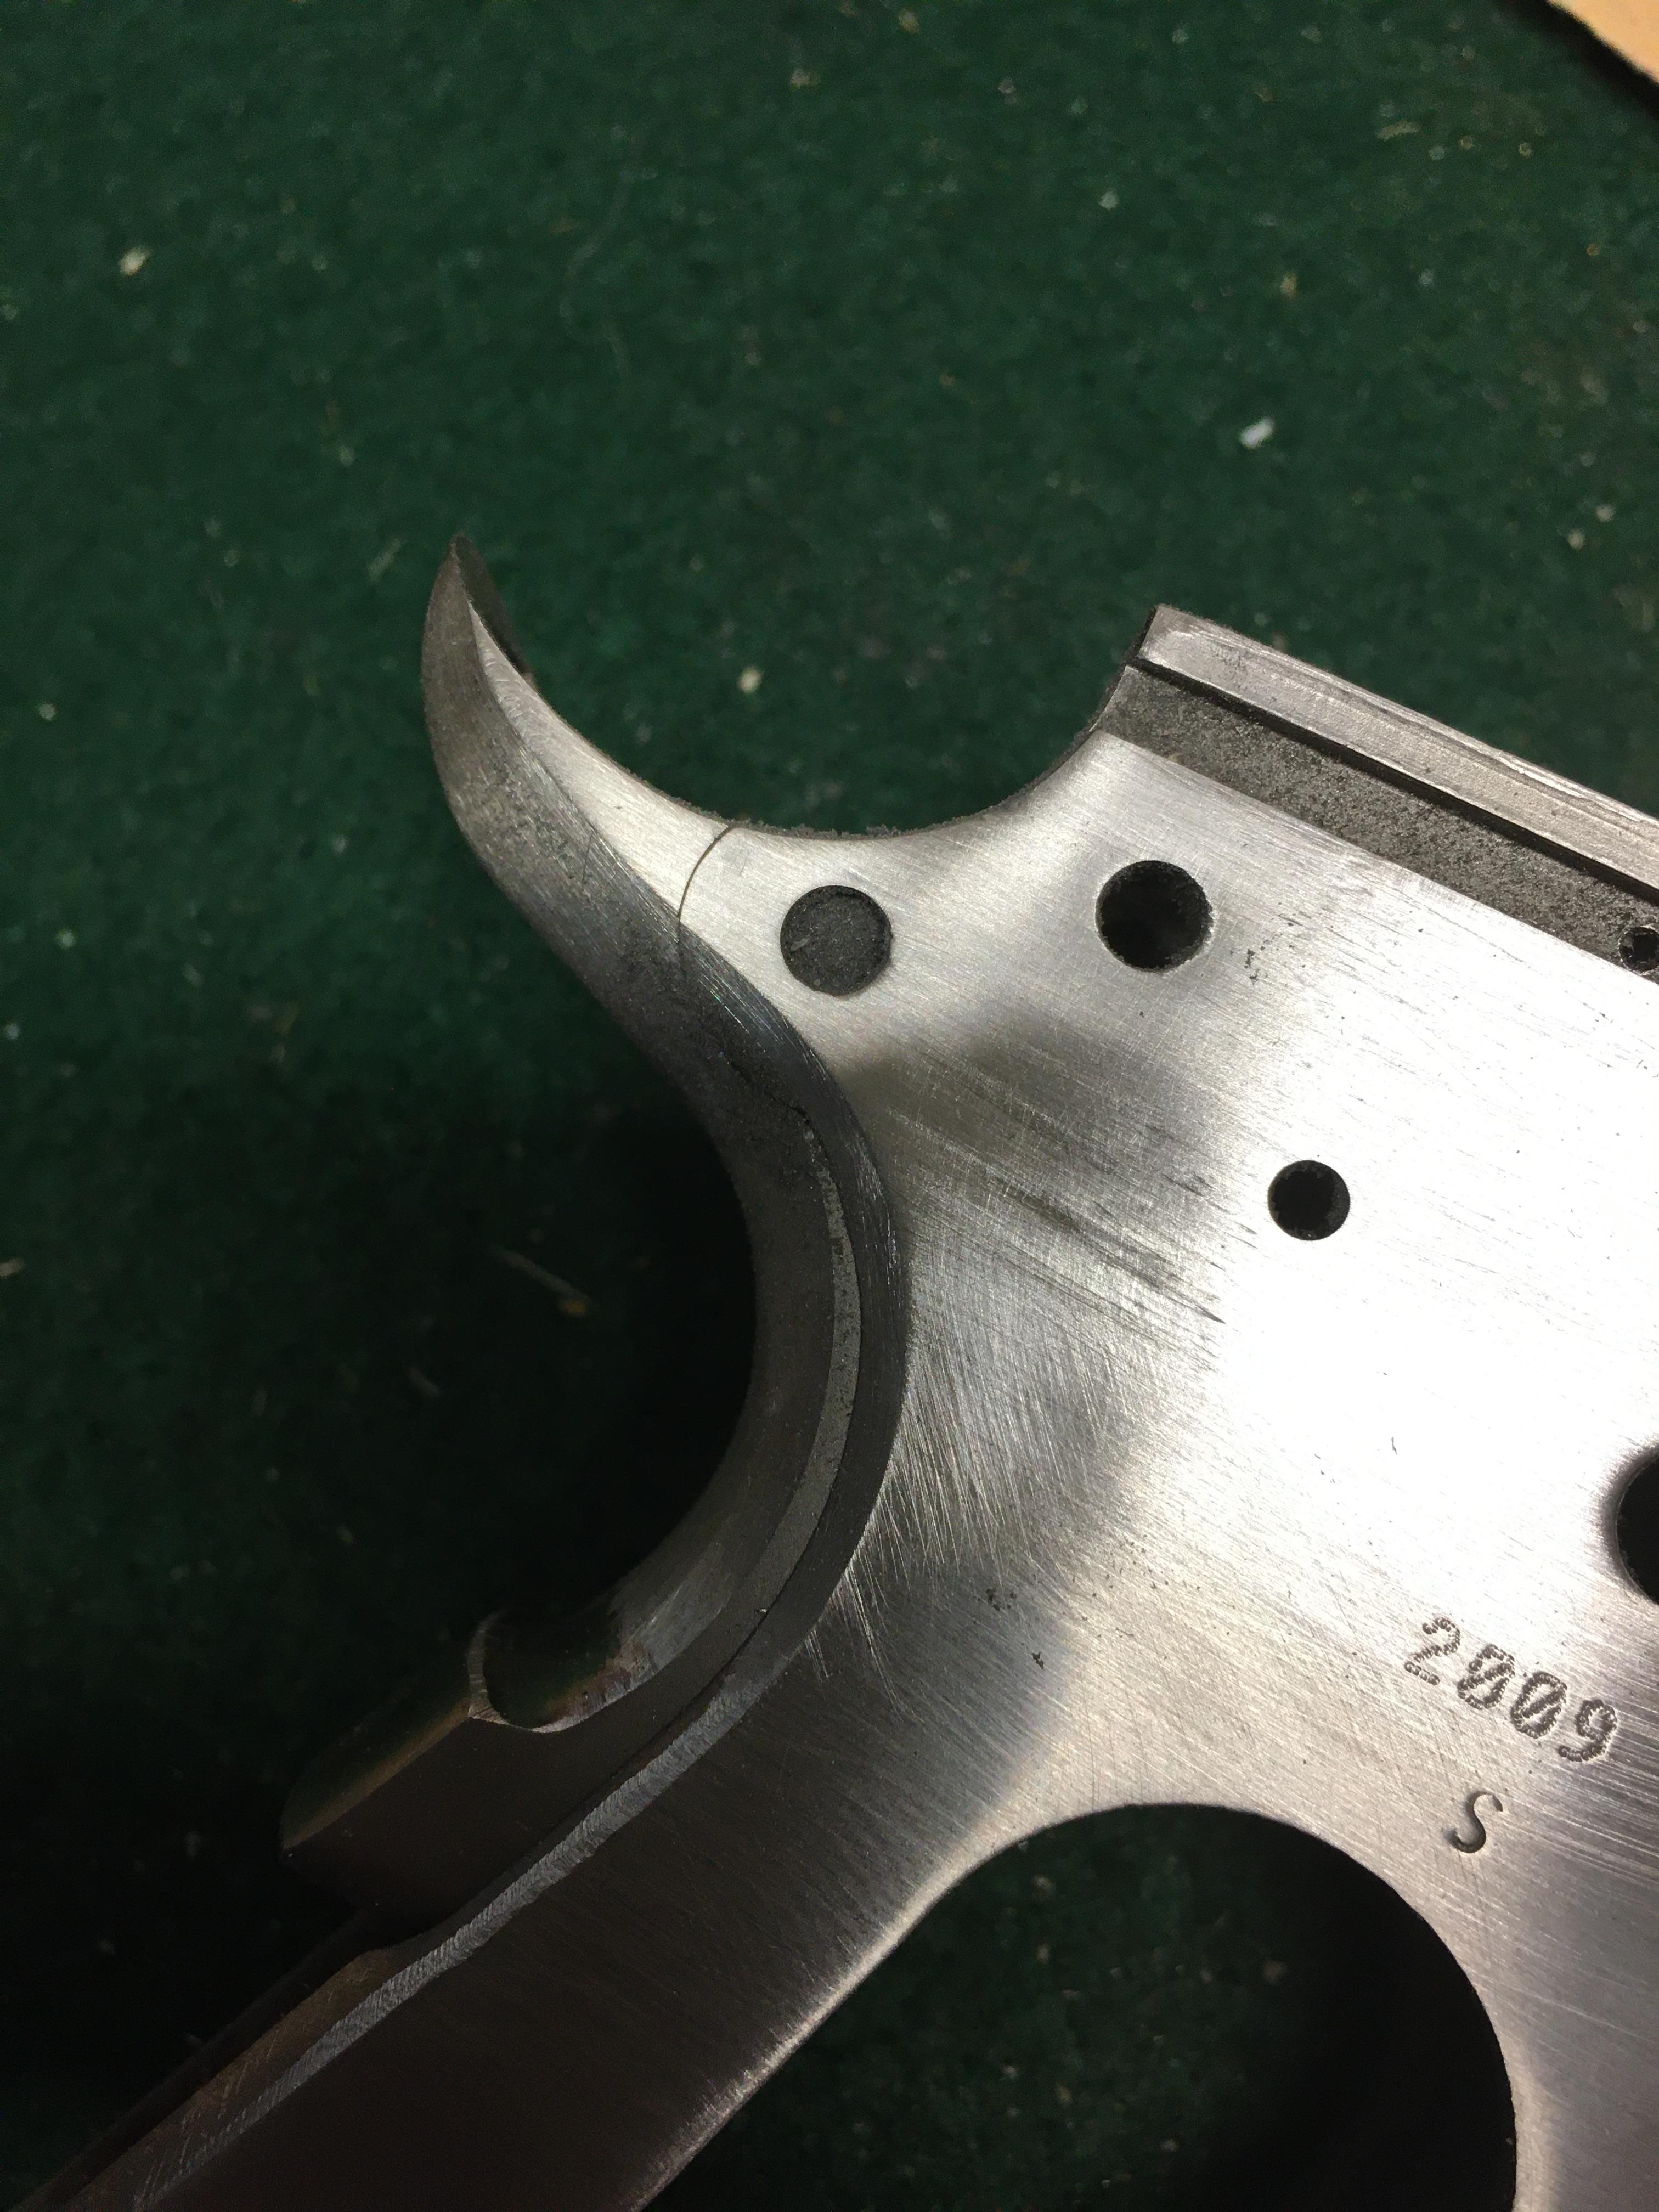
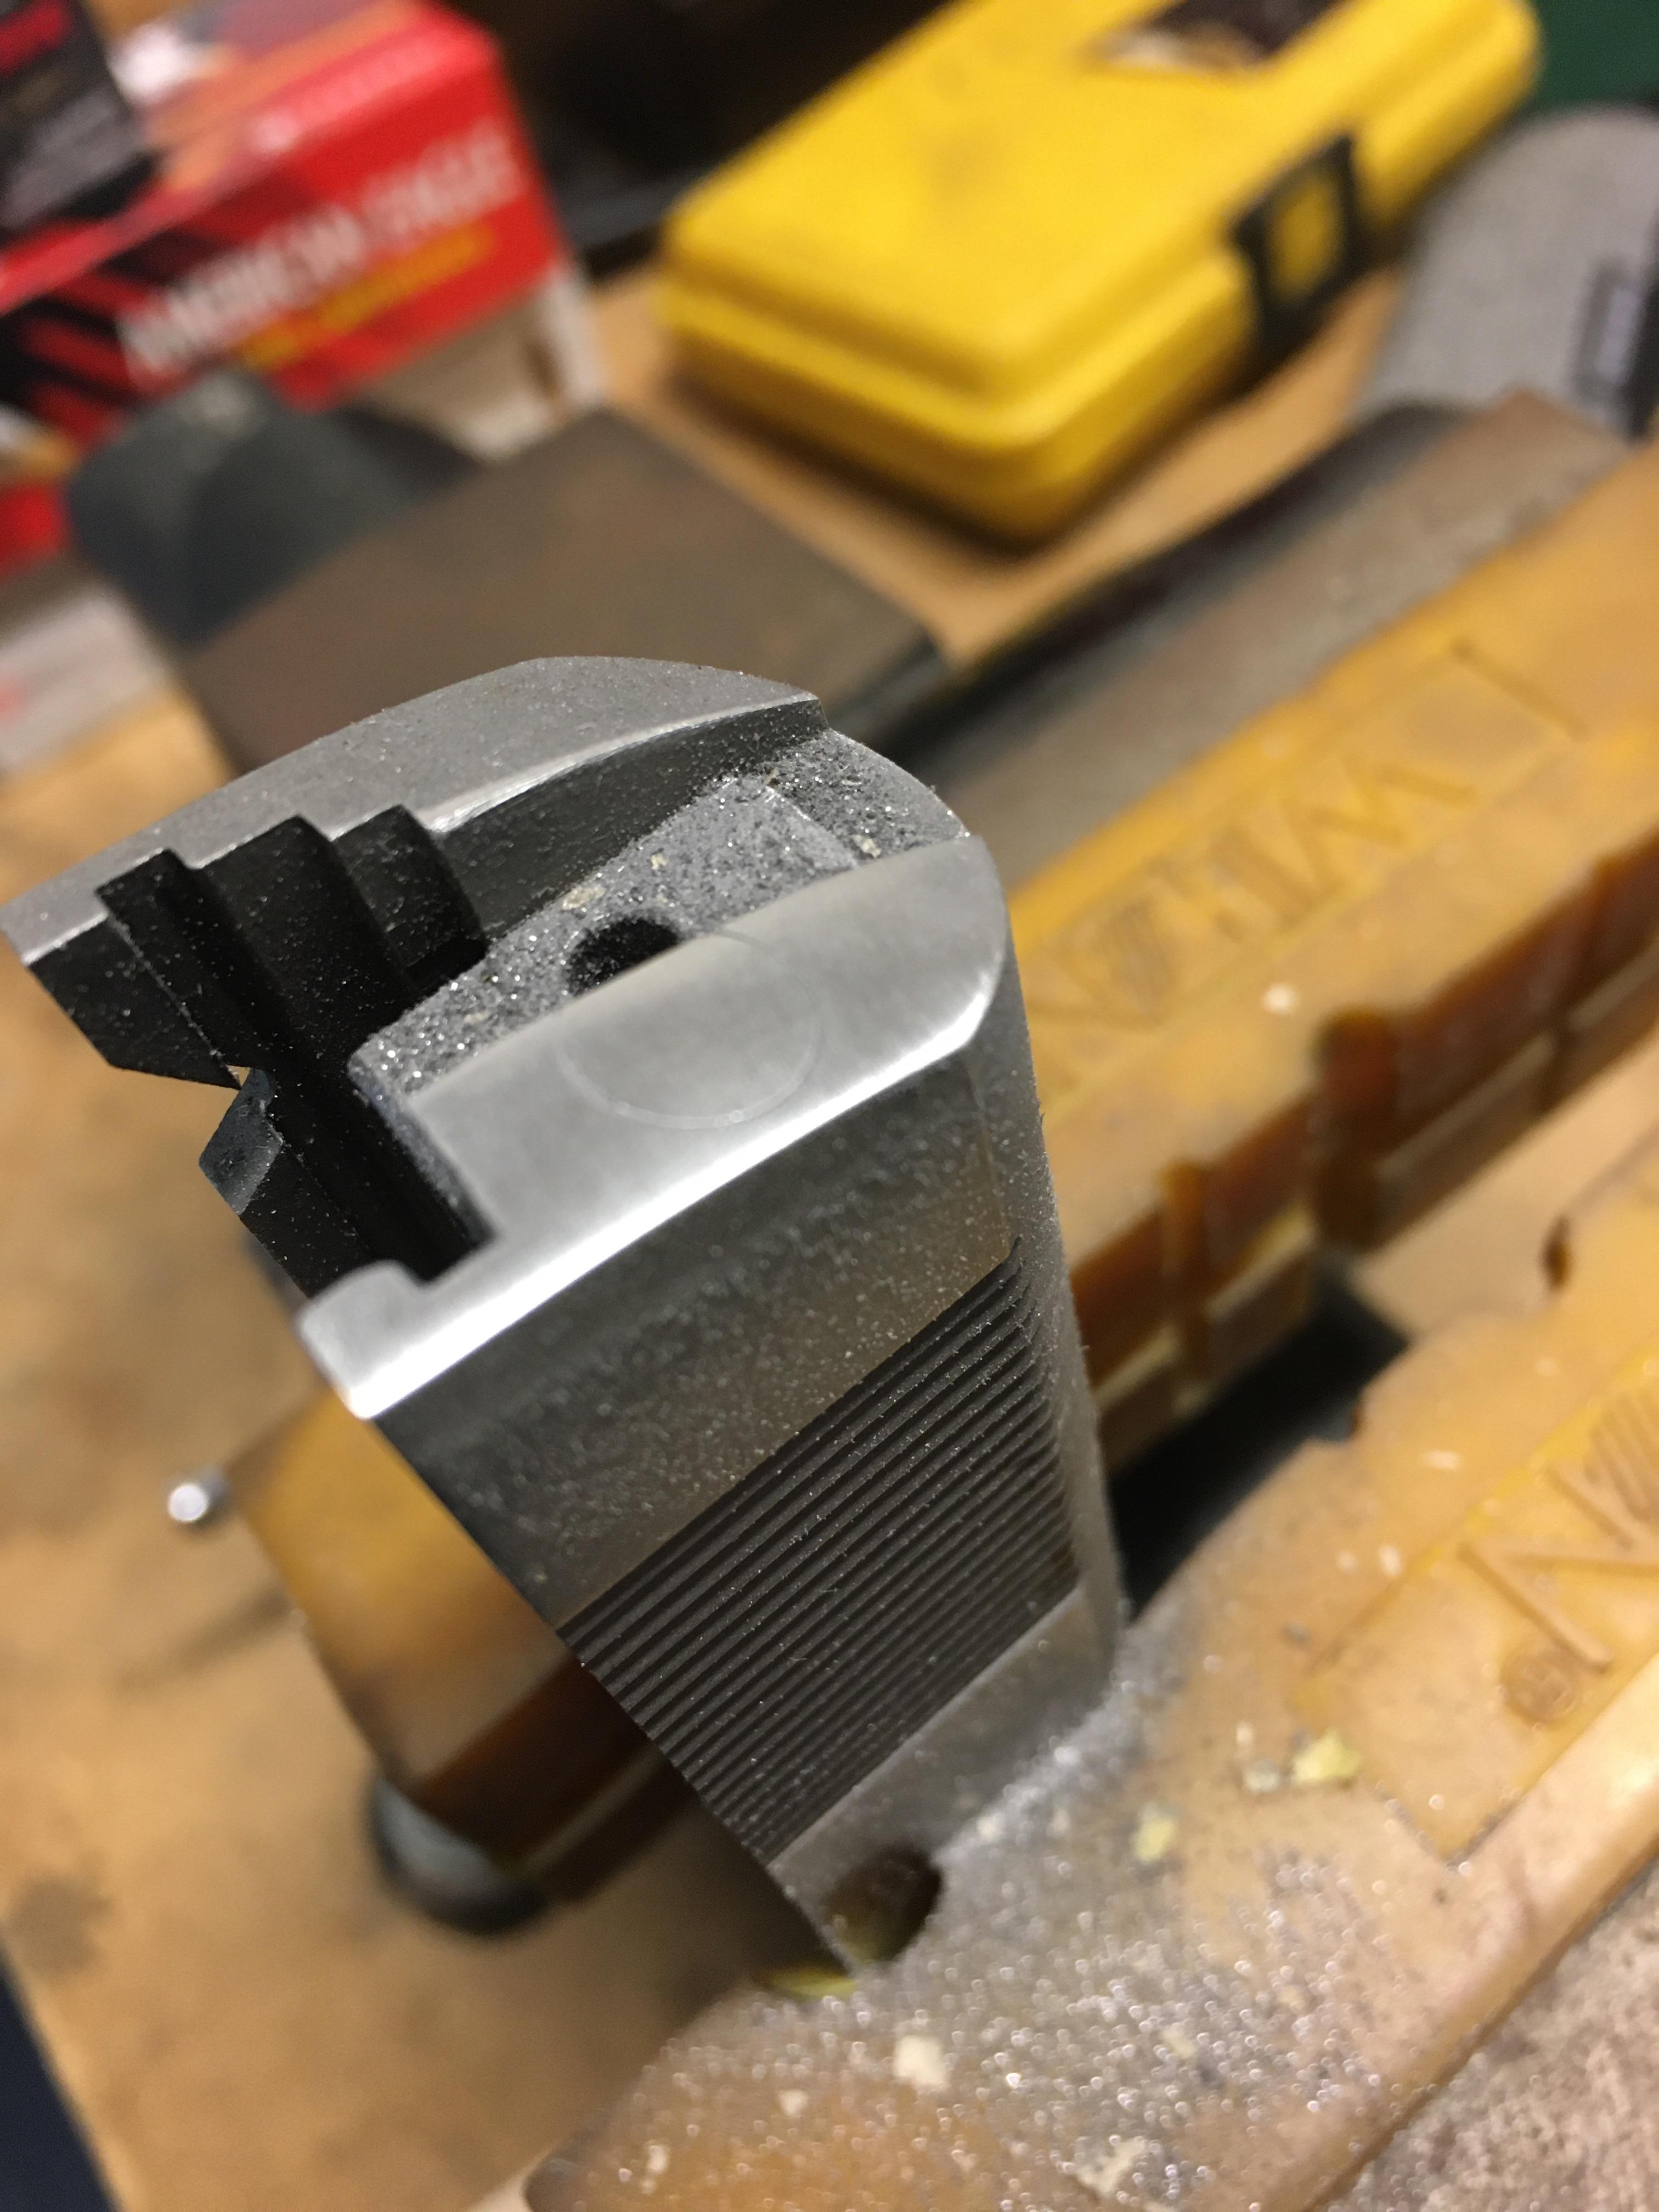
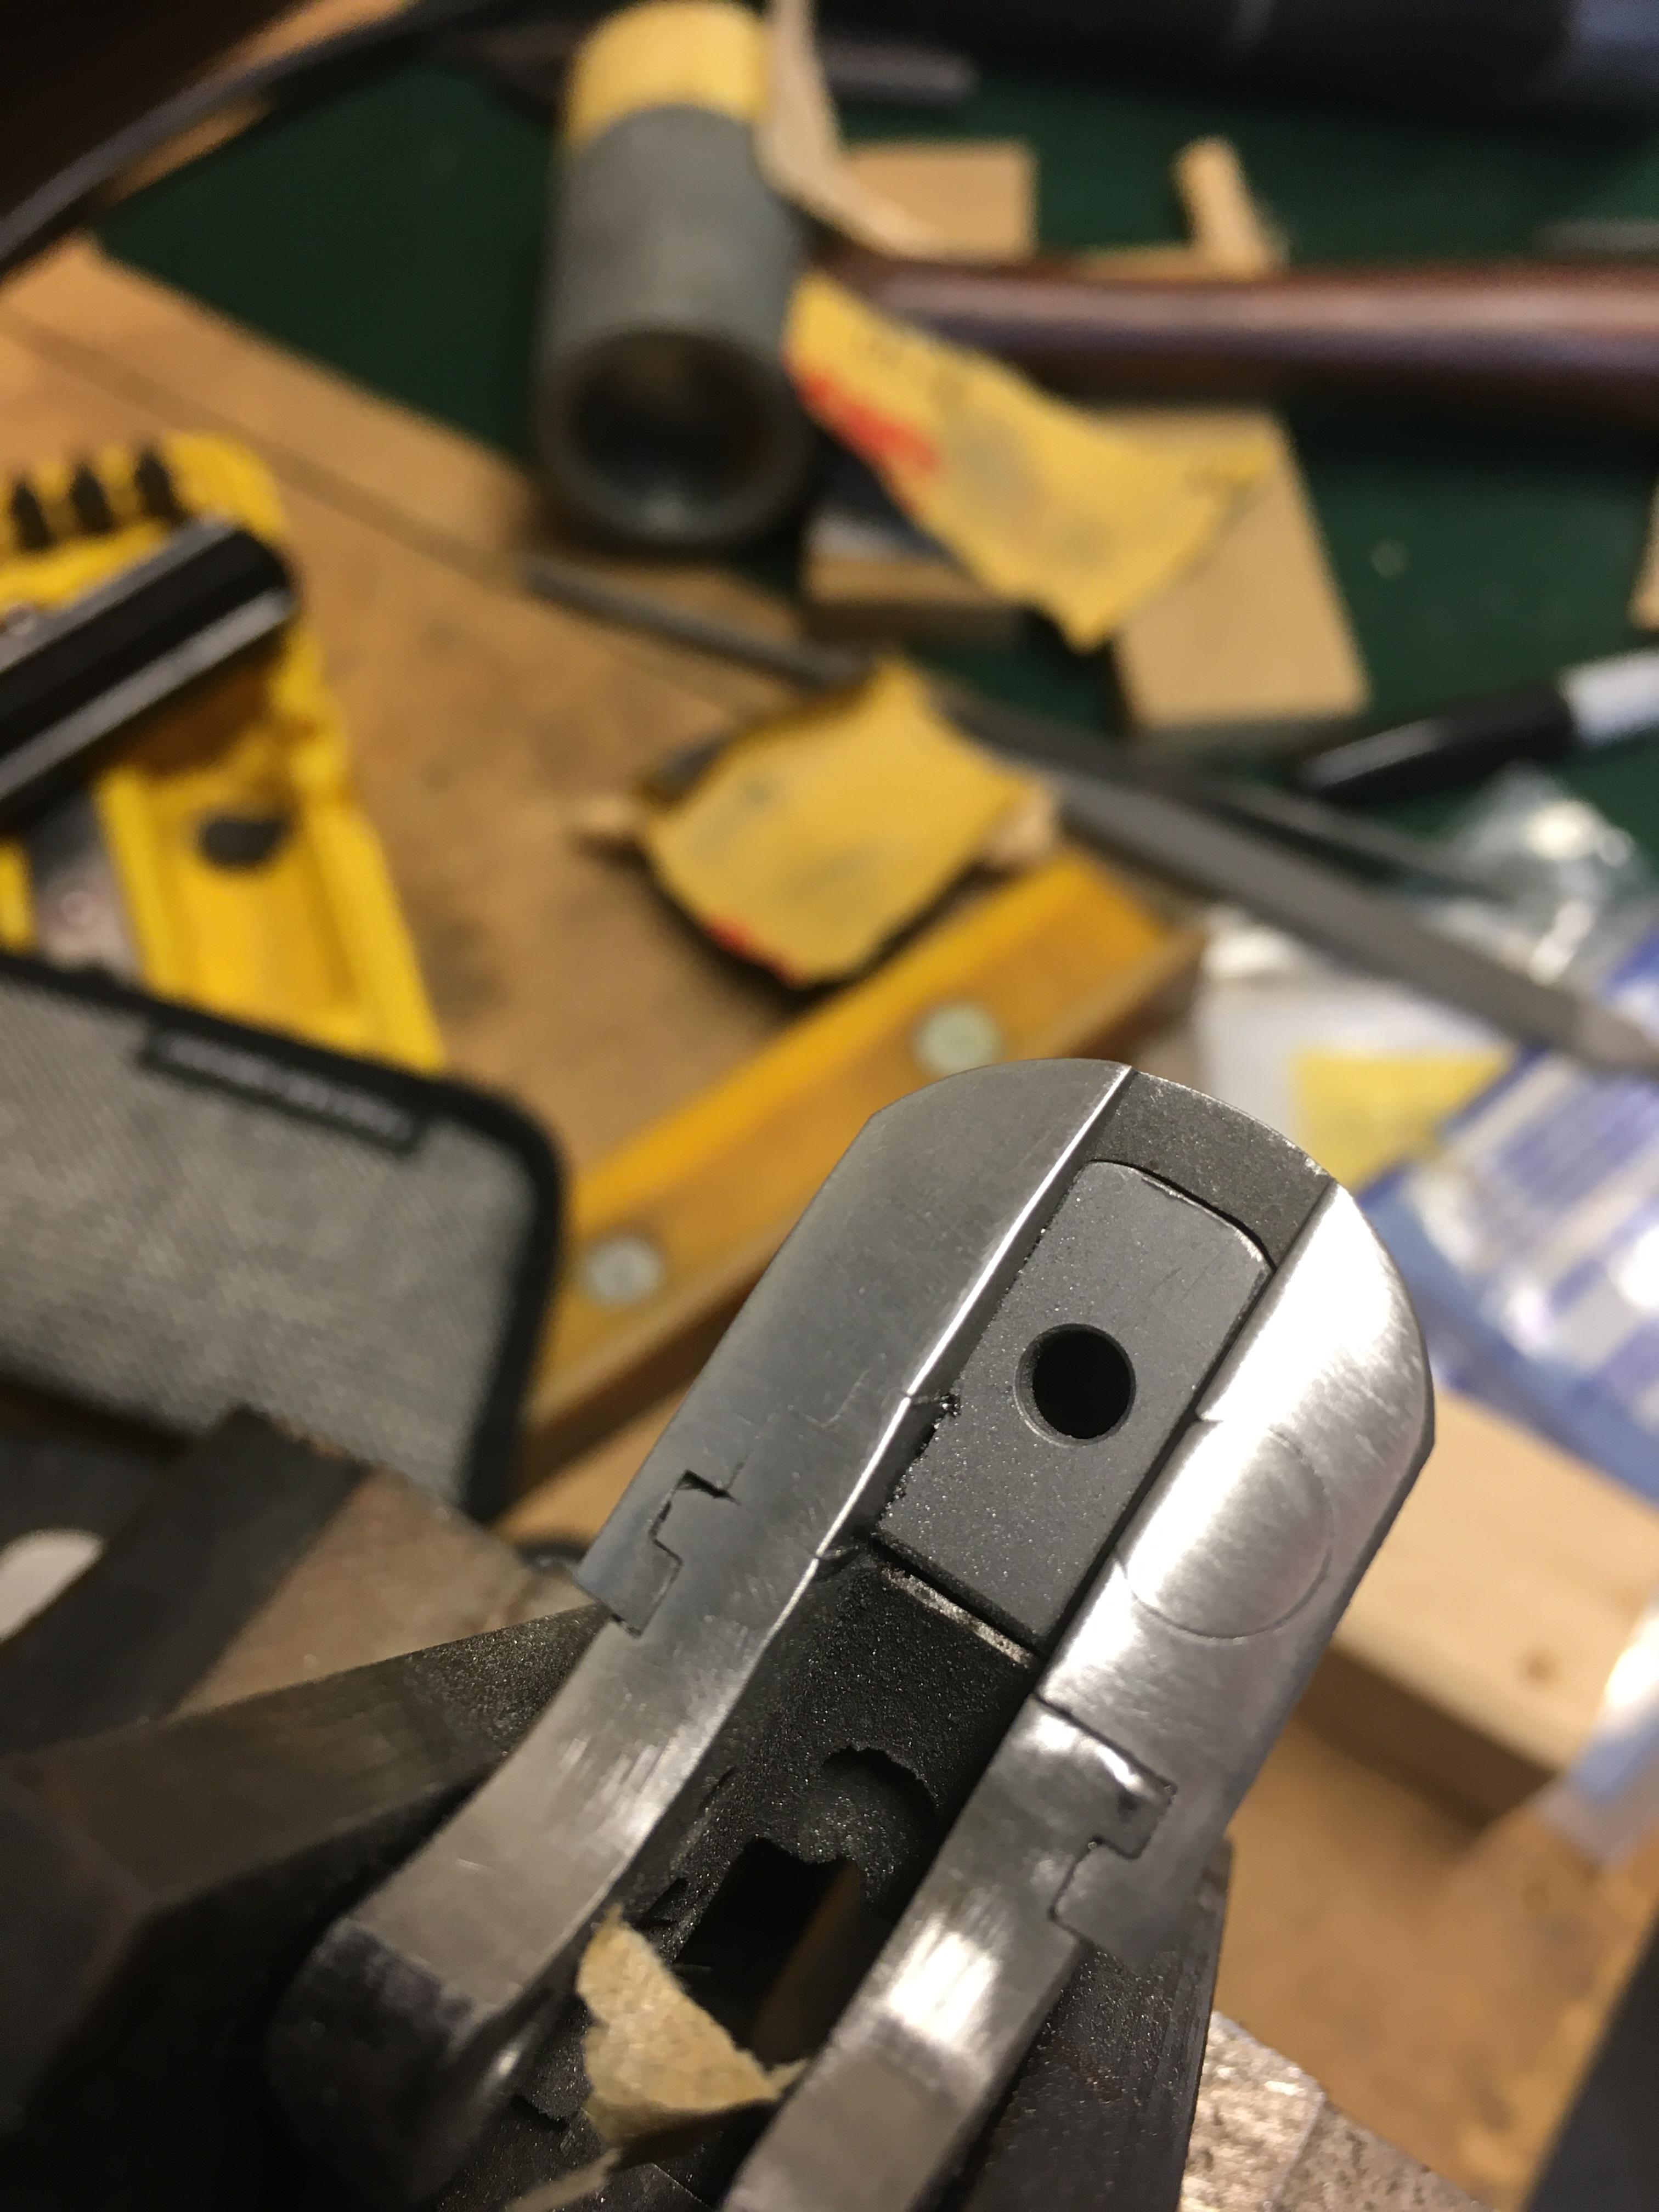
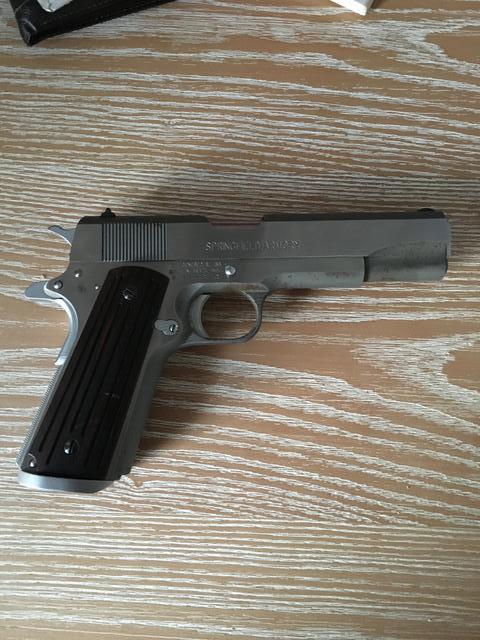
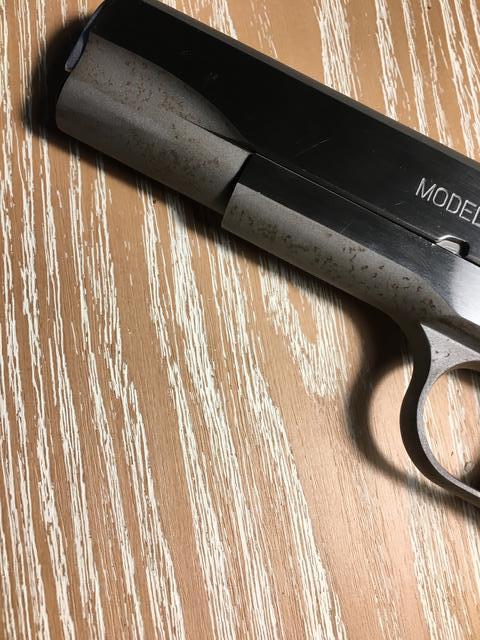
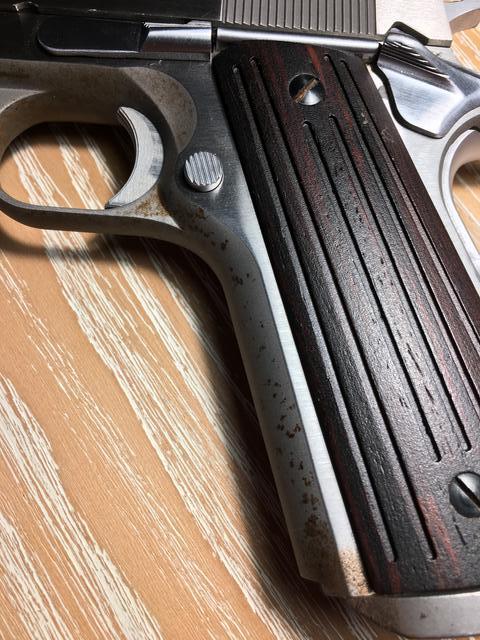
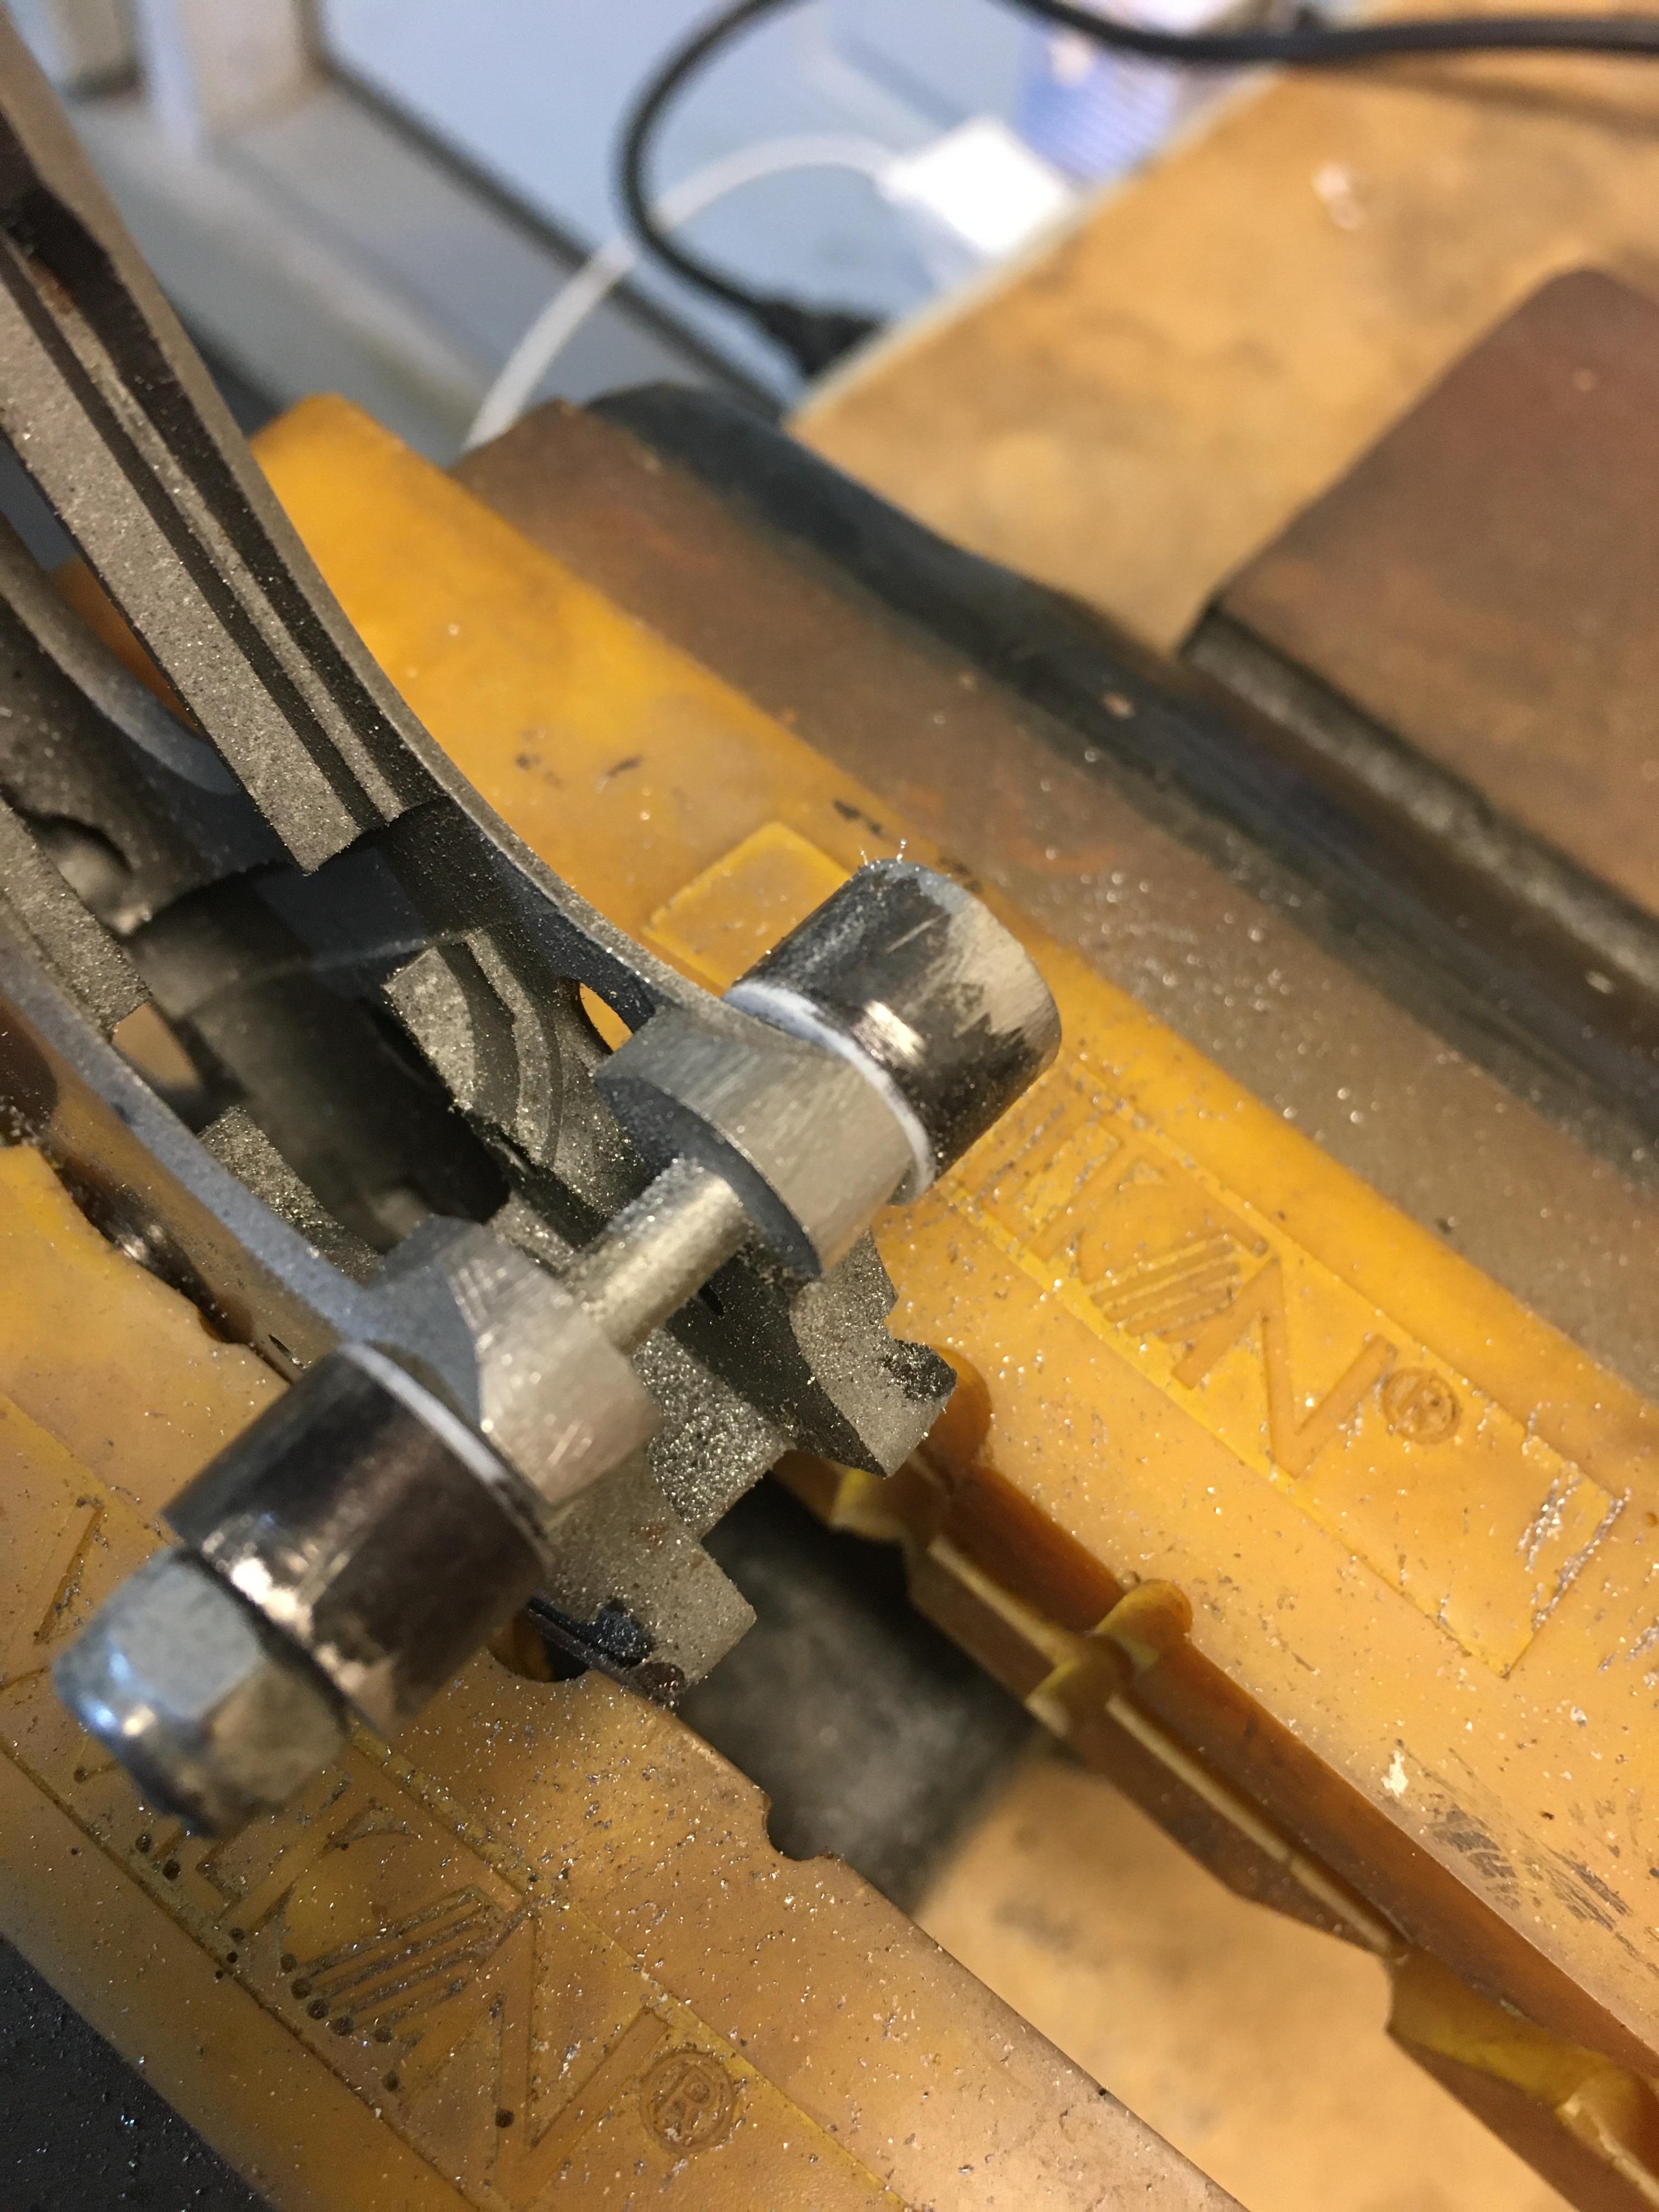
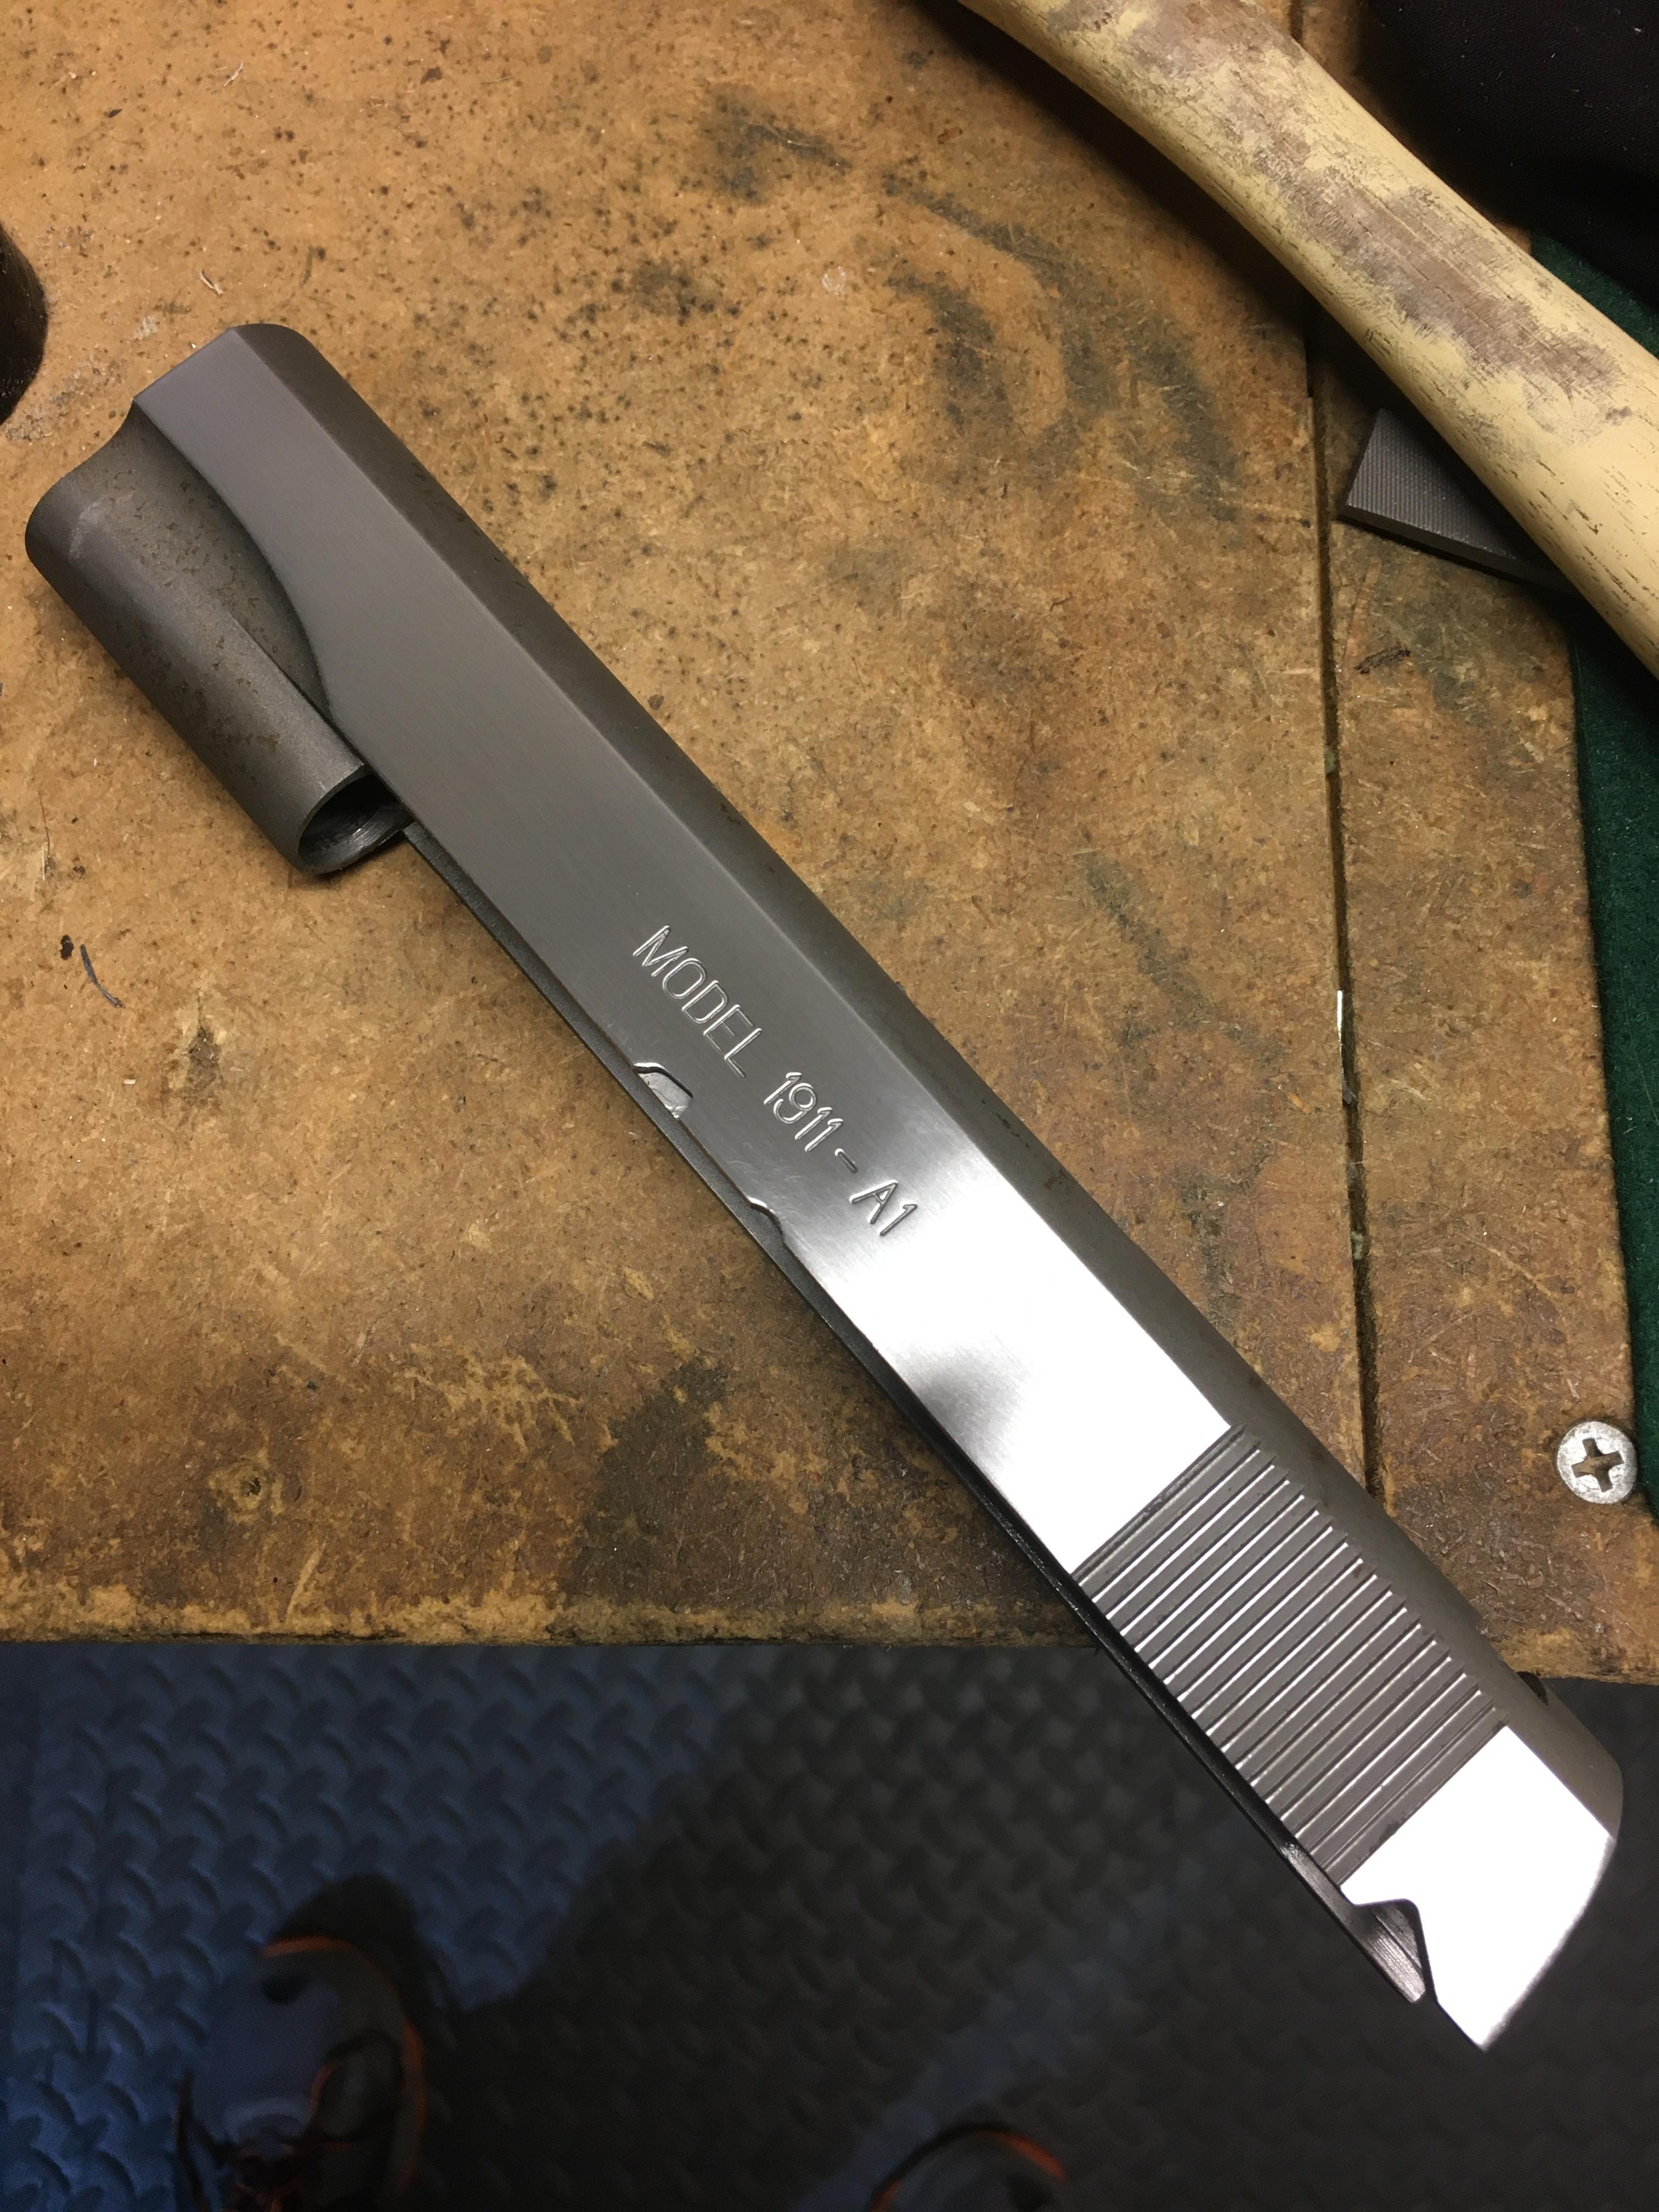
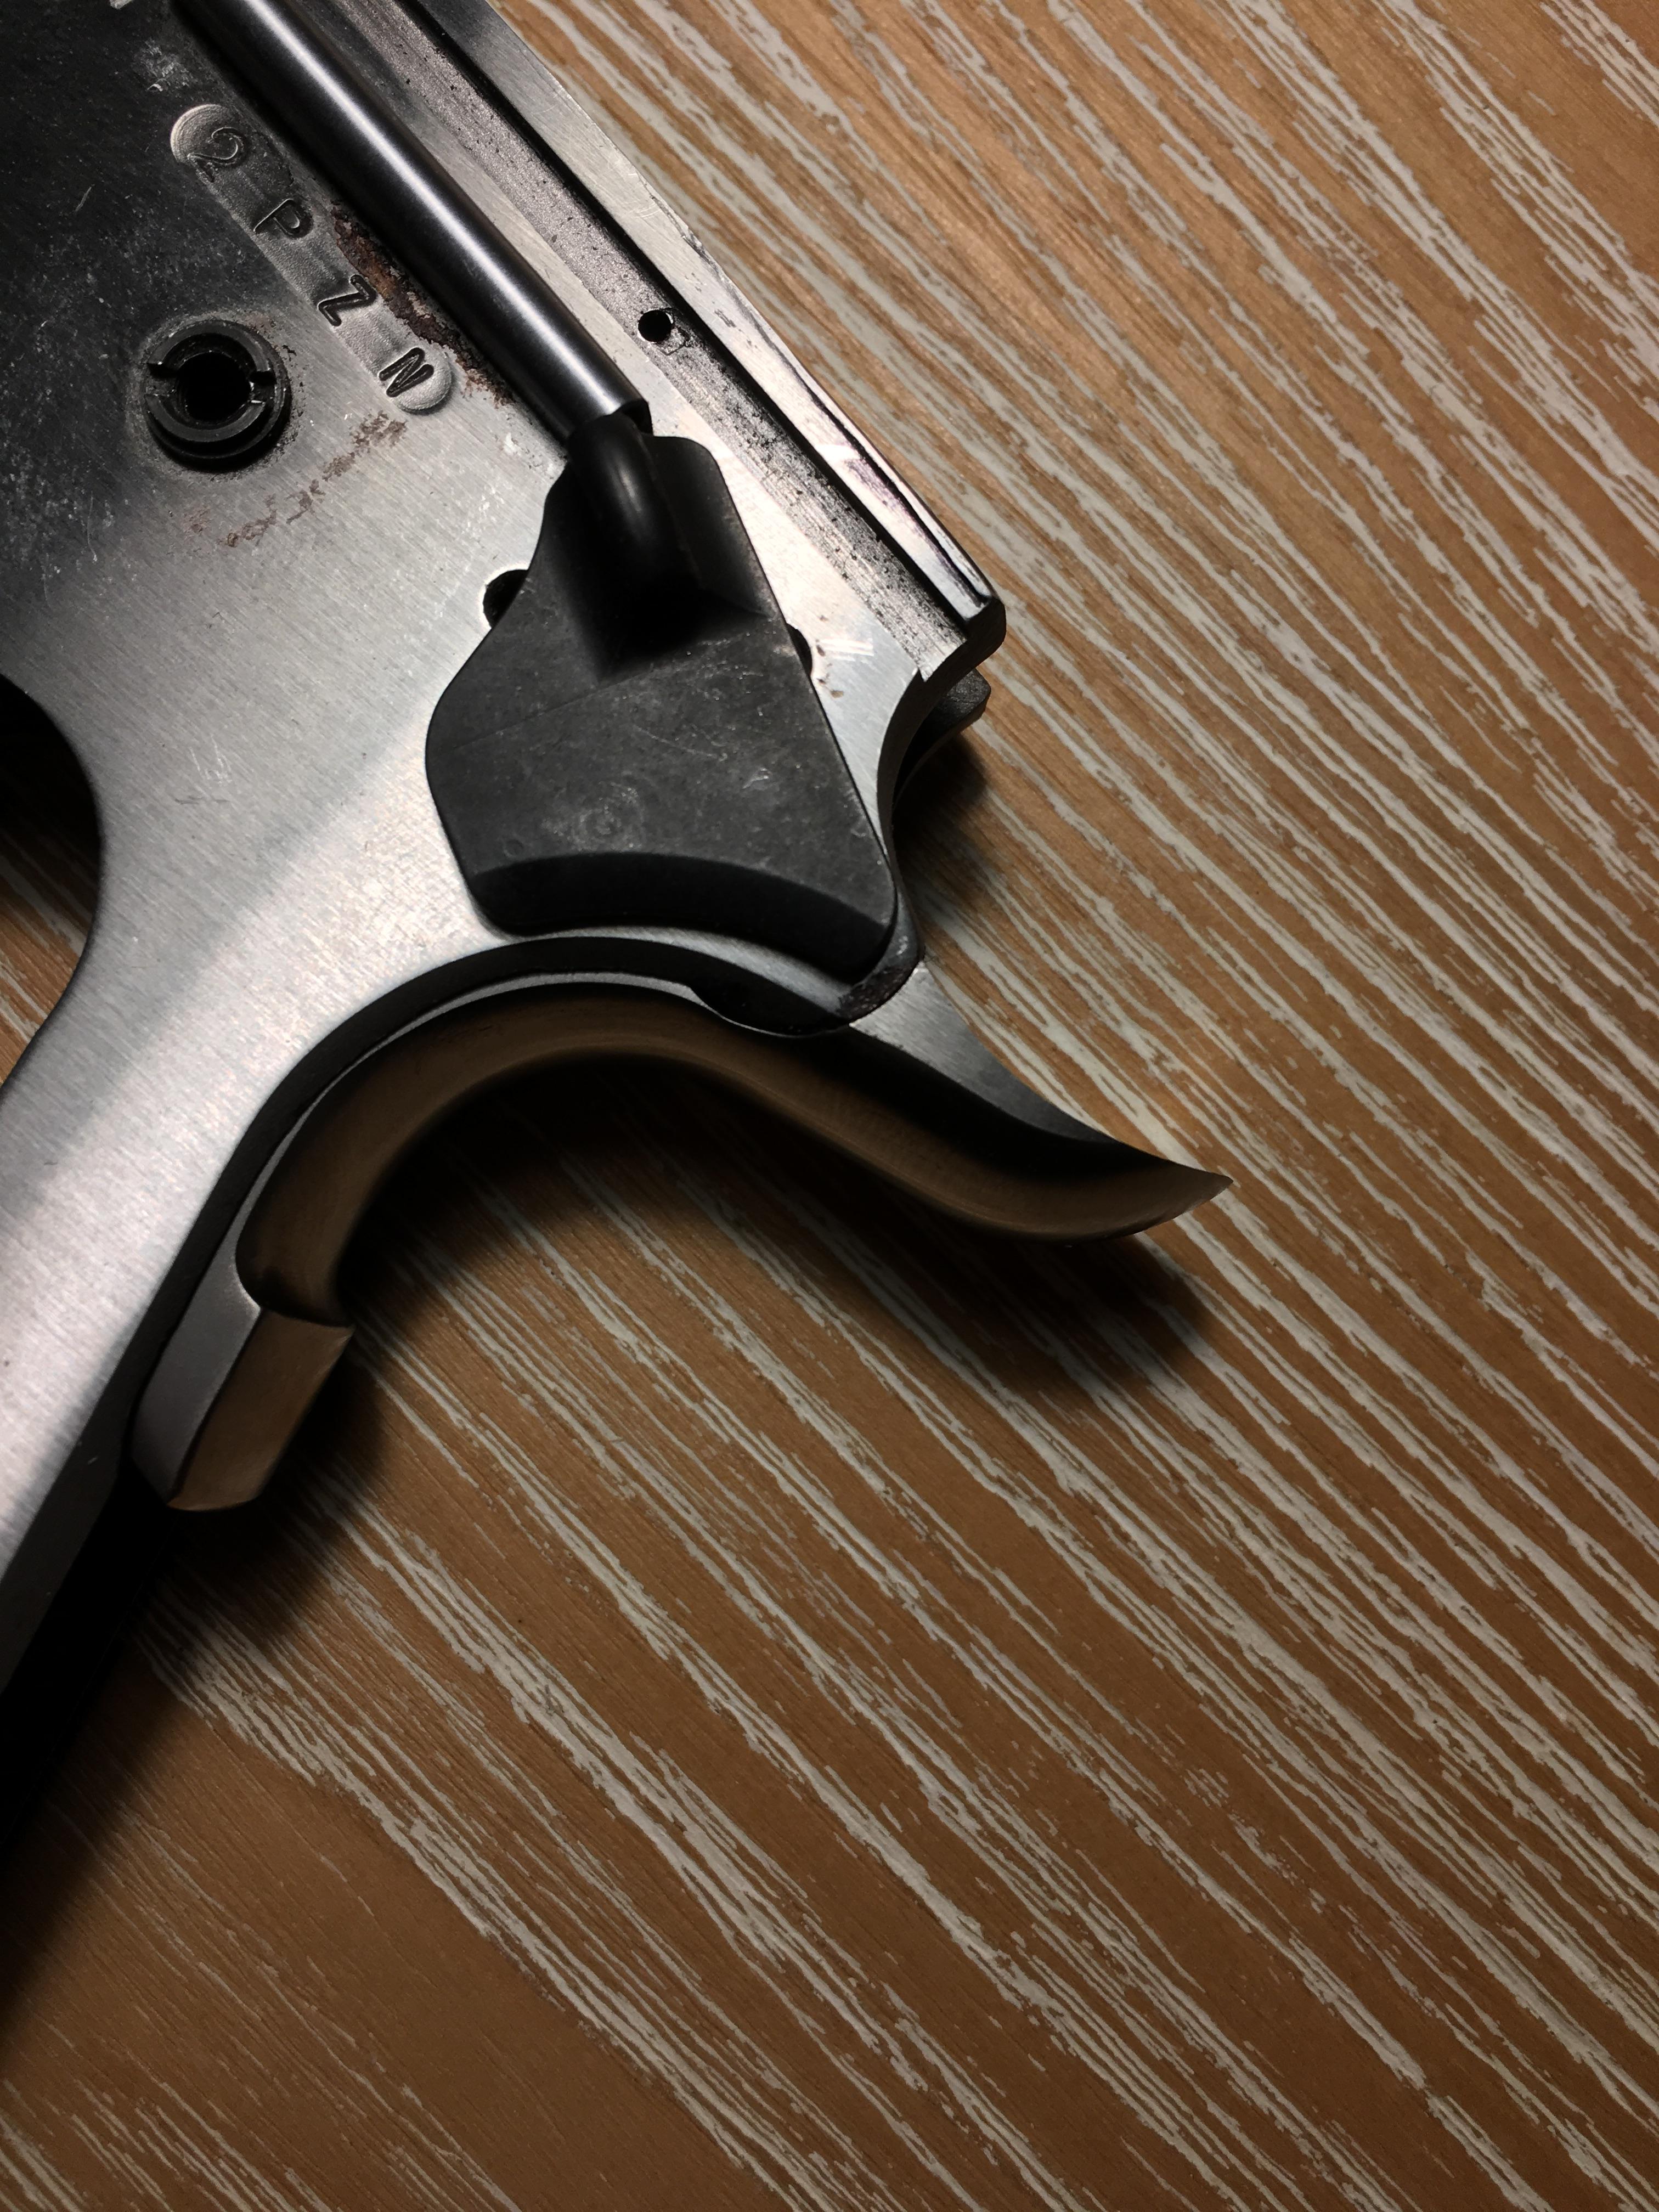
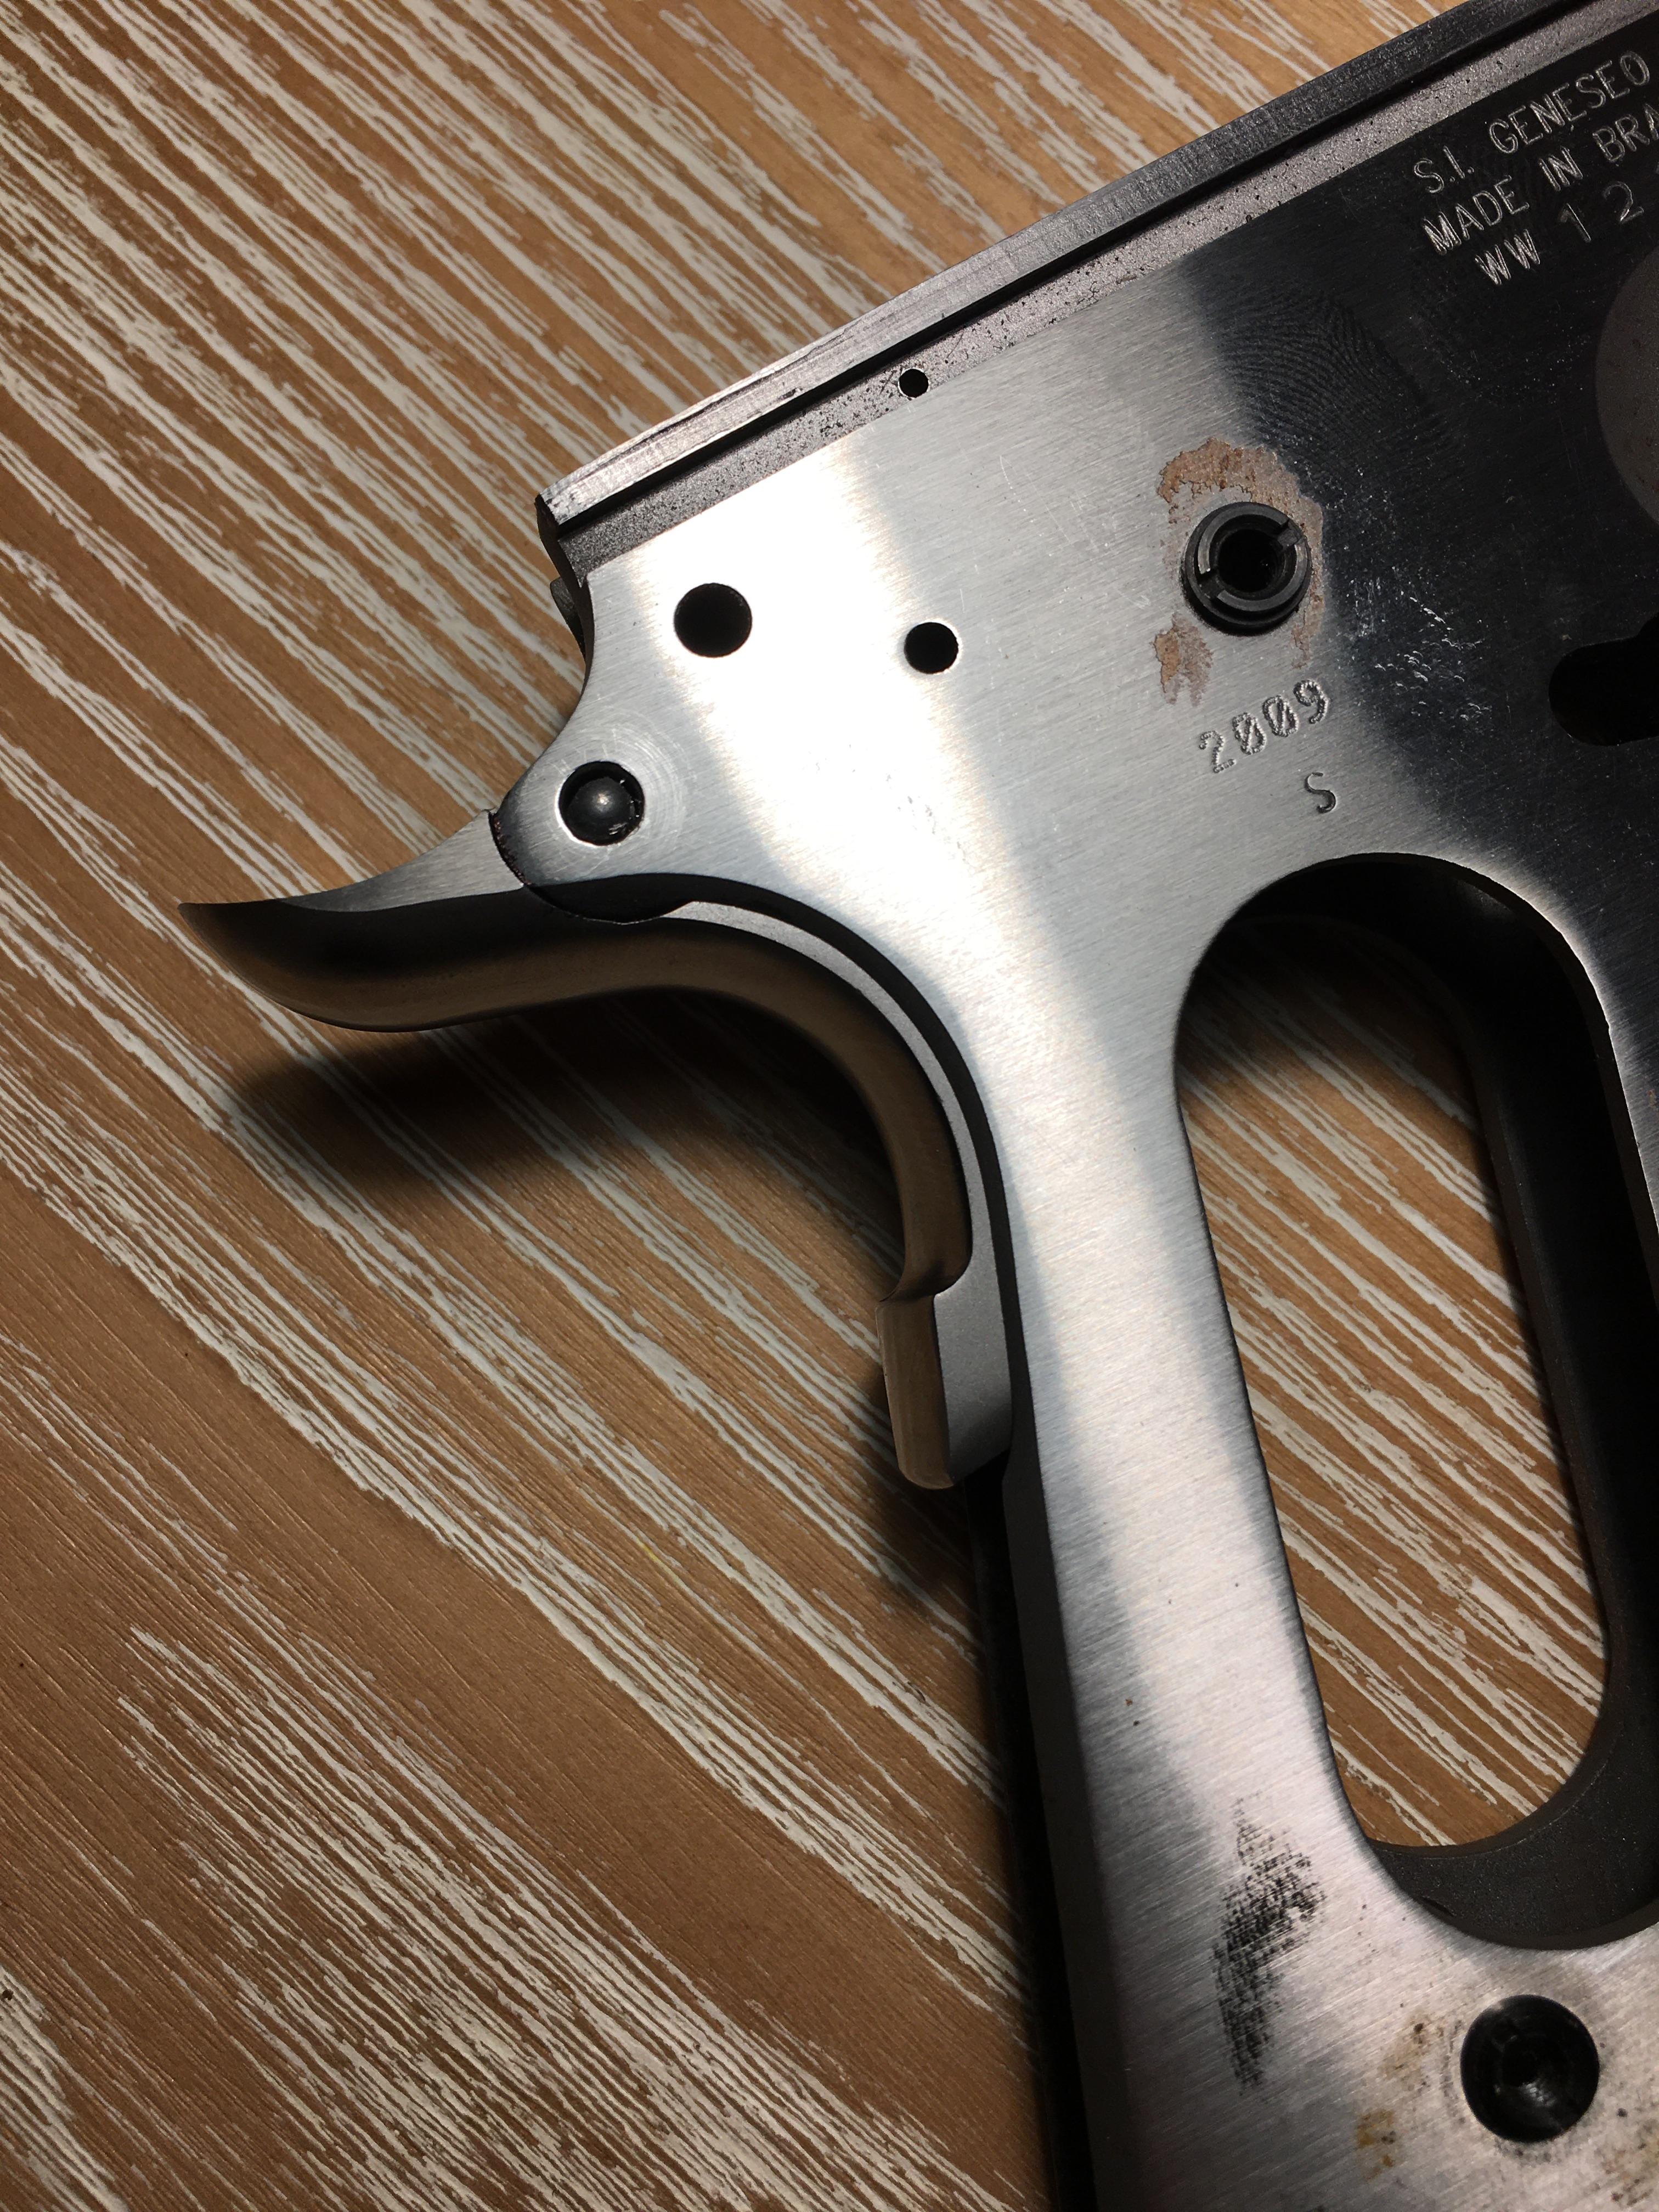
    A stainless SPFD 1911 recently came into my possession that needs some help. This is one of the older Mil-Spec 'GI' models they had years ago. They came without the beveled magwell, had nubby sights, and no lowered ejection port. This one was a victim of no climate control in a storage unit, it's got some surface rust but nothing that won't clean/blast off, there is no pitting. This one was a pretty bad rattle trap for a SPFD, I actually had to put it back together to get the 'before' picture. I had already tightened up the frame/slide using the old peen method which I hadn't done in awhile. The slide right now is actually a bit tough to move until I get it all the way fit. It'll never be as good as a weld job, the rails on this thing are pretty tough but much better than what it was. Next stop will be a Wilson beavertail.

    8zf6sGg.jpg


    ANNzLje.jpg


    y9I4rh3.jpg


    qB4K21D.jpg
     

    drillsgt

    Grandmaster
    Rating - 100%
    108   0   0
    Nov 29, 2009
    9,637
    149
    Sioux Falls, SD
    A couple updates, I had originally intended to install a Wilson beavertail but with these low cut tangs on the WWII models I had to send it back. I did cut the tangs for a .220 radius while I was waiting for the S&A to arrive.

    1lQ3mNN.jpg


    I also started getting out some scratches on the sides of the slide, it will polish out nicely.

    P4GxQ6X.jpg


    The S&A beavertail arrived and I got most of the radius around the tangs fit using my trimmed down thumb safety and I got the Wilson thumb safety to go in as well. Next step will be all the blending and it'll need quite a bit. I was able to maintain a pretty tight beavertail to tang radius fit so it should turn out nicely.

    tFPaJq9.jpg


    Dg2pjwB.jpg
     

    johny5

    not a shill account
    Rating - 100%
    2   0   0
    Apr 3, 2014
    954
    28
    Indianapolis
    I told you where you can see it ya-big dummy :):
    I shoot with those cats. They will all get to run it. We have 2 really good threads ongoing with 1911 projects right now. Those guys are doing stellar work.

    Fiiiiiiiiiiiiinnnnnnnnnnne. I'll go aaaaaaaaaaaaaaaalllllllllllllllllllllllll the way over to the other thread to check it out...:drama:
     

    TJ Kackowski

    Let it begin here.
    Site Supporter
    Rating - 100%
    133   0   1
    Jun 8, 2012
    1,923
    113
    Hendricks County
    I told you where you can see it ya-big dummy :):
    I shoot with those cats. They will all get to run it. We have 2 really good threads ongoing with 1911 projects right now. Those guys are doing stellar work.

    Fiiiiiiiiiiiiinnnnnnnnnnne. I'll go aaaaaaaaaaaaaaaalllllllllllllllllllllllll the way over to the other thread to check it out...:drama:
    After you get there, then you must wade through all the chaff to get to the few kernels of wheat ... the things we must endure to learn from the best.
     

    drillsgt

    Grandmaster
    Rating - 100%
    108   0   0
    Nov 29, 2009
    9,637
    149
    Sioux Falls, SD
    Made a little more progress, almost done with the beavertail as well as fit the extractor and firing pin stop and the ejector.

    Both sides of the beavertail were proud of the frame so I dressed those down to the frame, then with the beavertail in the out position I blend the top of the beavertail and frame tangs. After that I depress the beavertail and fit the underside radius. When you're done you should have all lines flowing between the frame and the beavertail. I still have to do the final polish and dehorn around the upper frame tangs.

    FNGMQu3.jpg


    pqU2F7T.jpg


    I made pretty quick work of the extractor and firing pin stop, this will likely get serrated.
    RAm0Jx4.jpg


    If you haven't had a chance yet to use one of John Harrison's fitted ejectors you're missing out. These come with pads that are oversized in all dimensions to fit exactly to your slide and eliminate any unsightly gaps. I was able to fit this much quicker than I had anticipated, very impressed with this part. I still have to pin it though.

    pXdiUb1.jpg
     

    churchmouse

    I still care....Really
    Emeritus
    Rating - 100%
    187   0   0
    Dec 7, 2011
    191,809
    152
    Speedway area
    Only sections of it that count are oversized so you are not sitting there filing all day.

    I just ordered the ejector and a grip safety. The Springer GS is not fit up tight enough to the frame. And as I am putting the "EYE" on it the tail is mis-shaped. To the point I can not fix it so lets get one that might give a better result.

    I will say their site suck Bunny Butts.
     

    drillsgt

    Grandmaster
    Rating - 100%
    108   0   0
    Nov 29, 2009
    9,637
    149
    Sioux Falls, SD
    I just ordered the ejector and a grip safety. The Springer GS is not fit up tight enough to the frame. And as I am putting the "EYE" on it the tail is mis-shaped. To the point I can not fix it so lets get one that might give a better result.

    I will say their site suck Bunny Butts.

    What was wrong with the site lol, just go to the 'web store' tab and go to town. I think it might have thrown me off the first time I used it too but now I know exactly where to go. He also offers a lot of detailed instructions for many of his parts too. If you didn't see it here is the link to fitting the exact fit ejectors:

    https://shop.harrisoncustom.com/images/uploaded/pdf/Instructions for fitting H-D ejectors.pdf

    I saw the tangs on the pistol you are working on that will be interesting to see how a new beavertail fits, did you put your jig on yet to see how it looks around those tangs?
     

    churchmouse

    I still care....Really
    Emeritus
    Rating - 100%
    187   0   0
    Dec 7, 2011
    191,809
    152
    Speedway area
    What was wrong with the site lol, just go to the 'web store' tab and go to town. I think it might have thrown me off the first time I used it too but now I know exactly where to go. He also offers a lot of detailed instructions for many of his parts too. If you didn't see it here is the link to fitting the exact fit ejectors:

    https://shop.harrisoncustom.com/images/uploaded/pdf/Instructions for fitting H-D ejectors.pdf

    I saw the tangs on the pistol you are working on that will be interesting to see how a new beavertail fits, did you put your jig on yet to see how it looks around those tangs?

    No as I was just trimming up the as built piece but as I got deeper into it I saw the effort was wasted.
    Crap, I did not see what radius that grip safety was cut to. I had 3 things going at once and the difference in the Springers was not front and center.
    Crap.

    I will jig it up when we get back today. A Ingo buddy has several pounds of German hand cut bacon for us. Life is better with bacon. It just is.
     
    Top Bottom