.450BM Swed. the final build.

The #1 community for Gun Owners in Indiana

Member Benefits:

  • Fewer Ads!
  • Discuss all aspects of firearm ownership
  • Discuss anti-gun legislation
  • Buy, sell, and trade in the classified section
  • Chat with Local gun shops, ranges, trainers & other businesses
  • Discover free outdoor shooting areas
  • View up to date on firearm-related events
  • Share photos & video with other members
  • ...and so much more!
  • bobjones223

    Master
    Rating - 98.2%
    55   1   0
    Mar 3, 2011
    1,788
    77
    Noblesville, IN
    So I have decided to start a new thread since I now know the direction I will be going and to bring you guys along...sorry.:laugh:

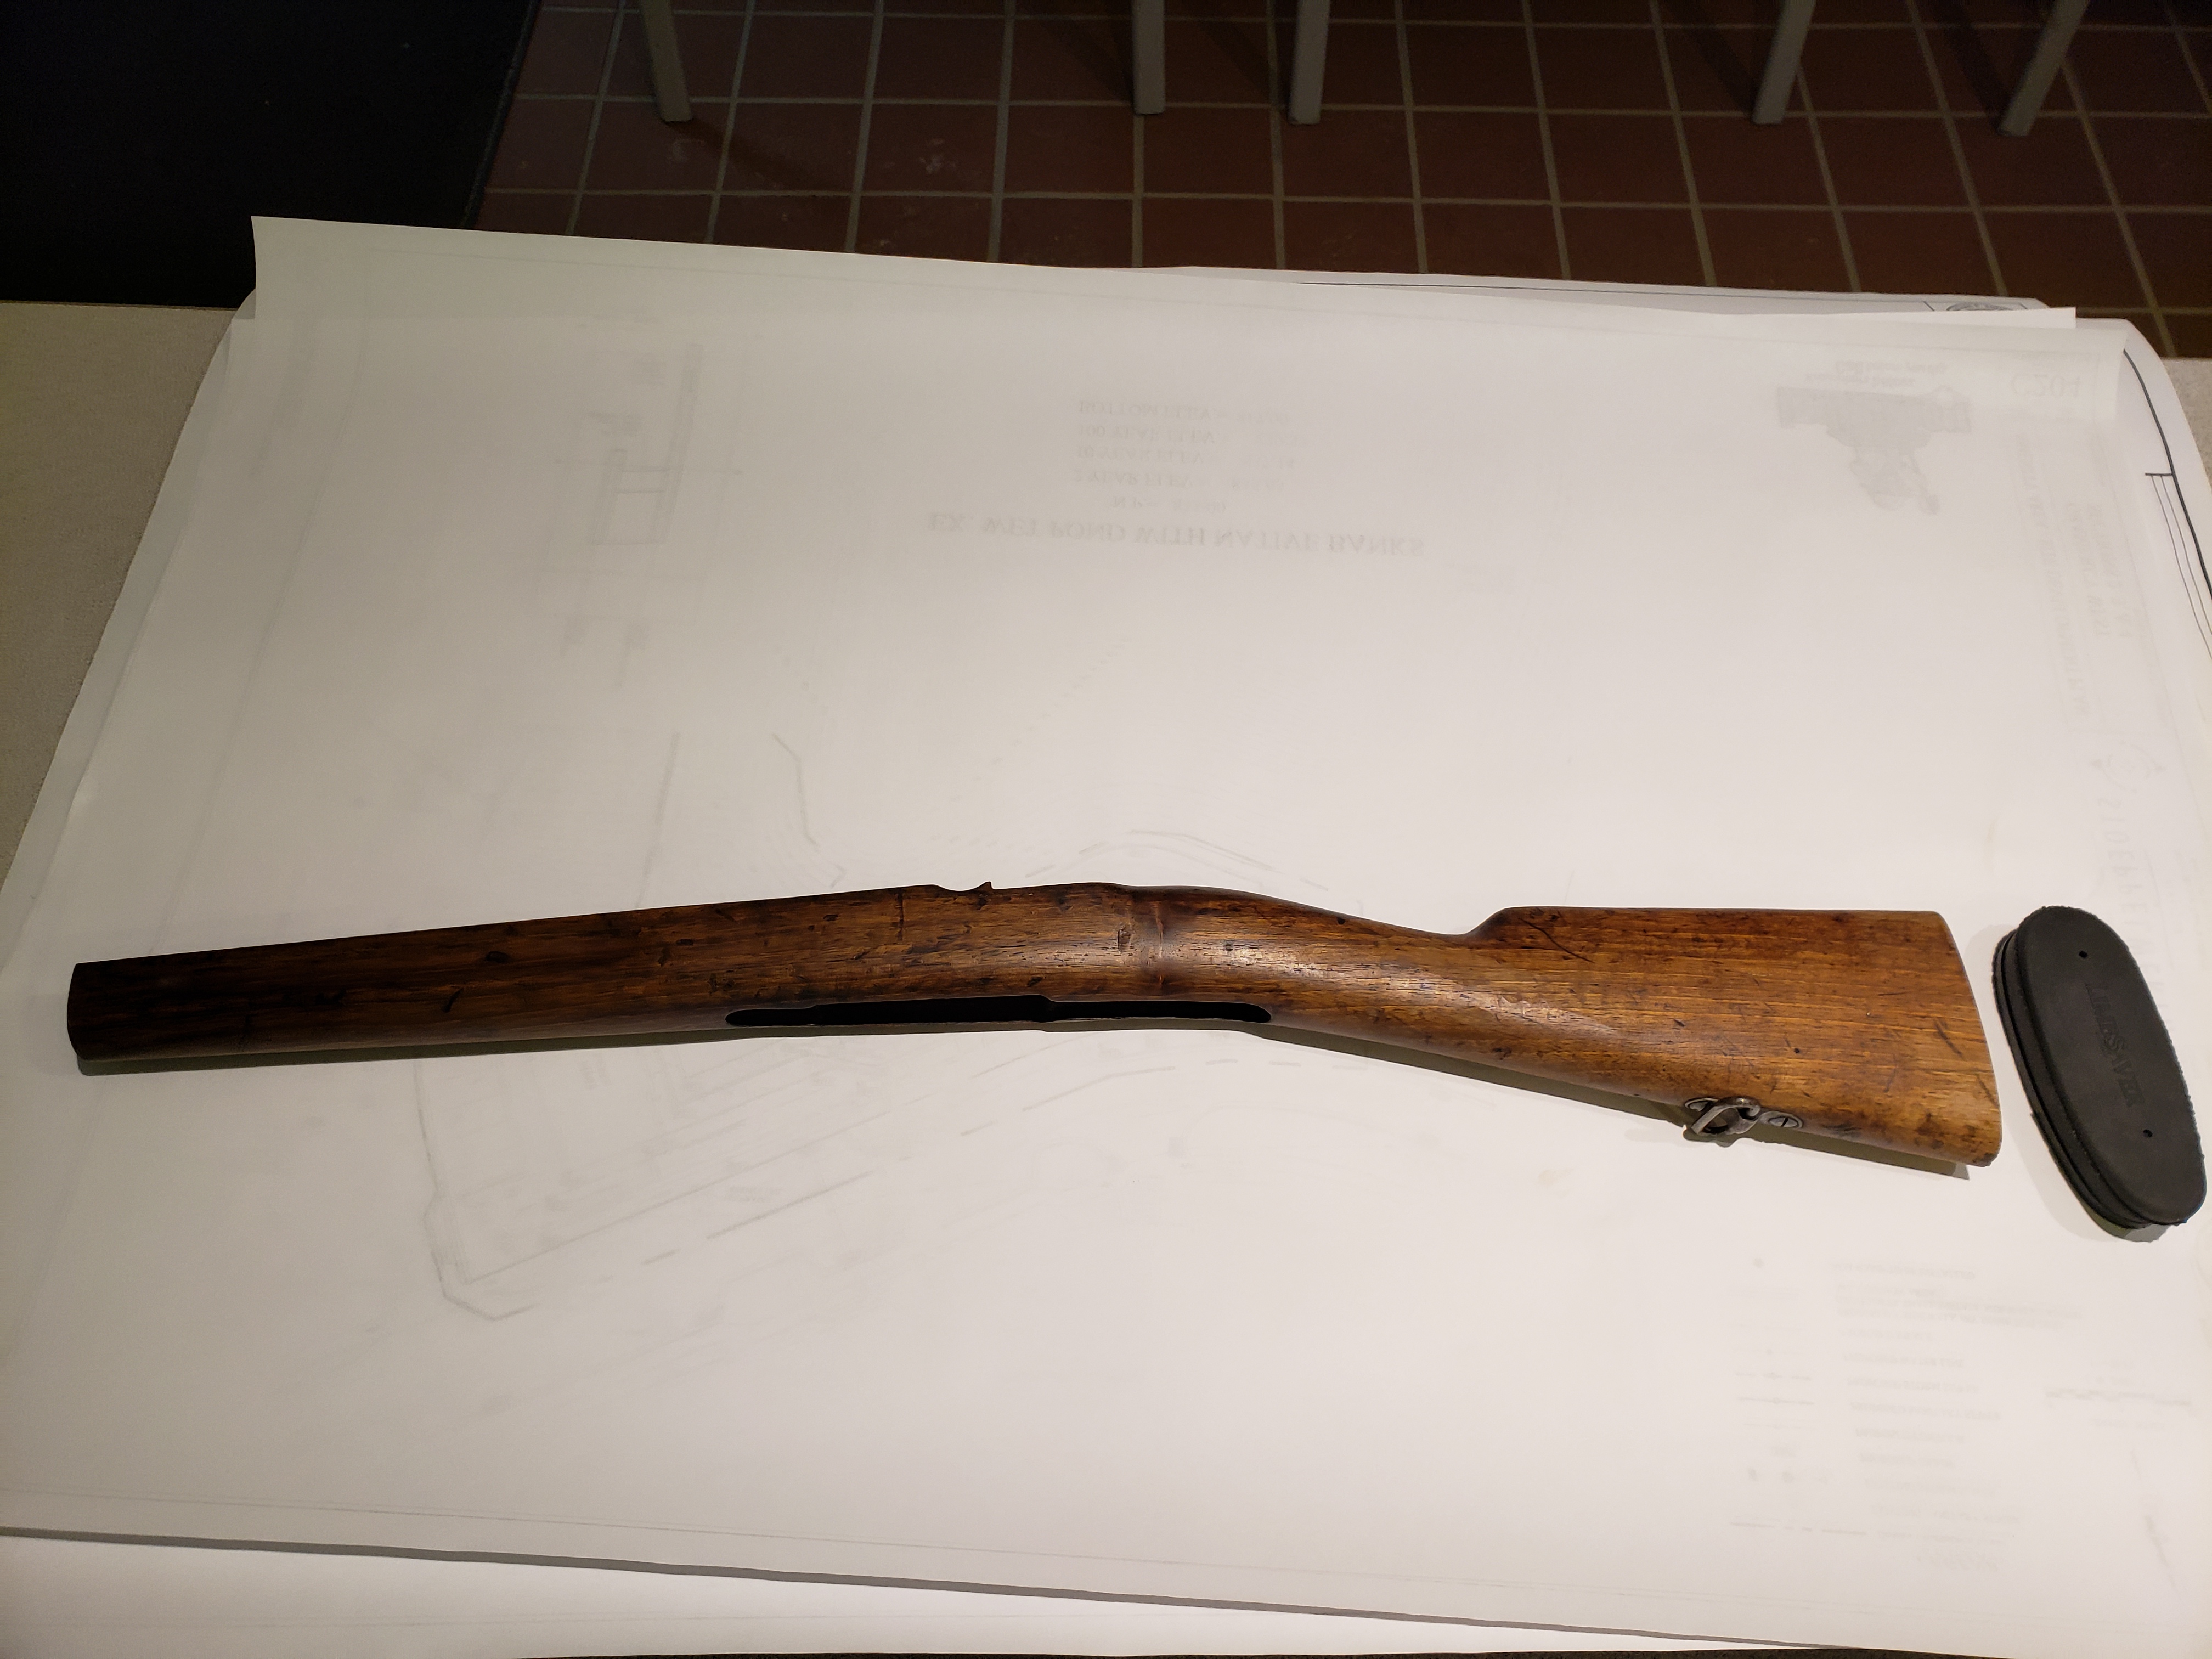
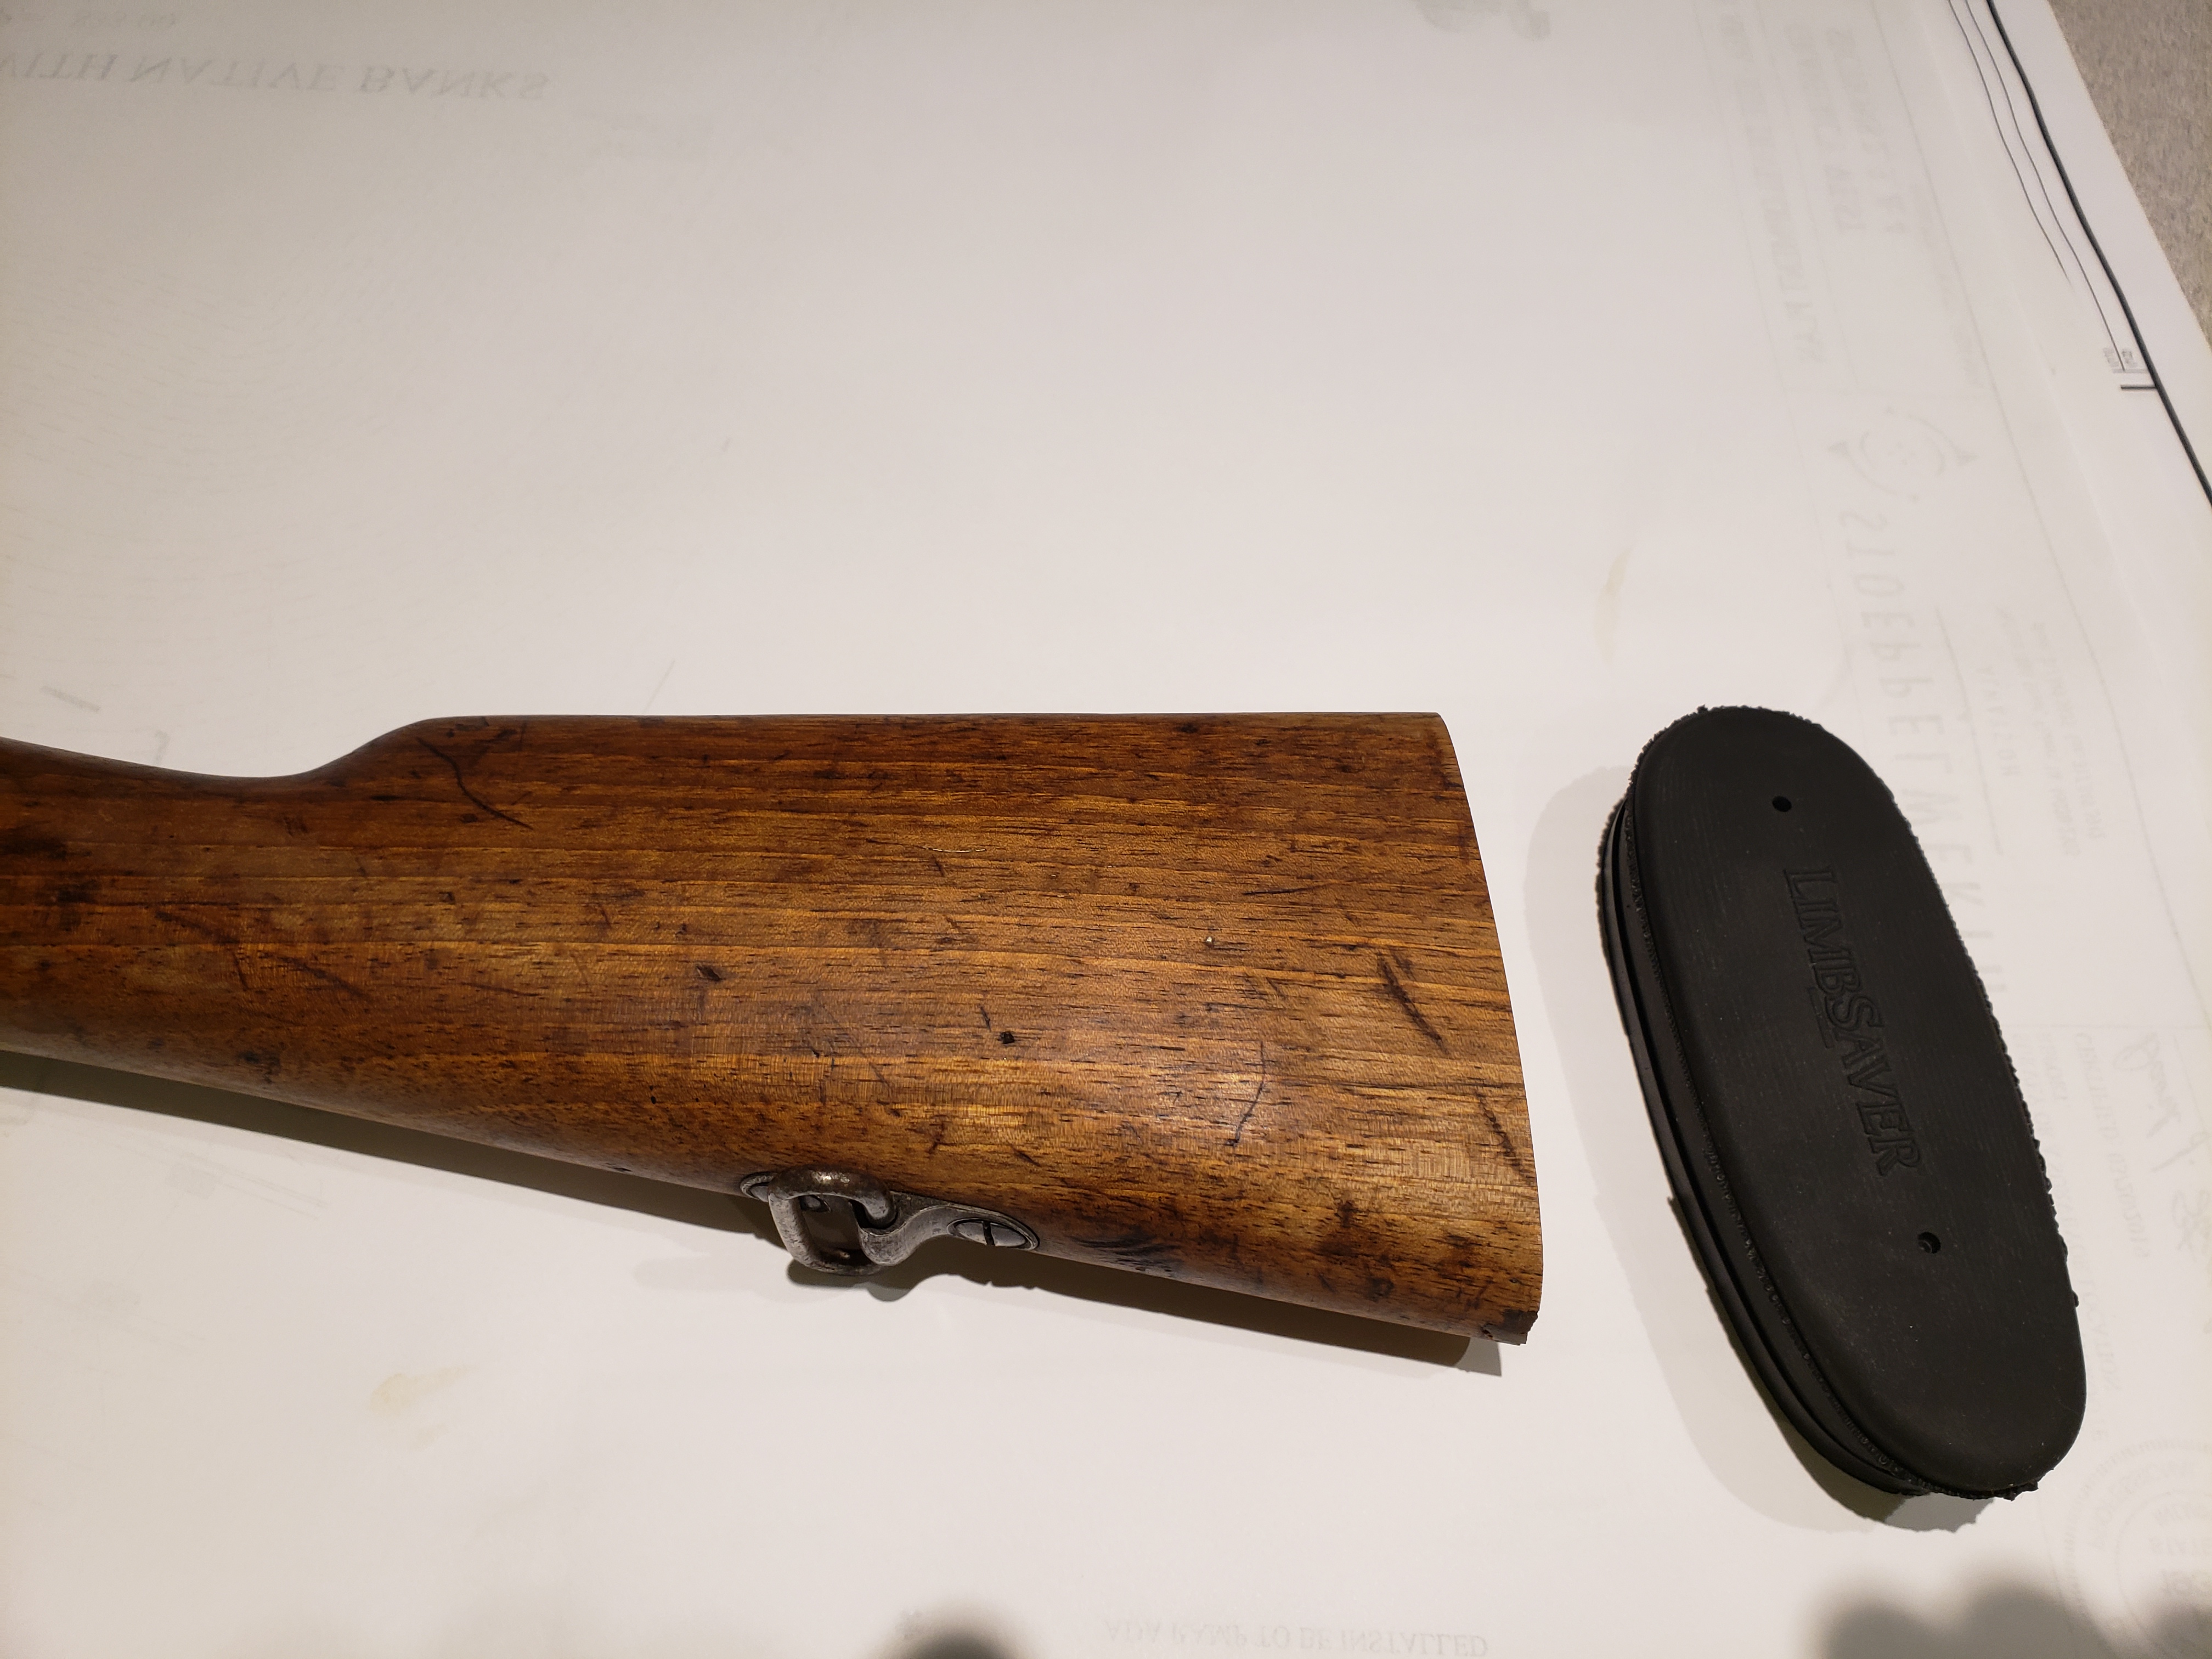
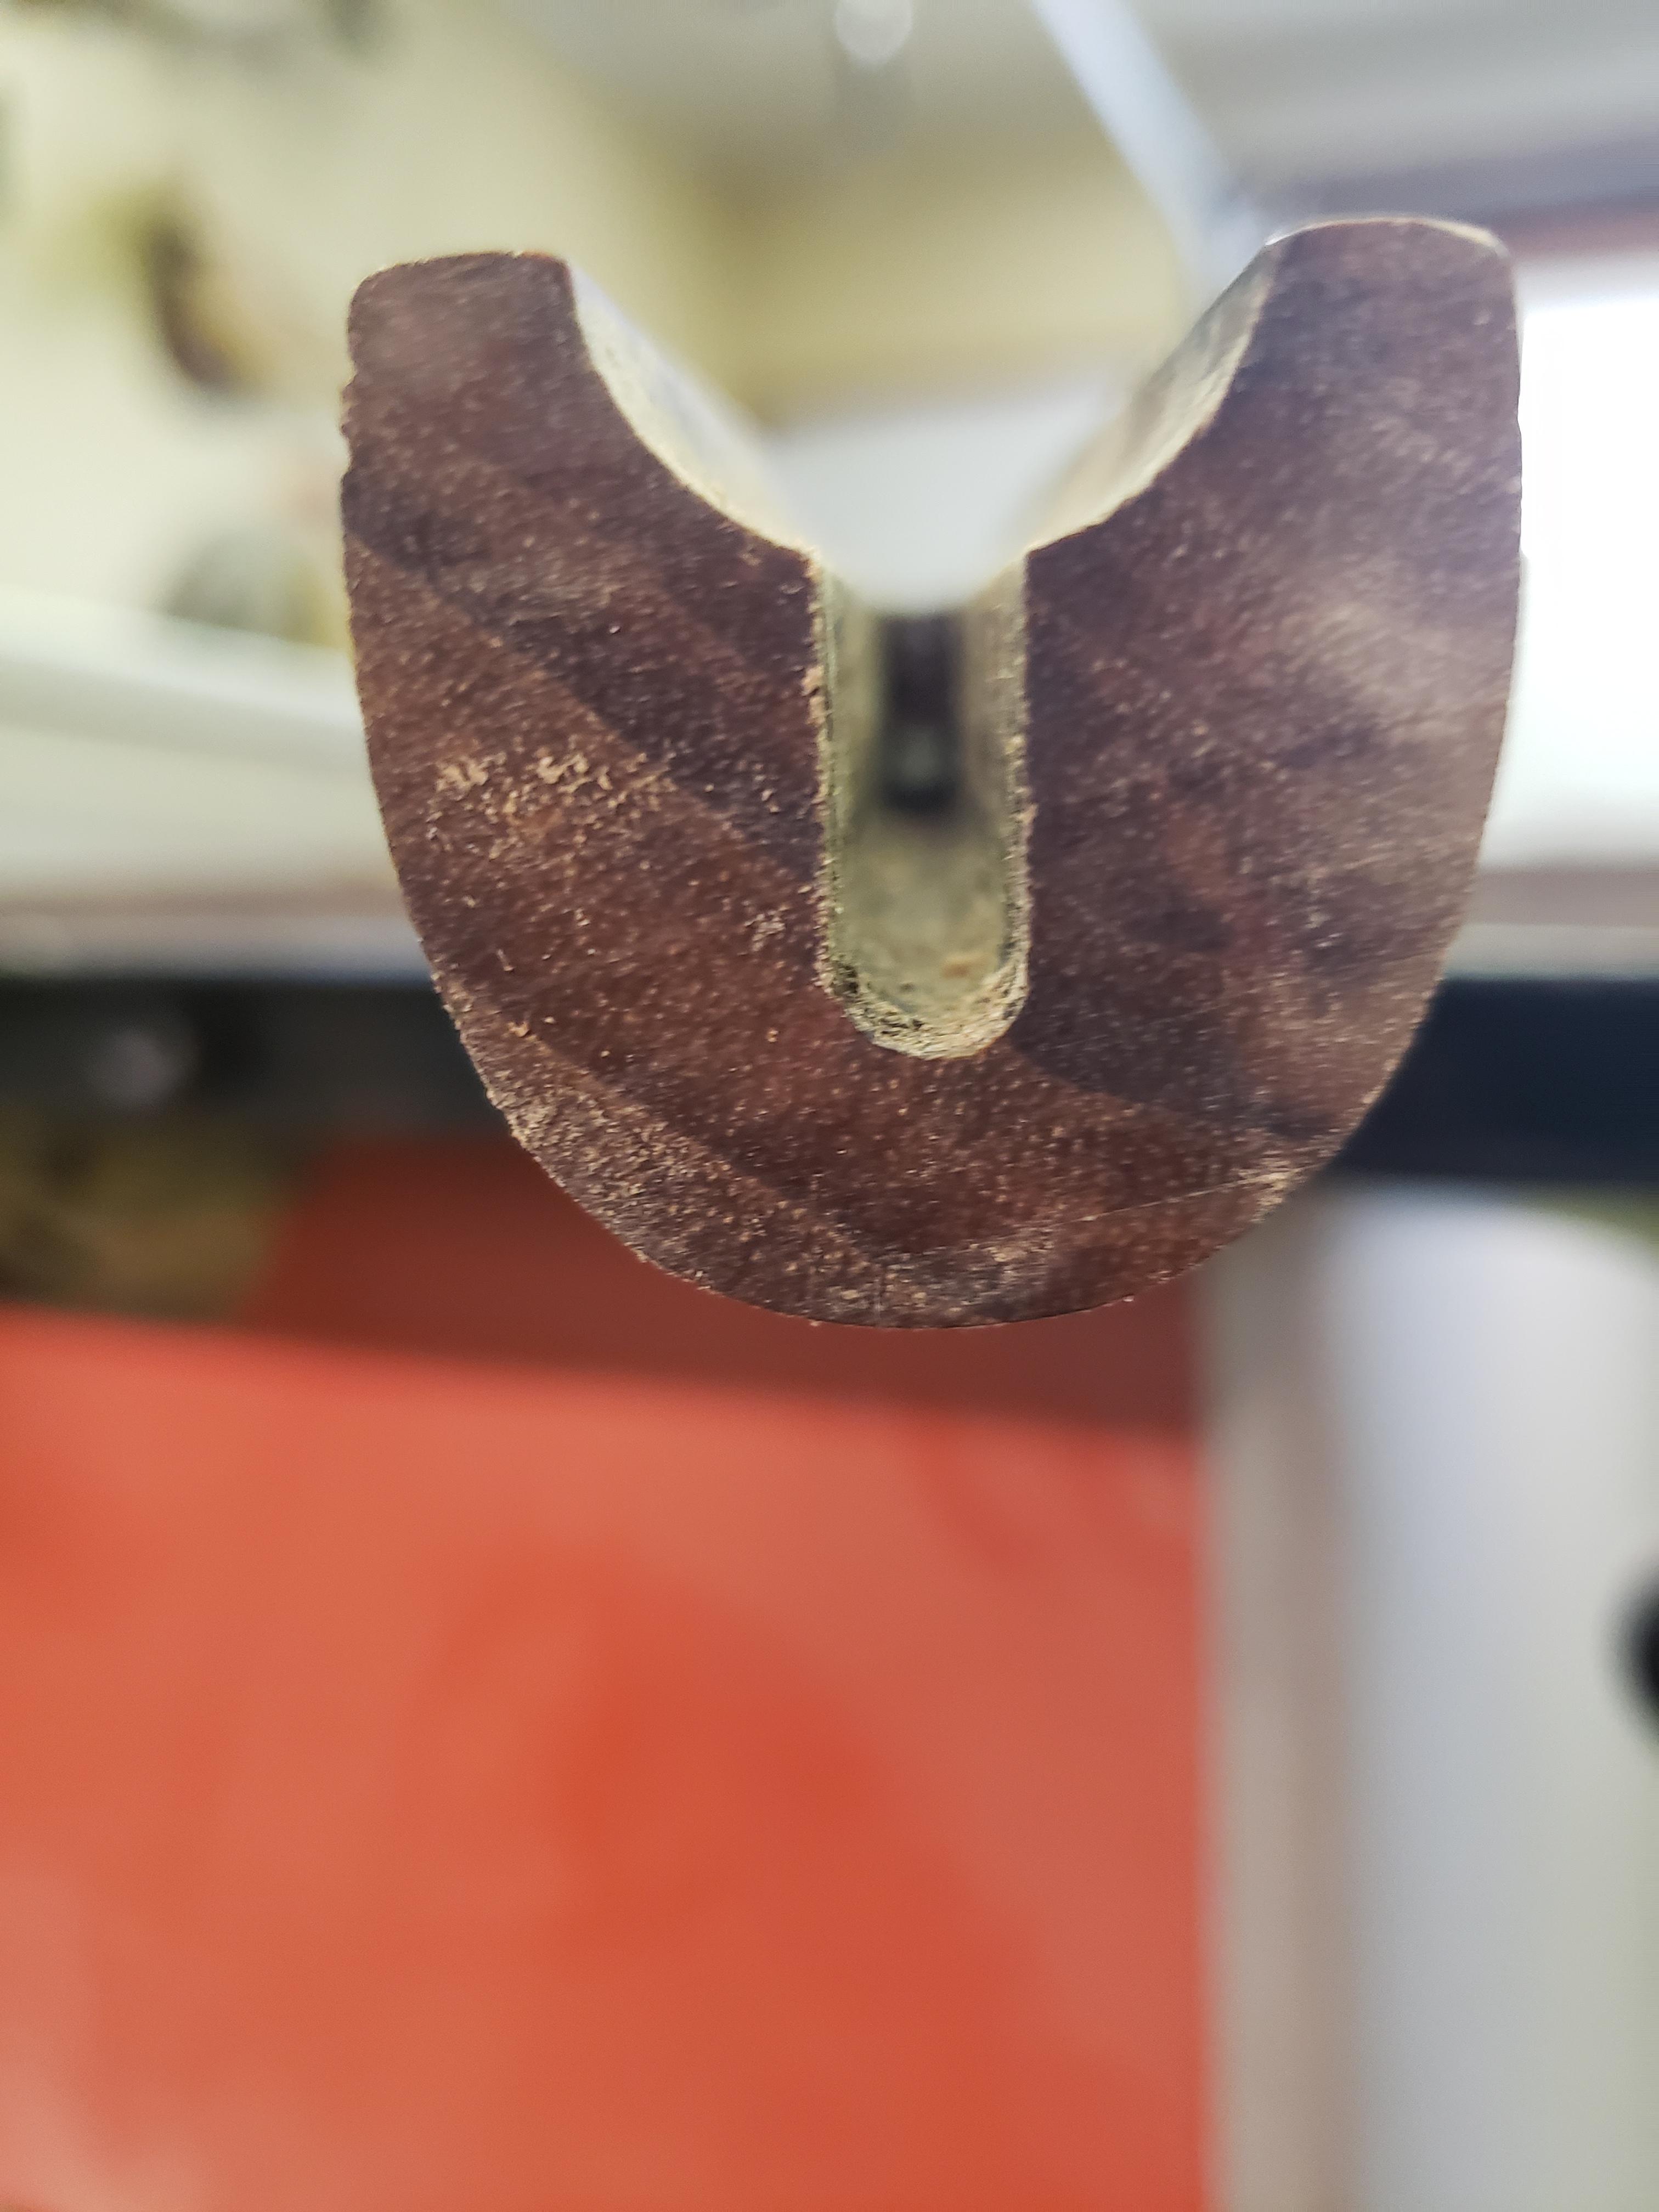
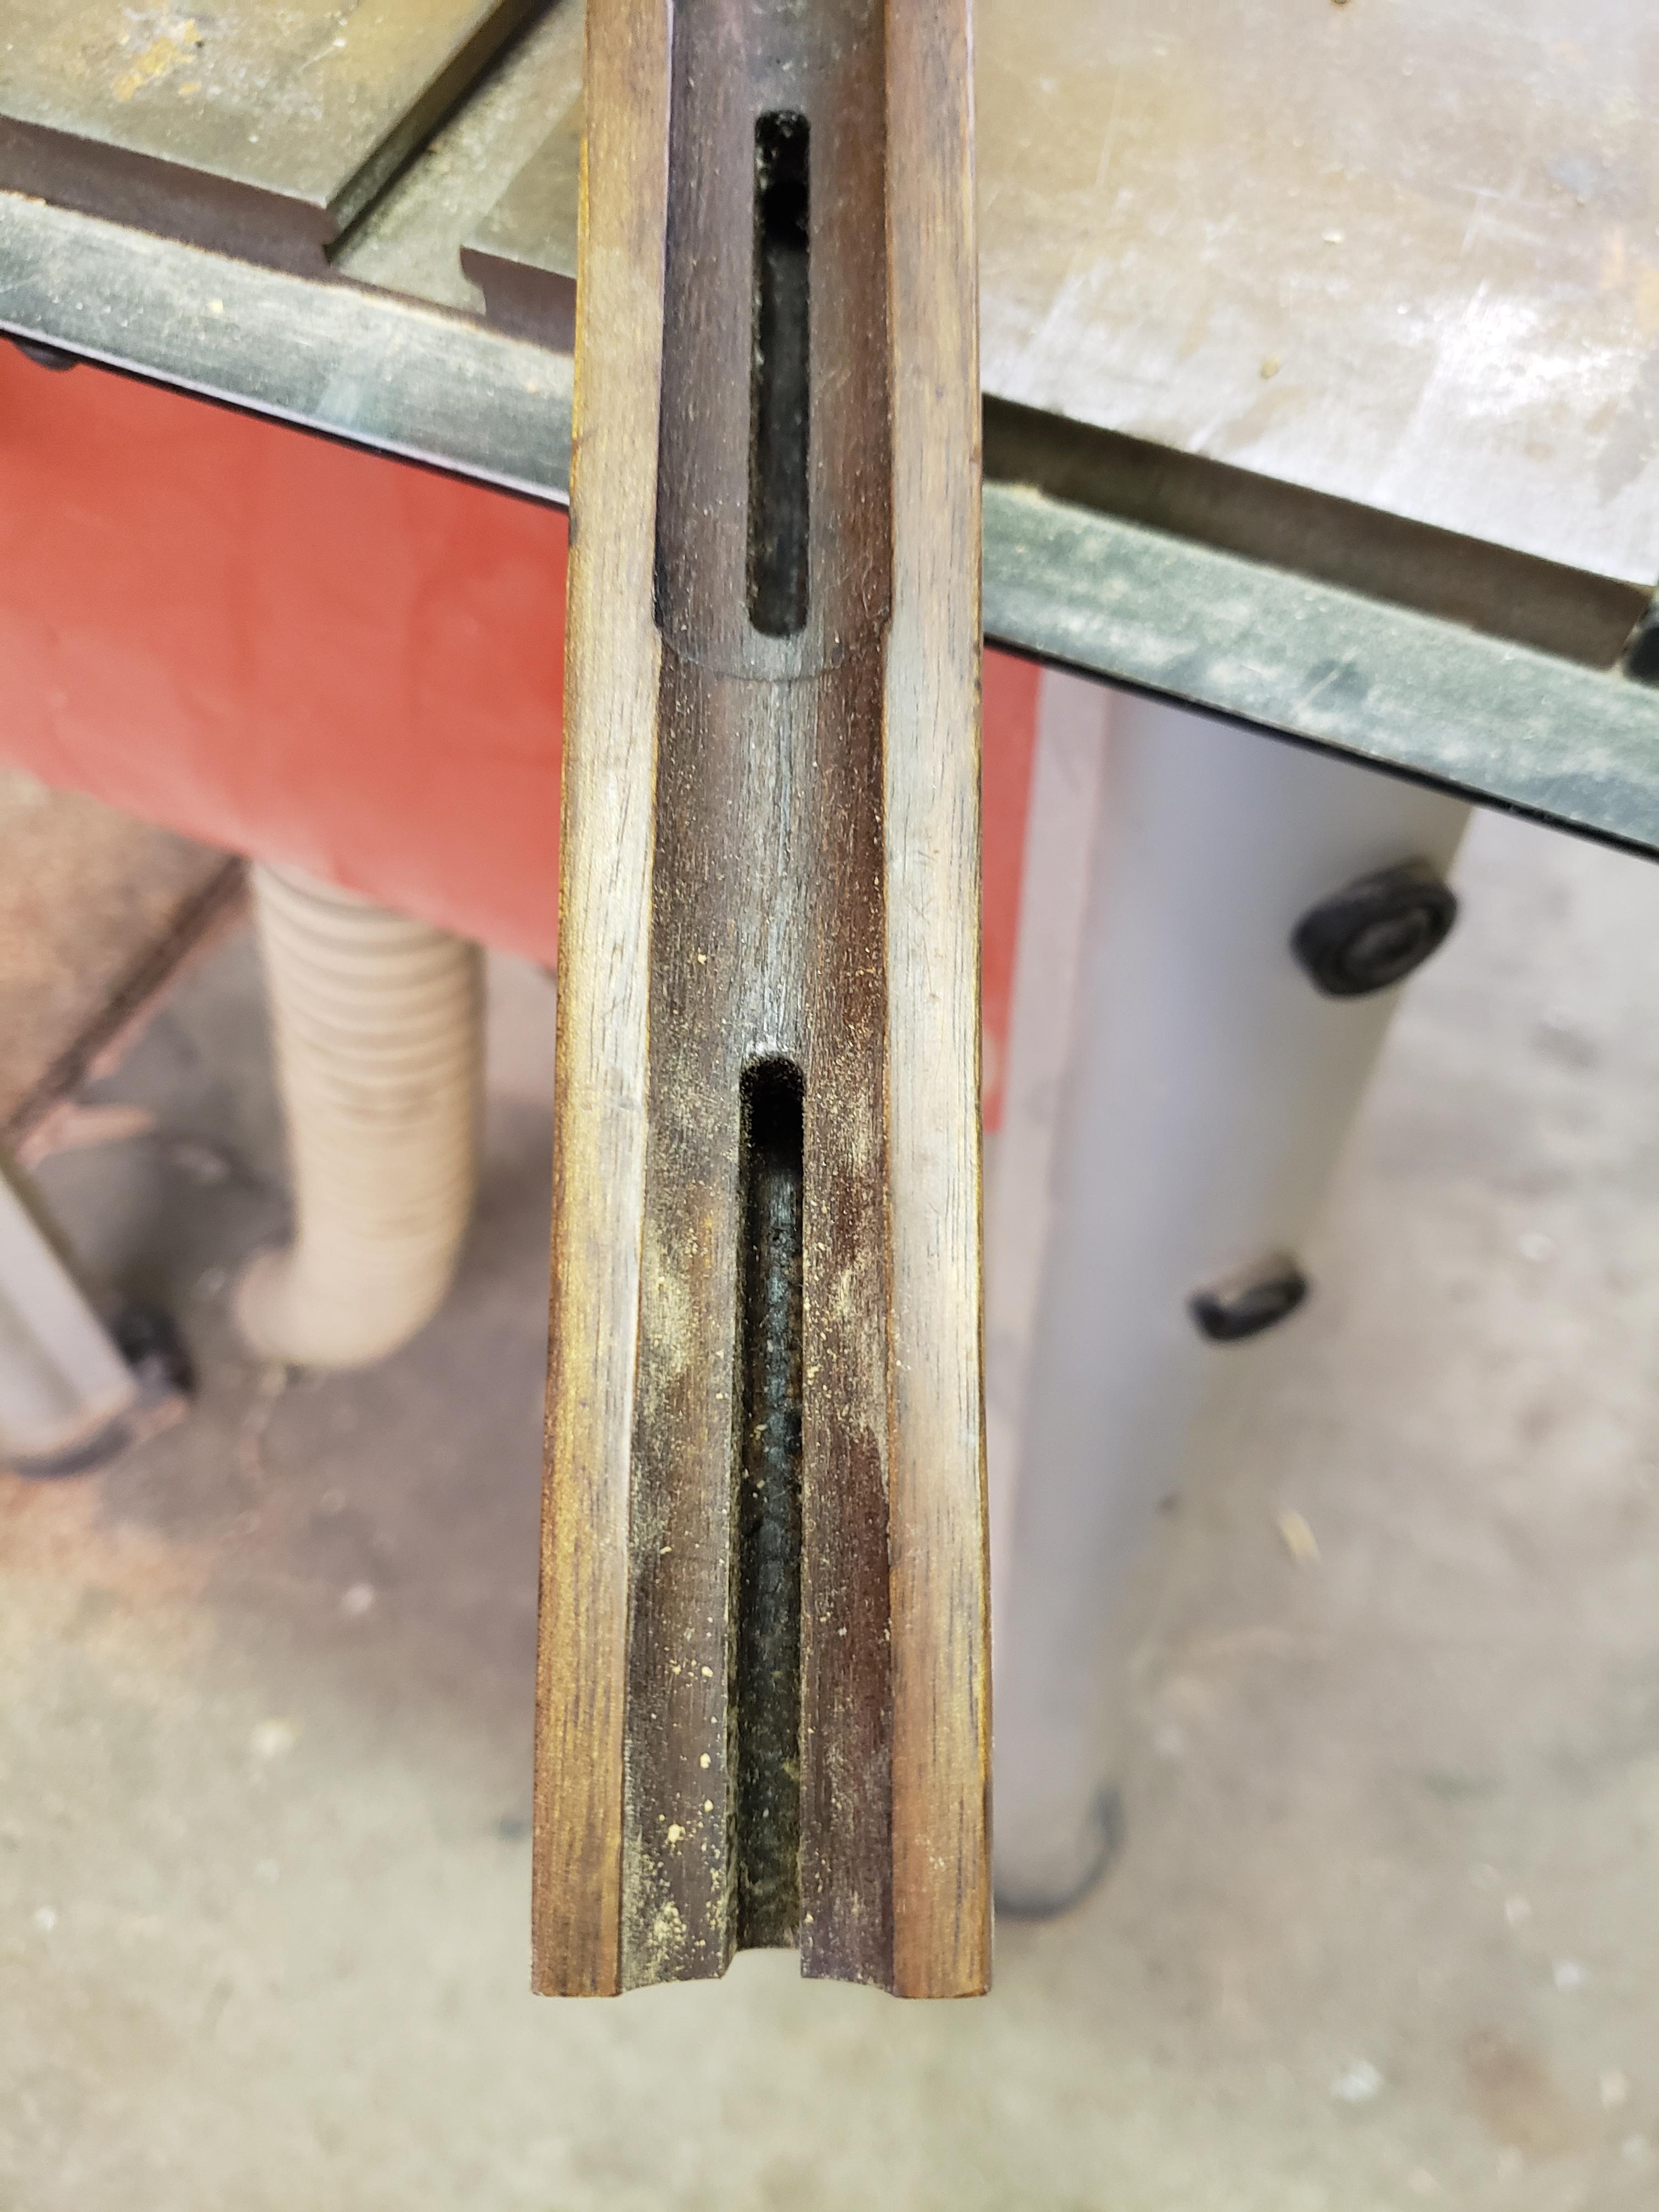
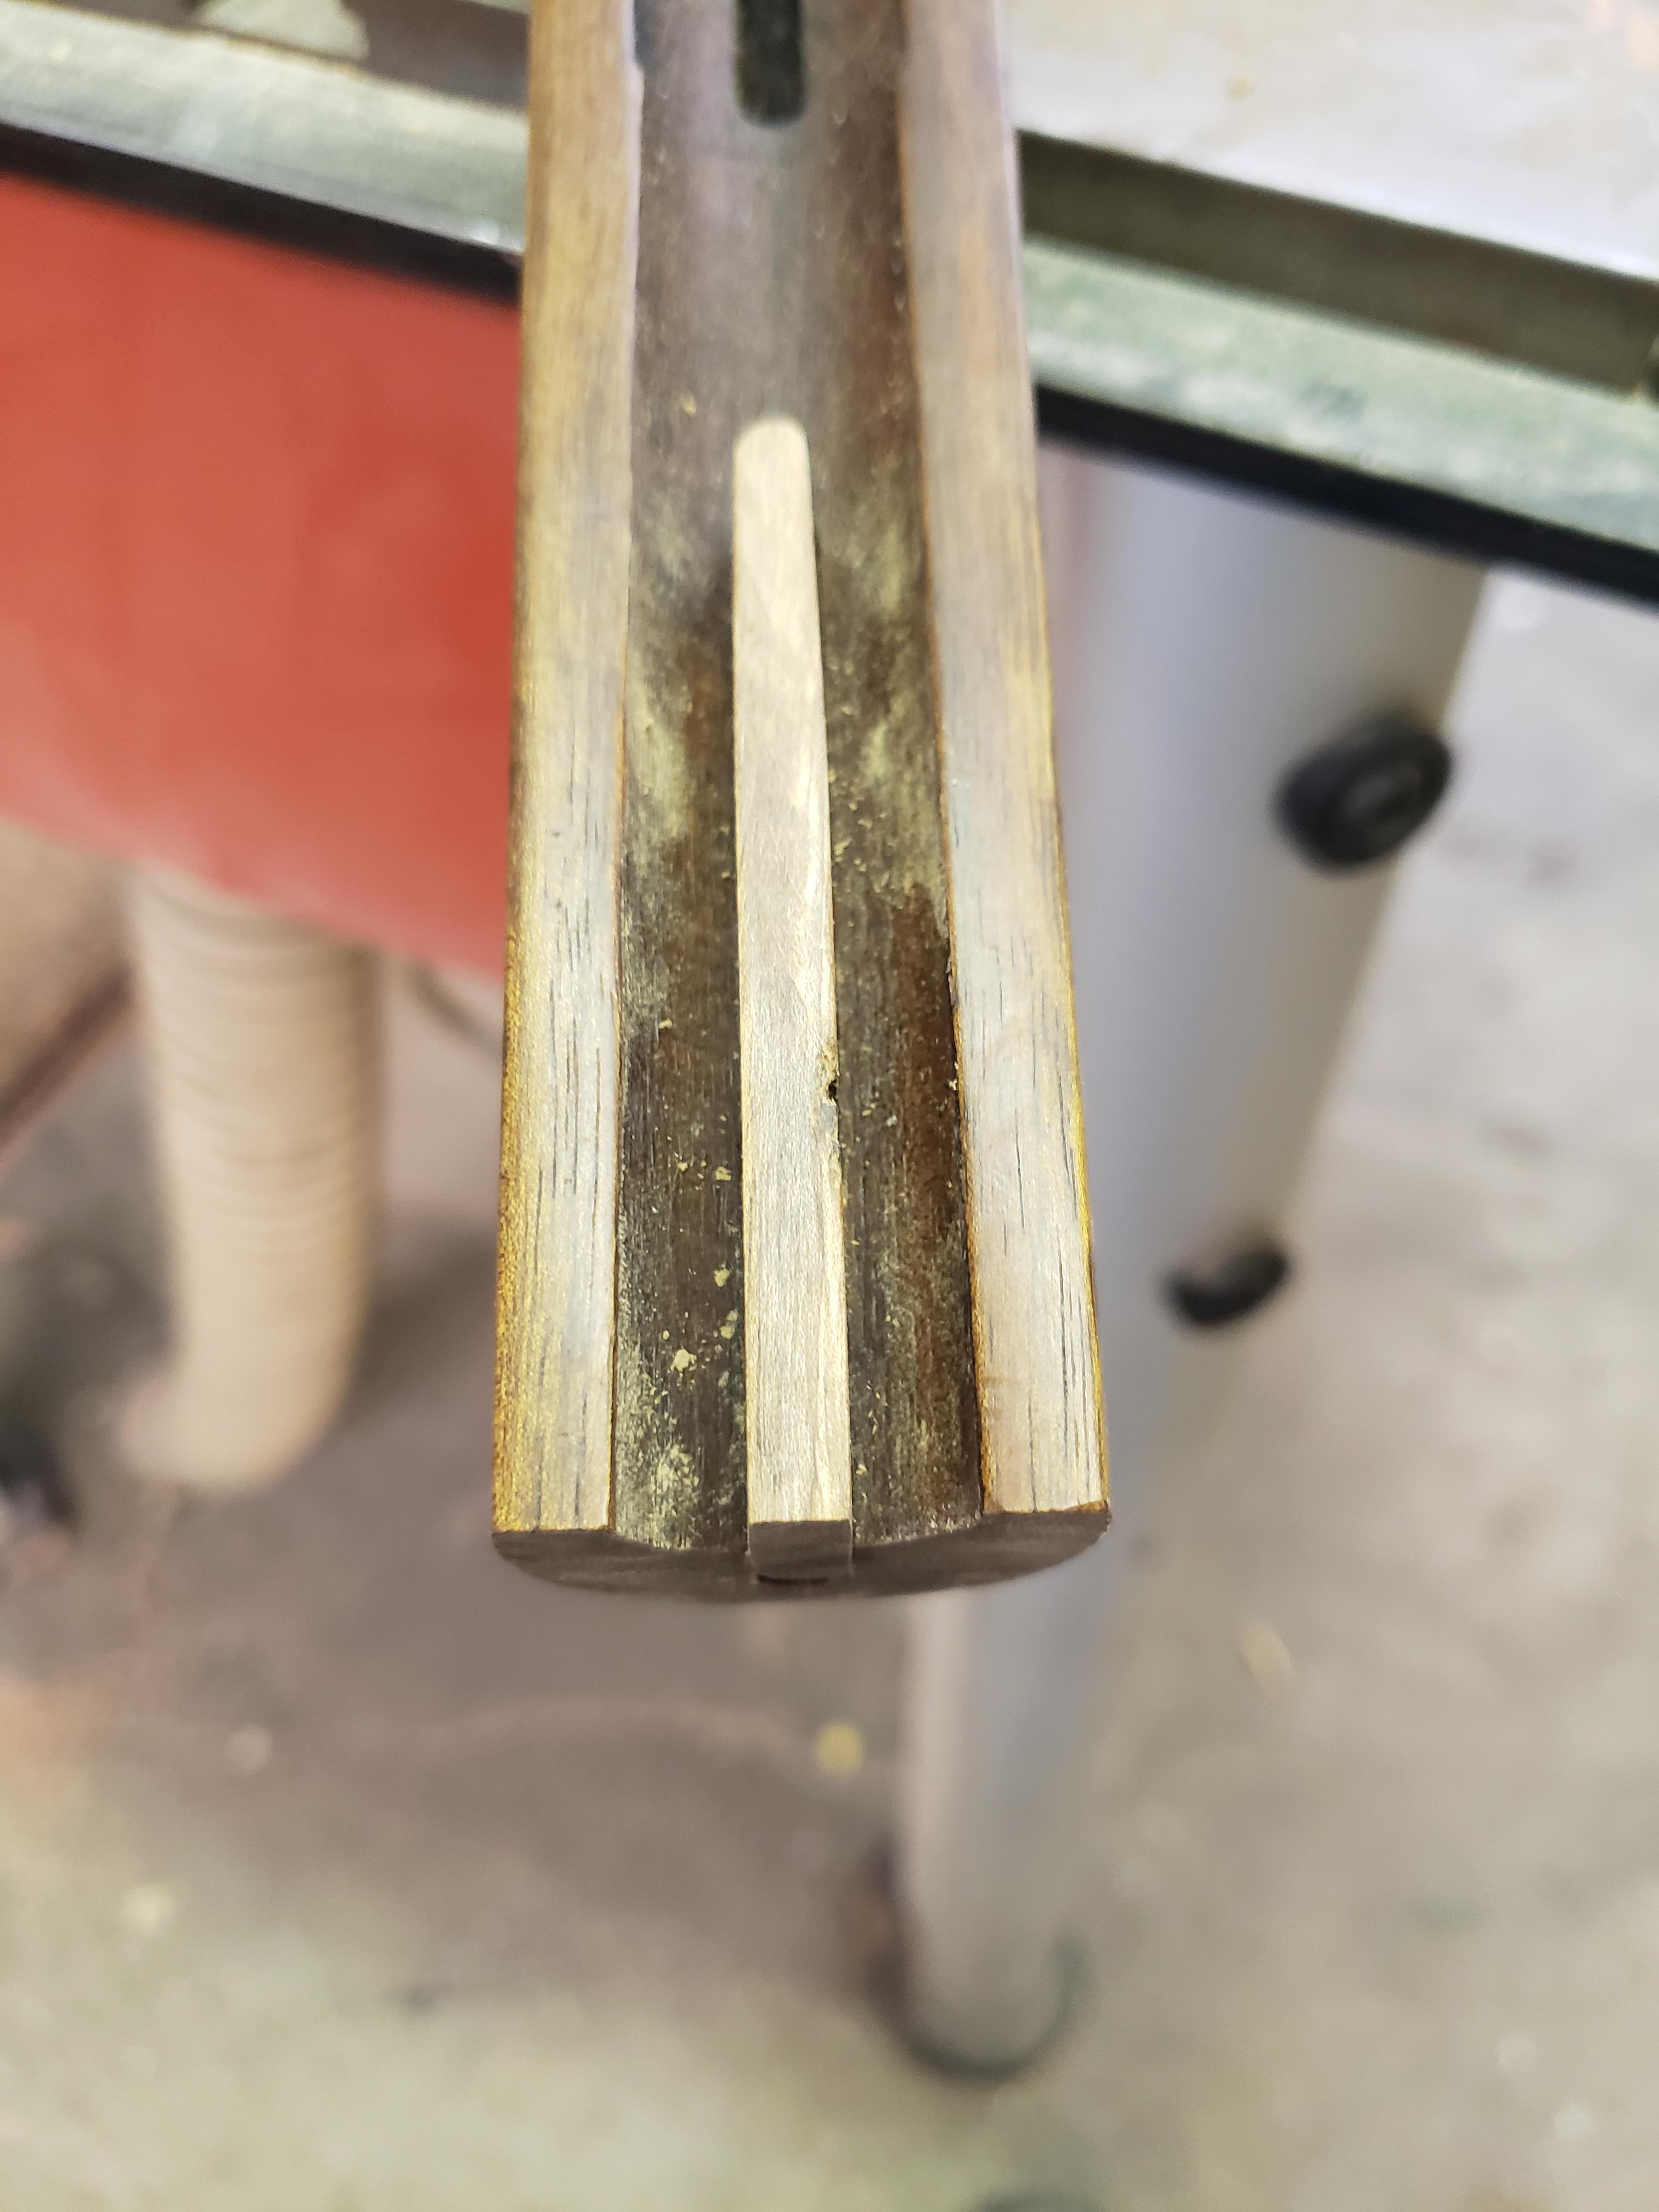
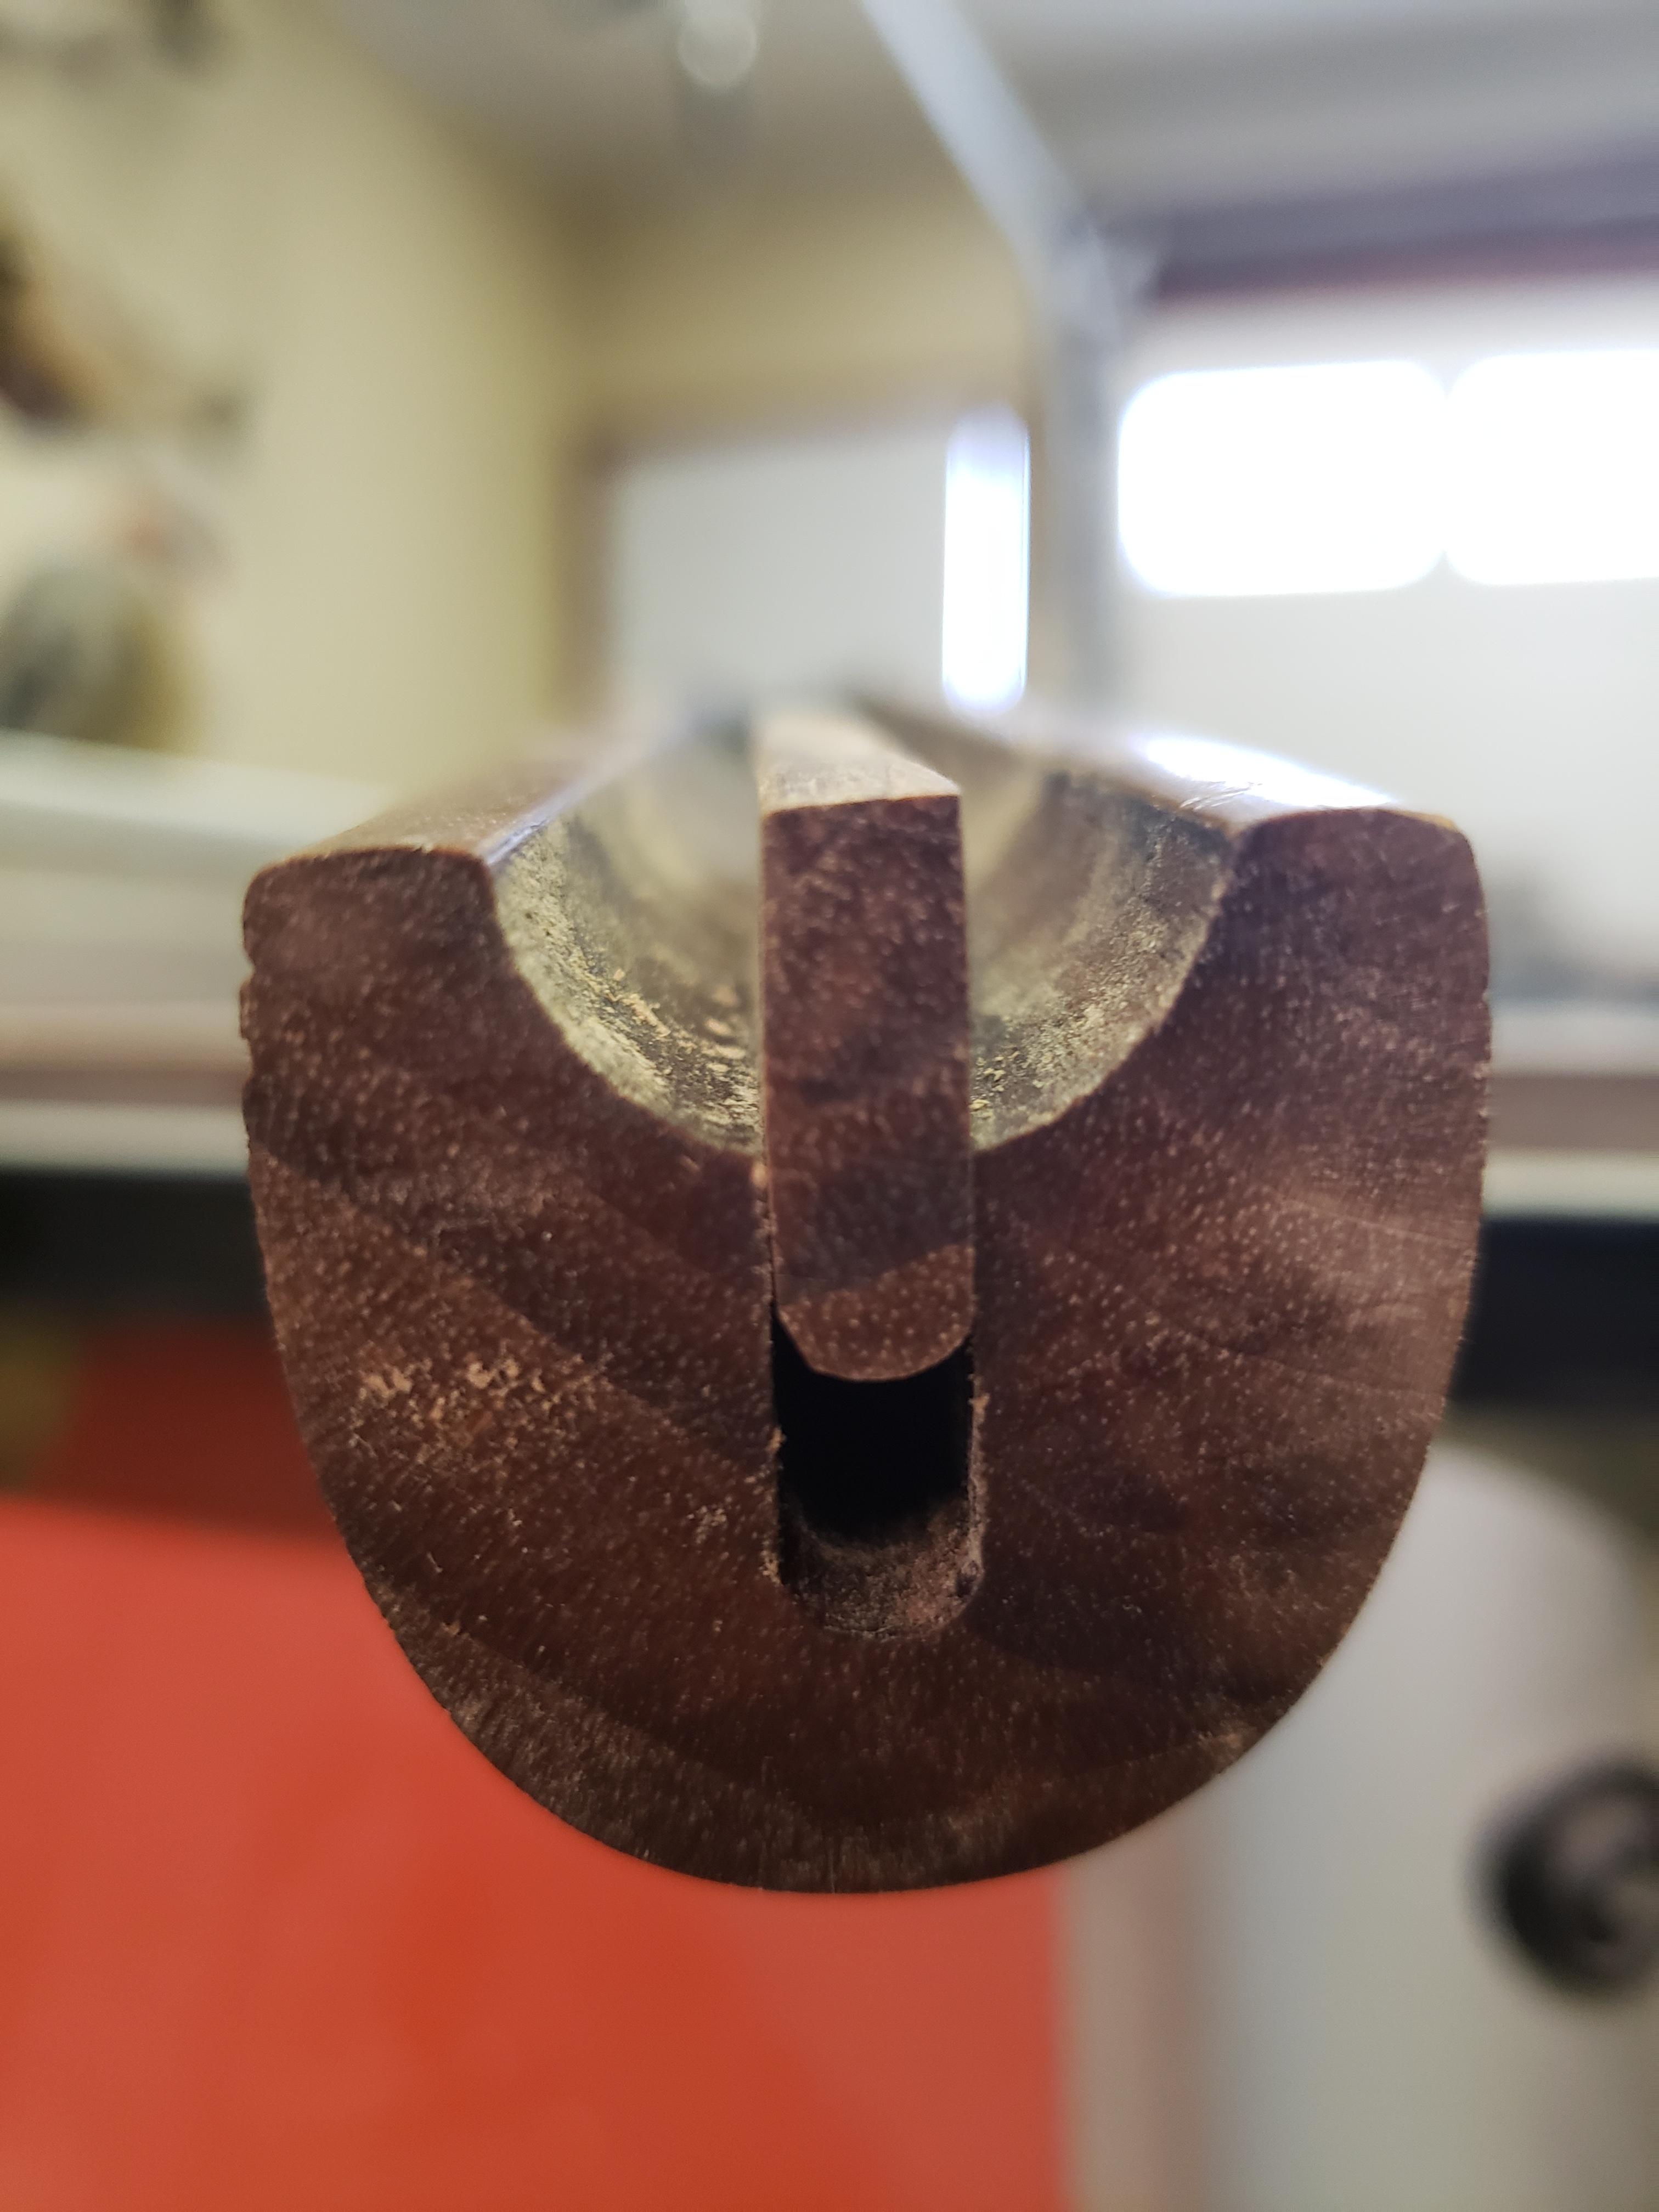
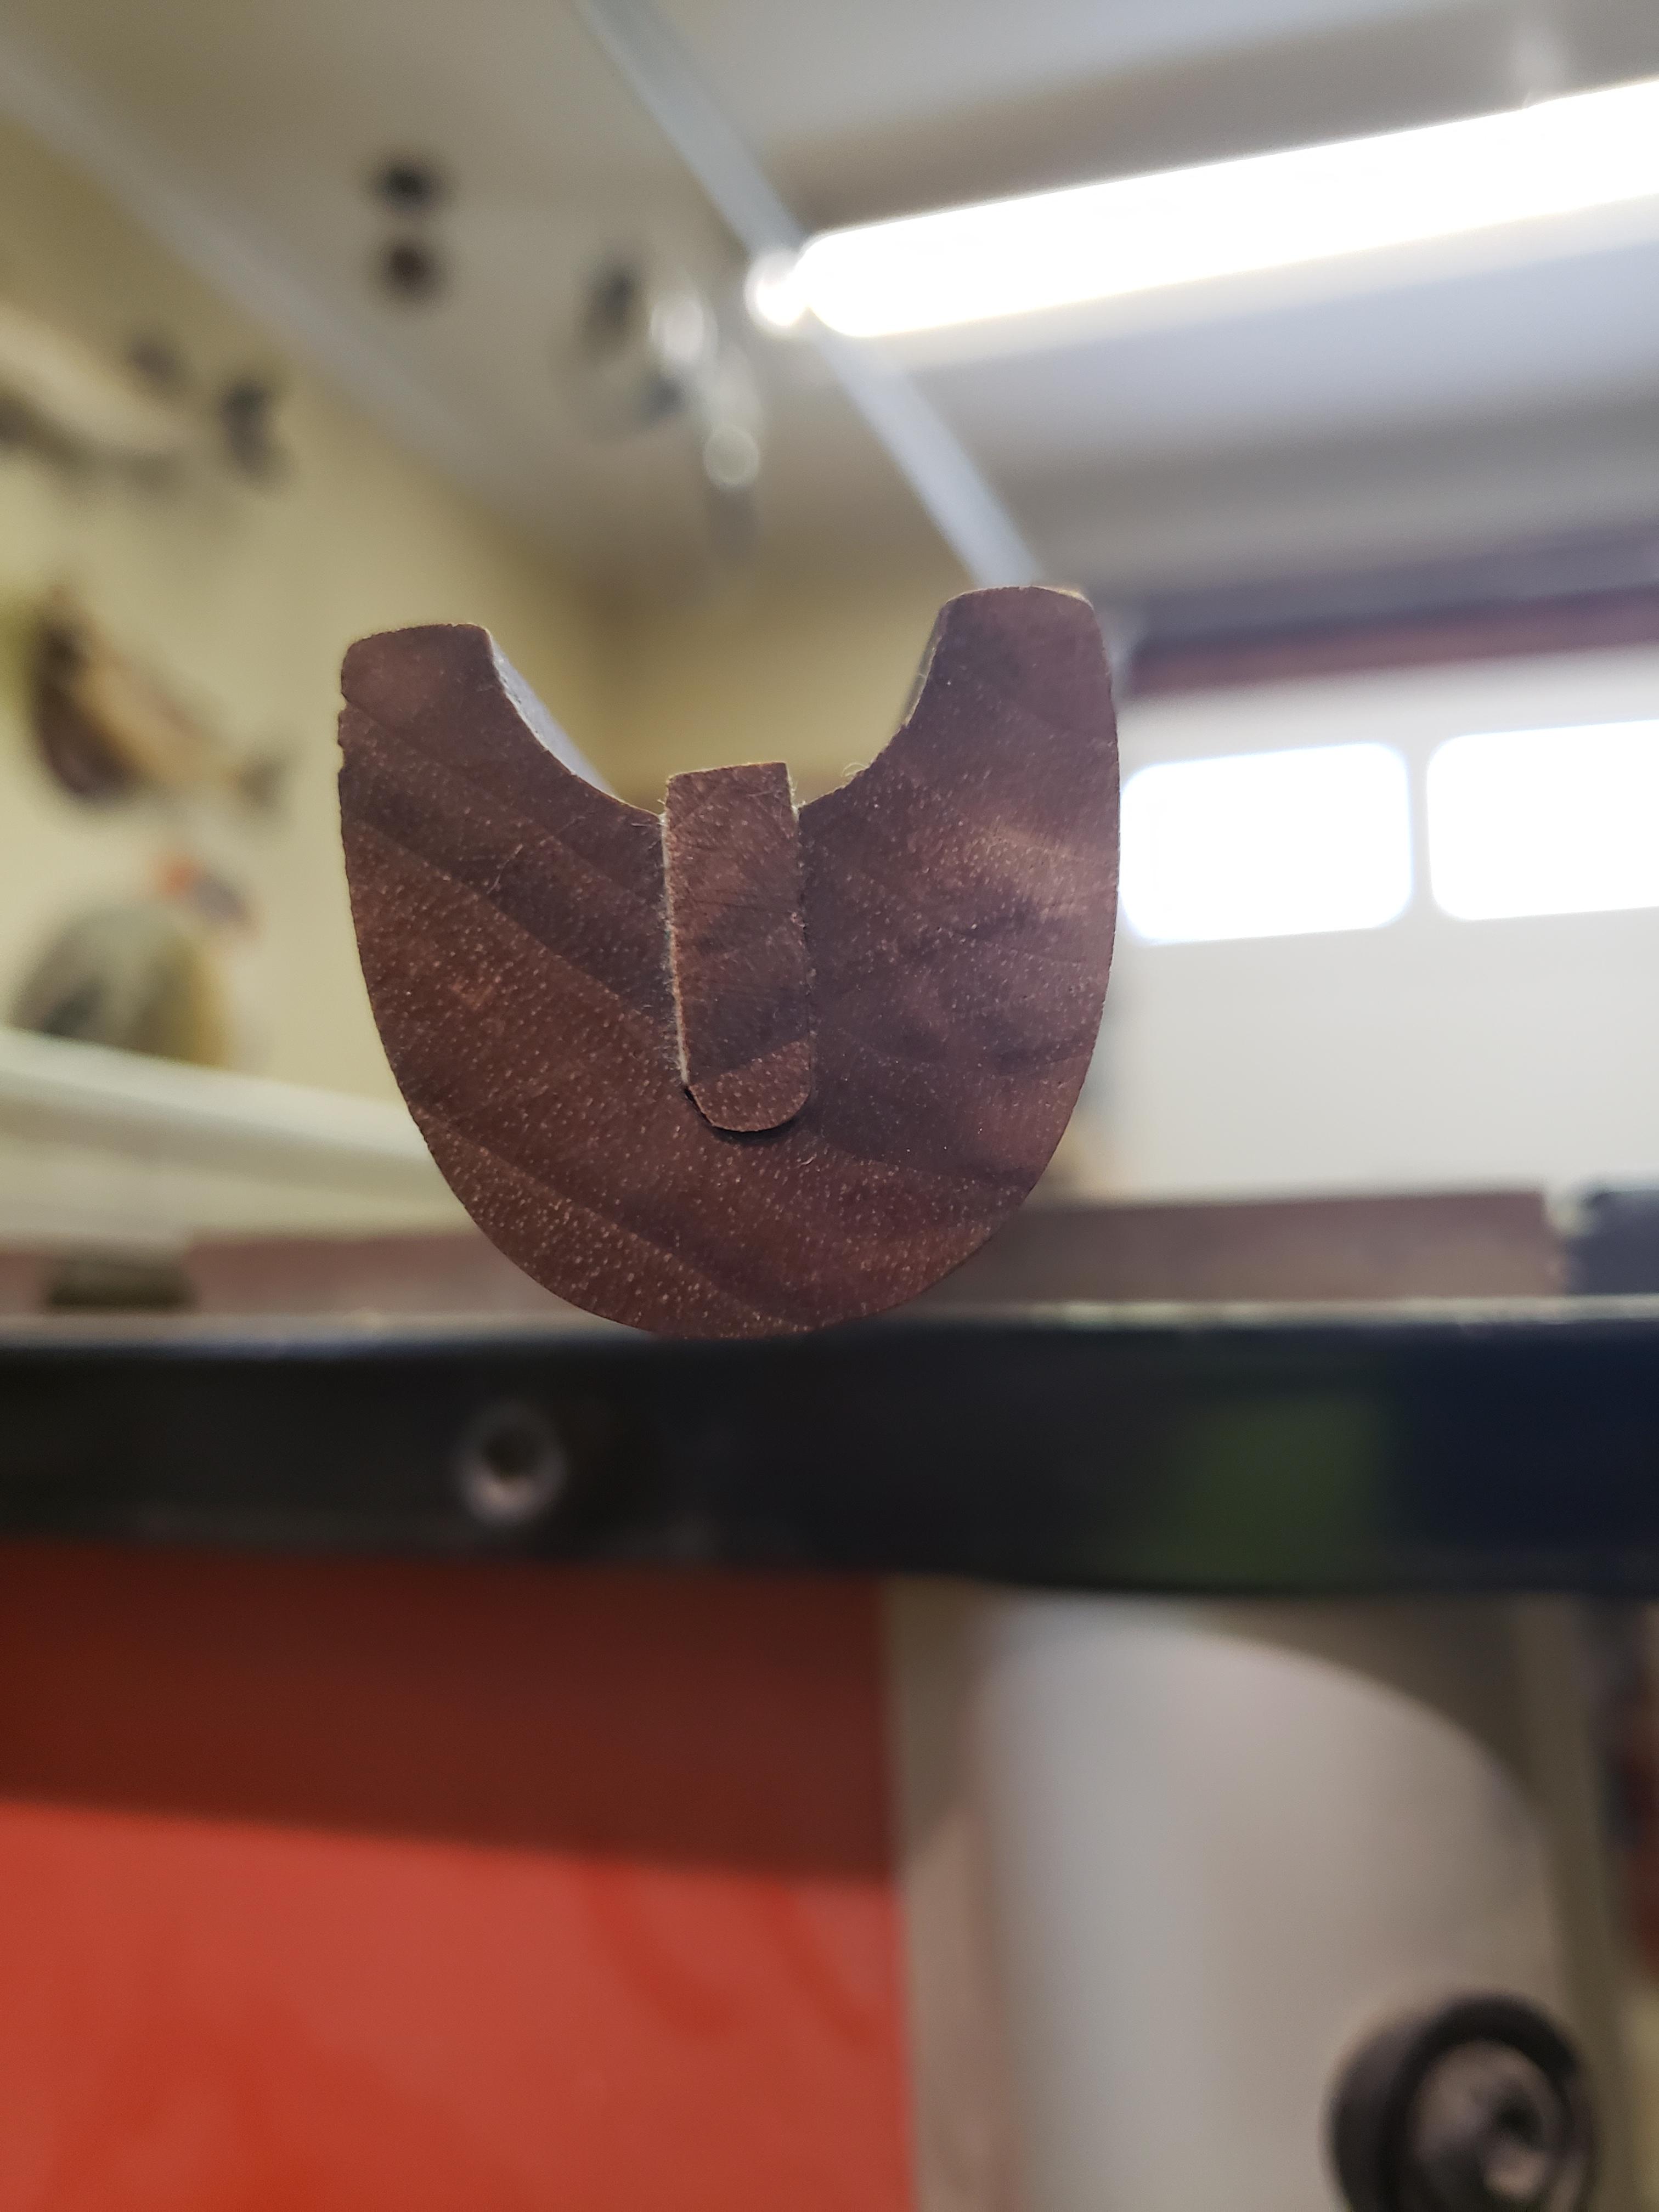
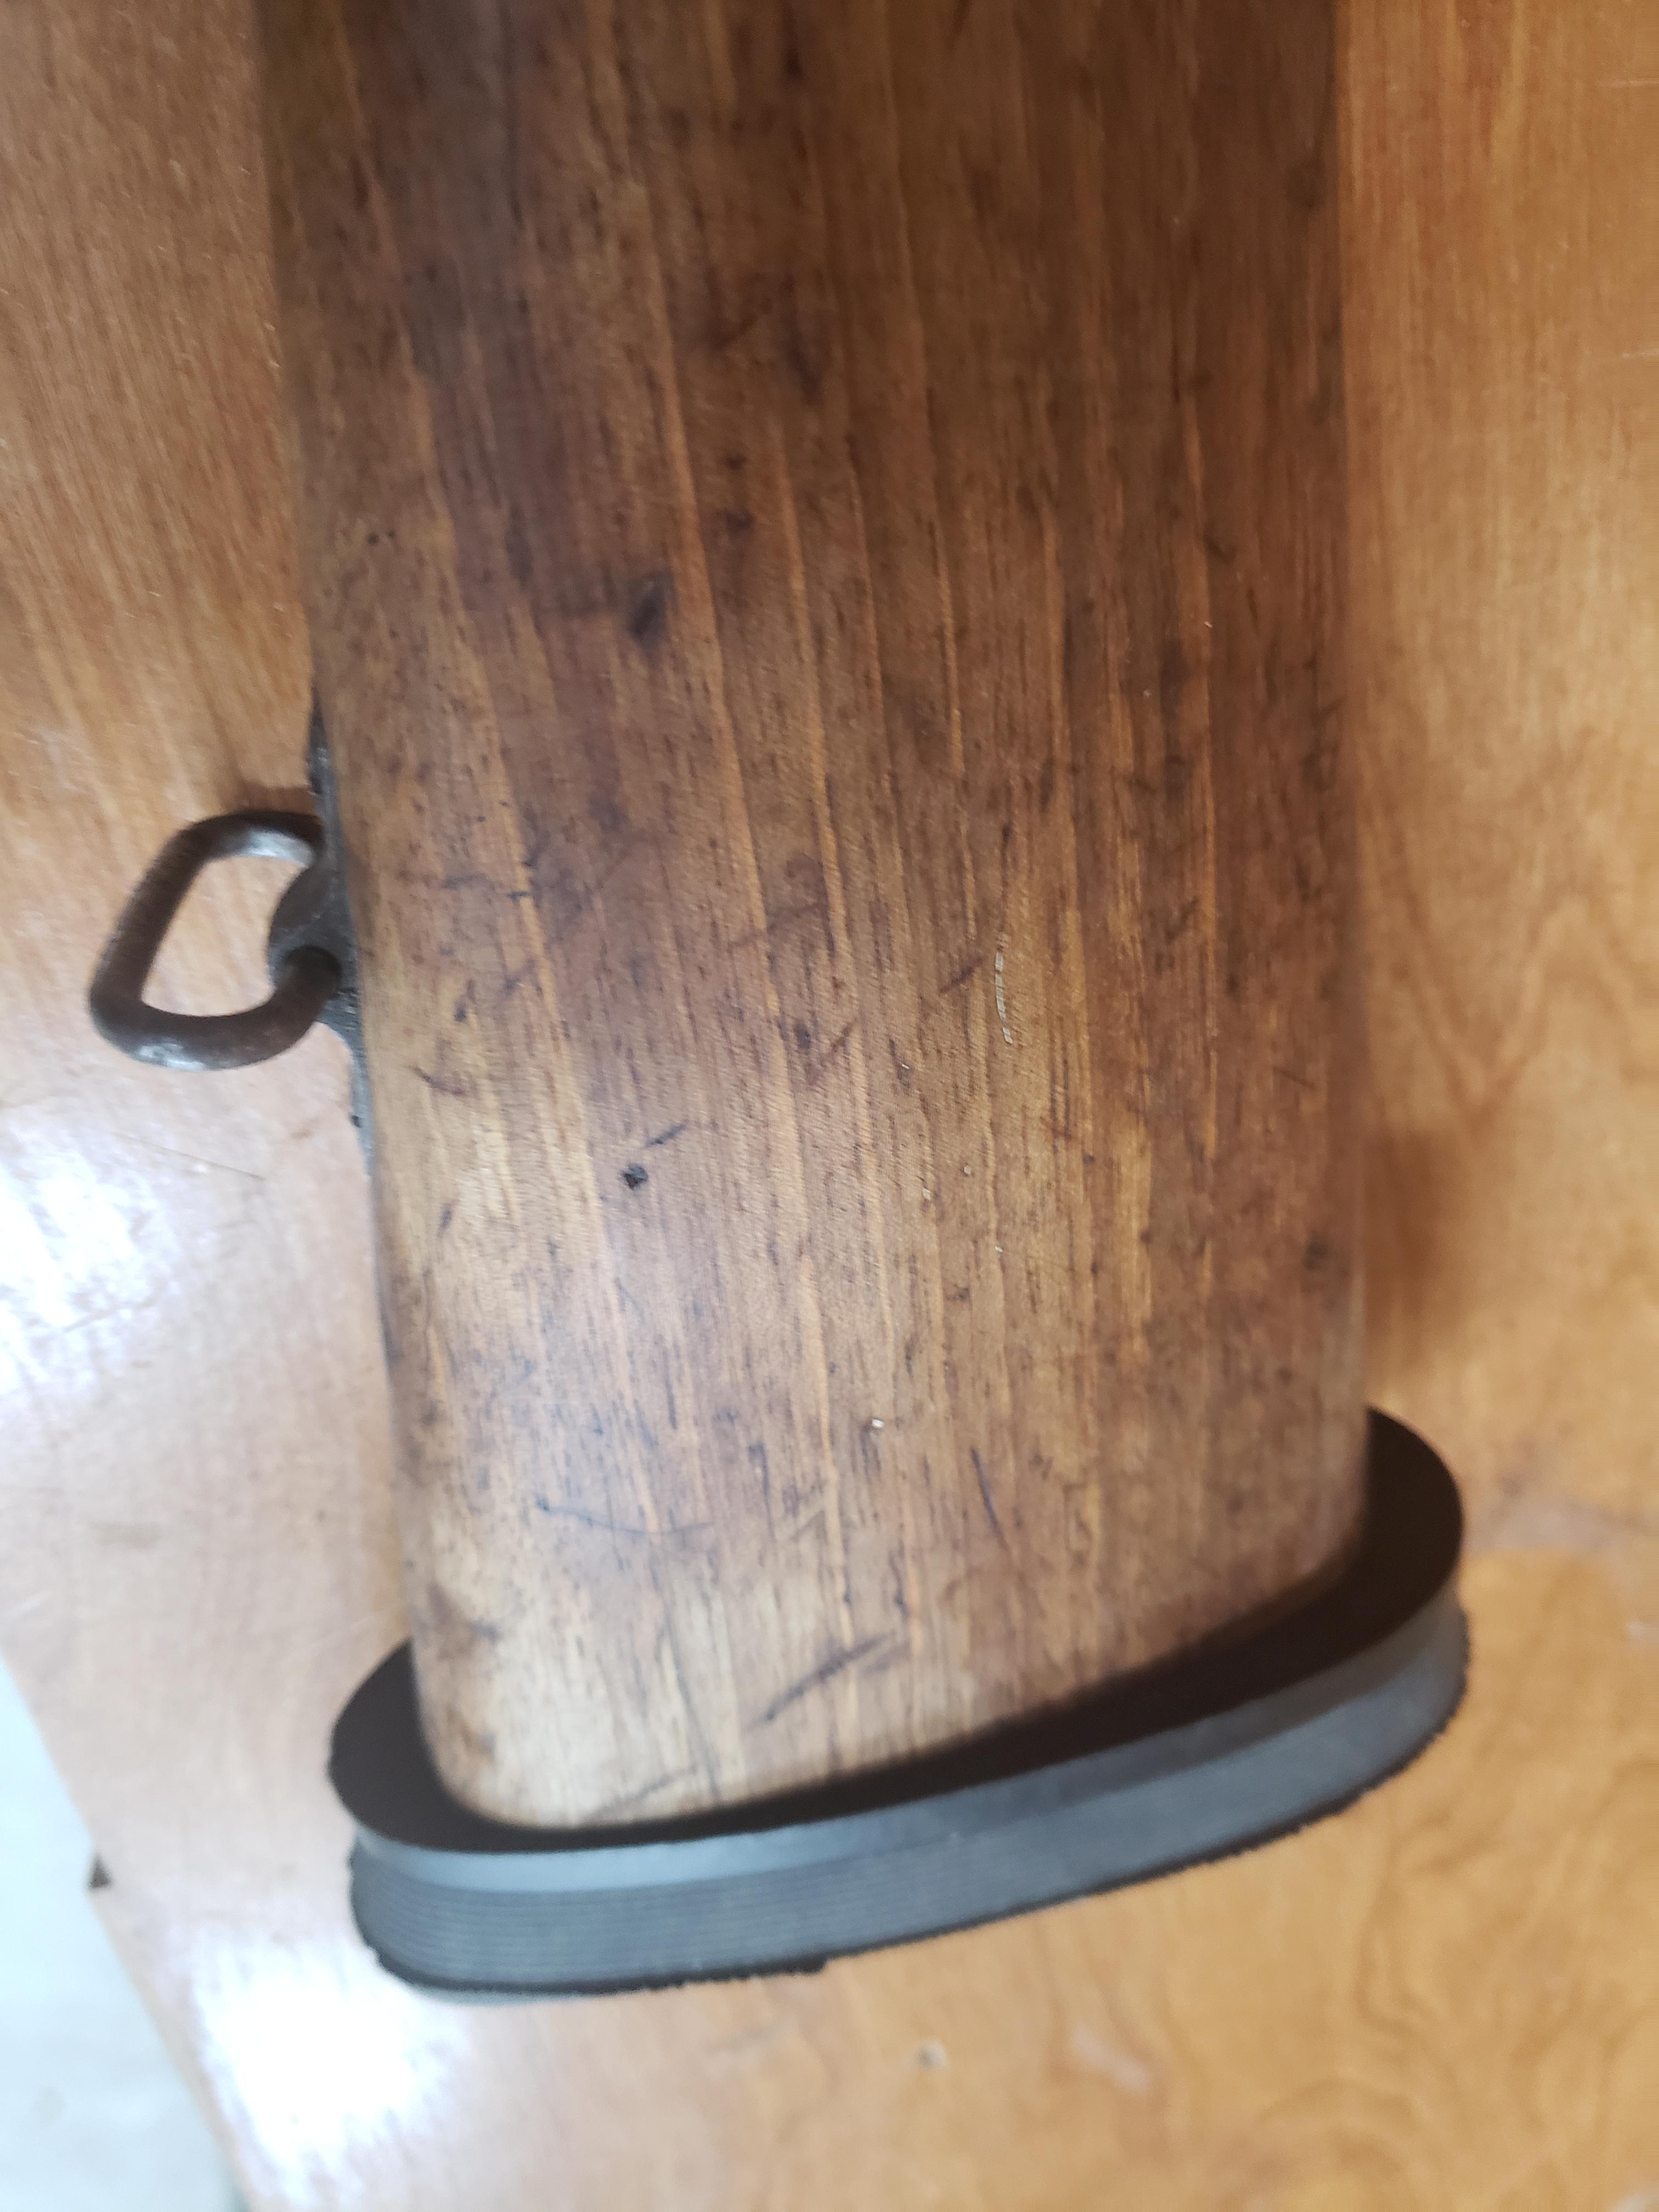
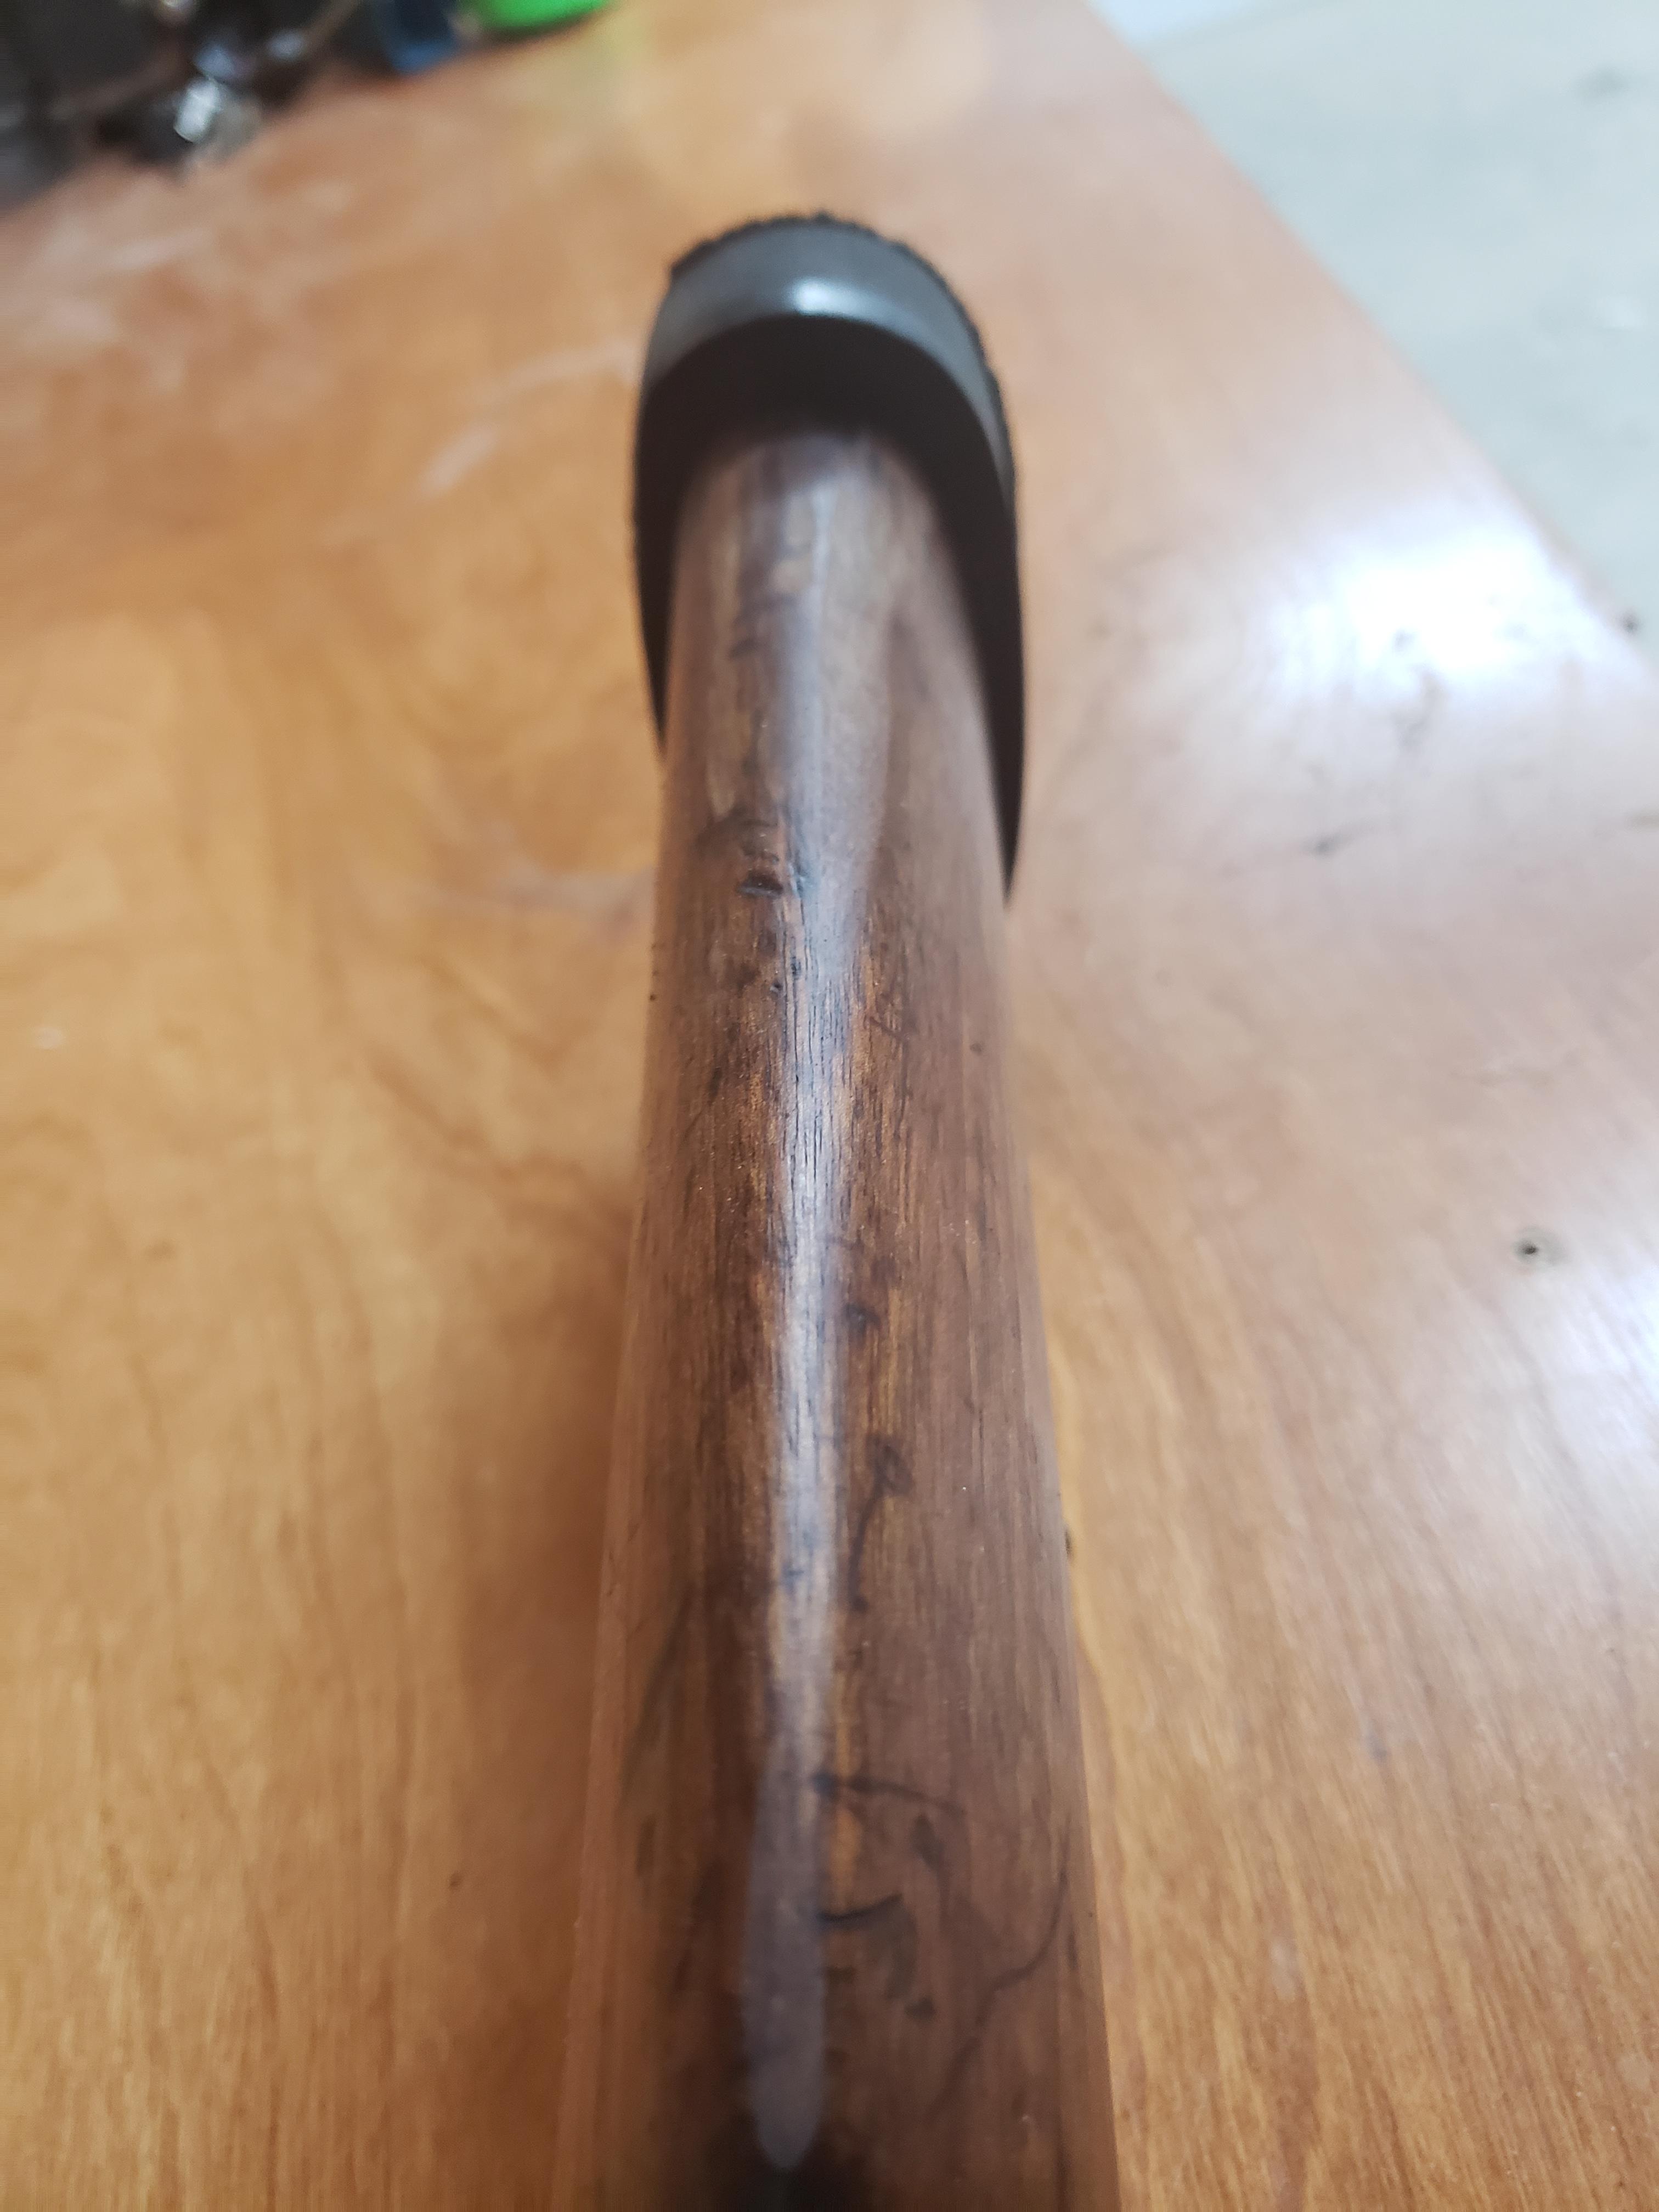
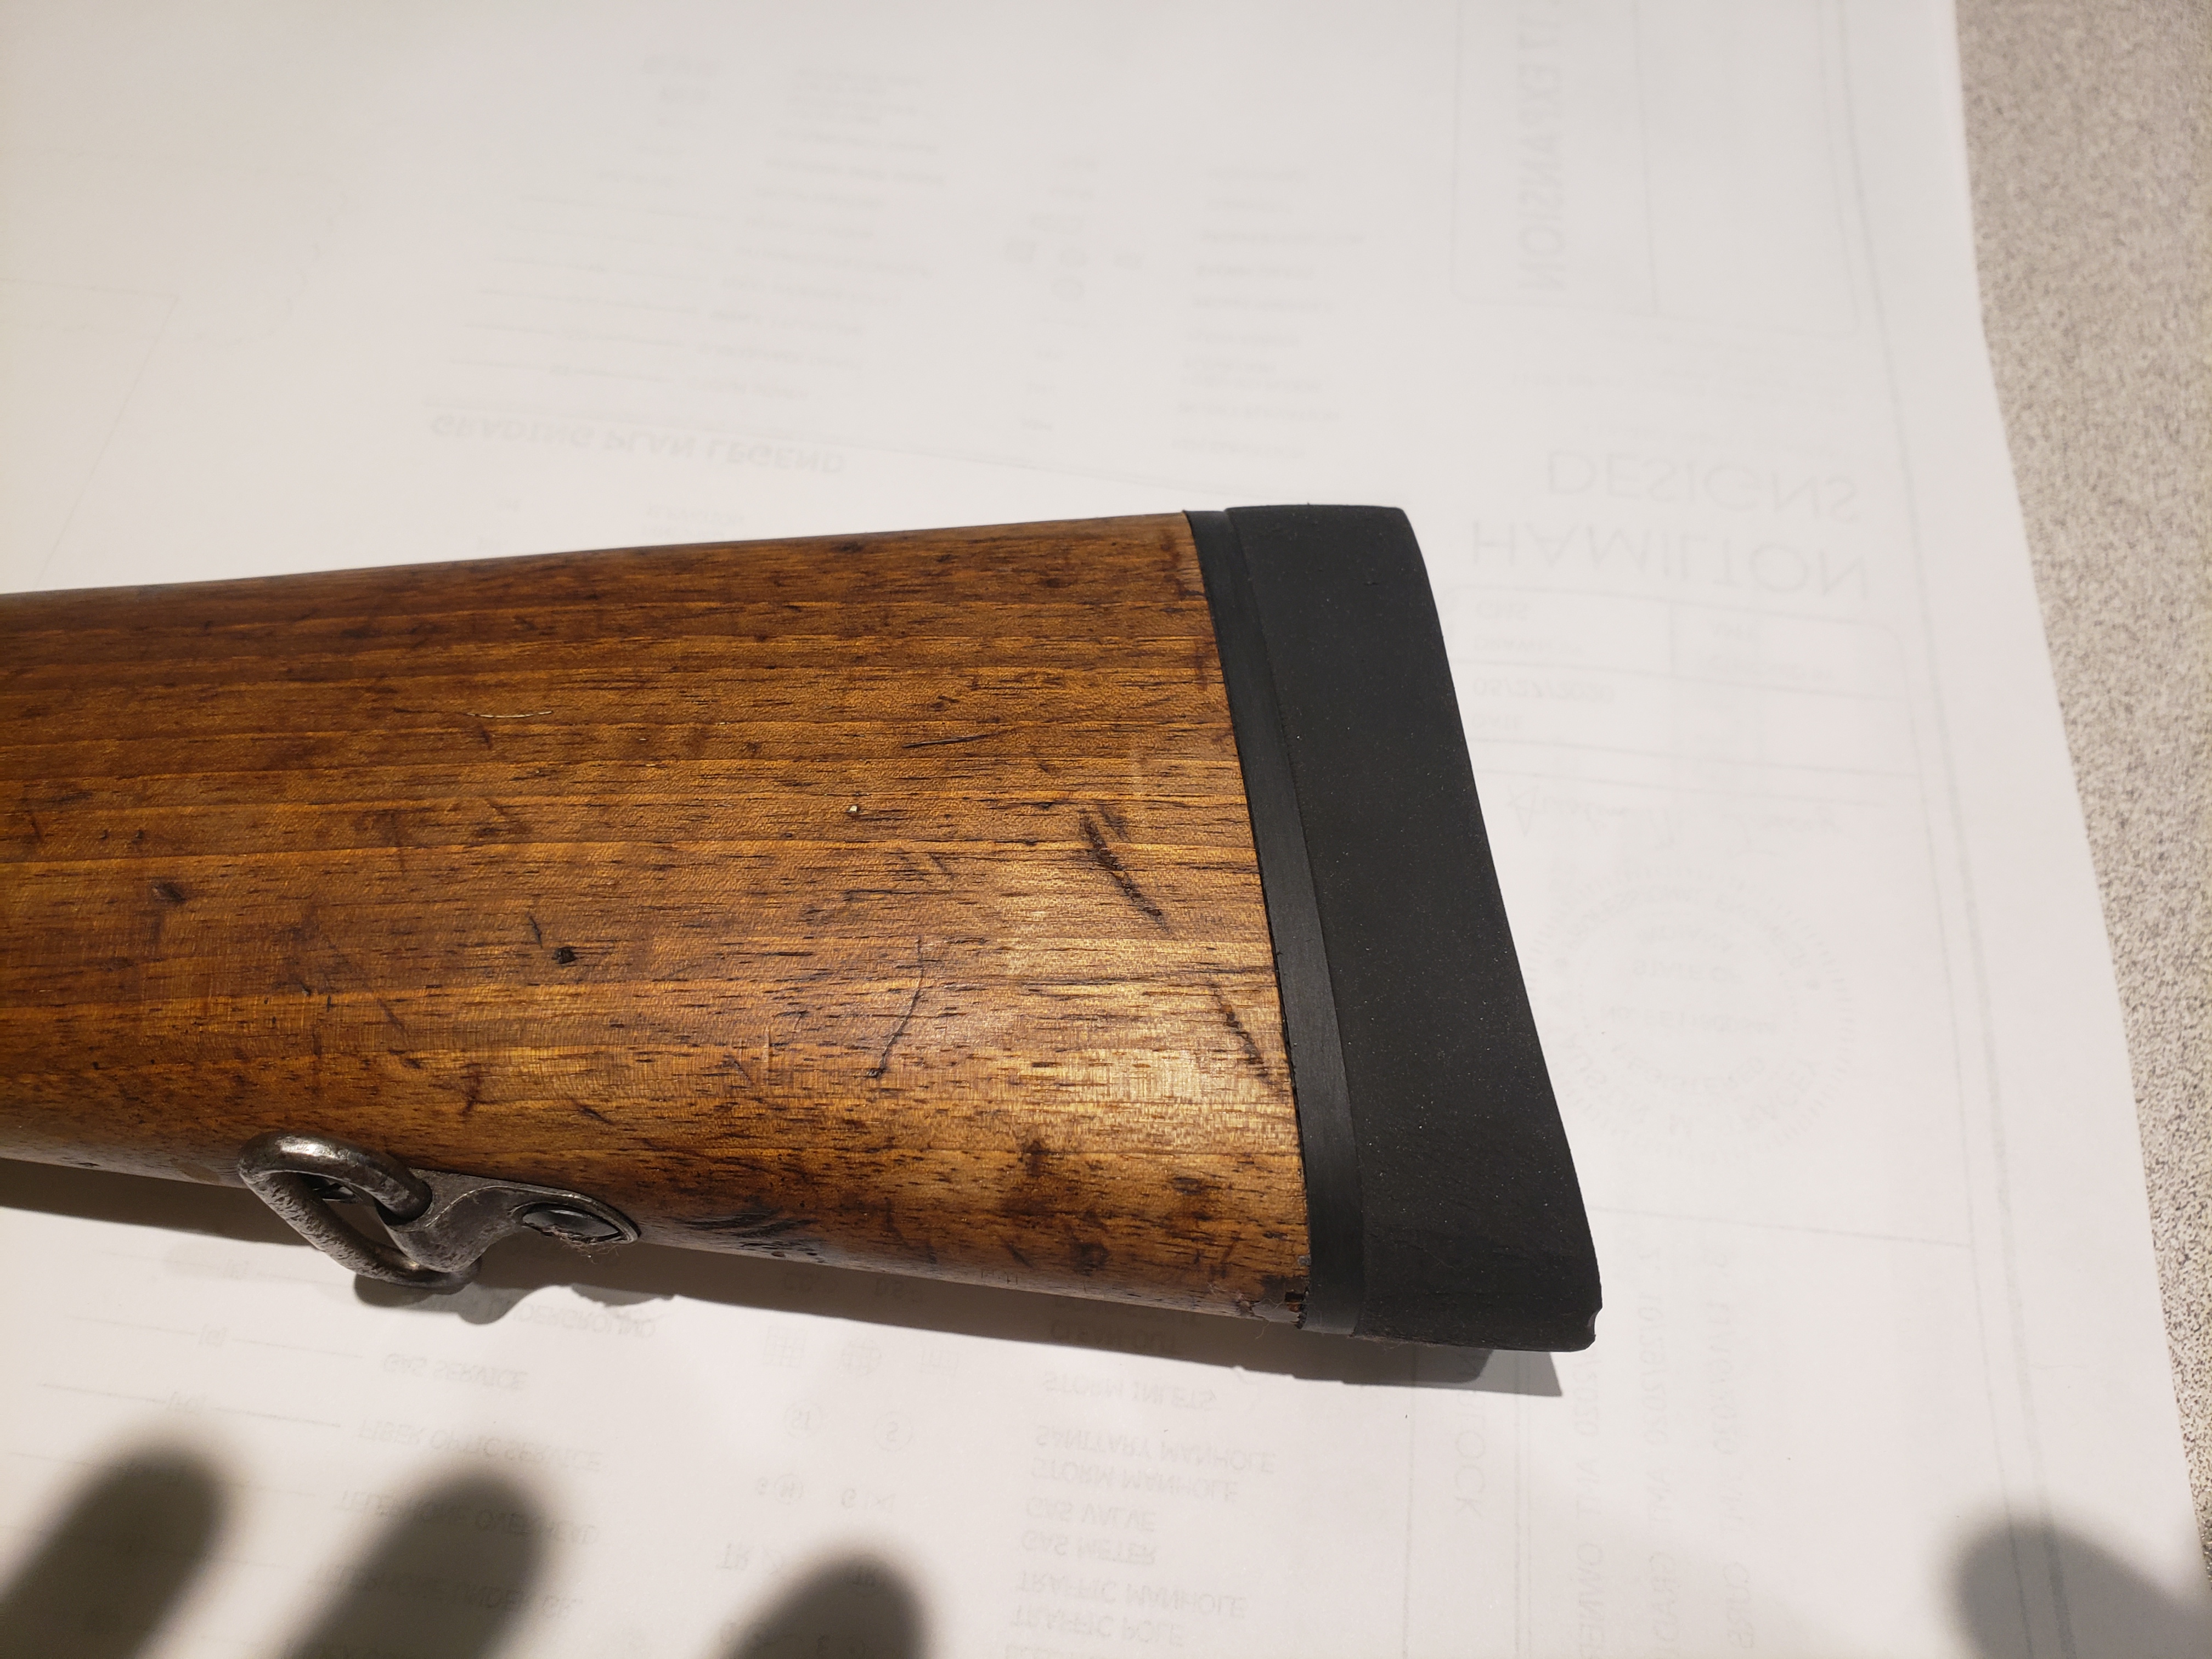
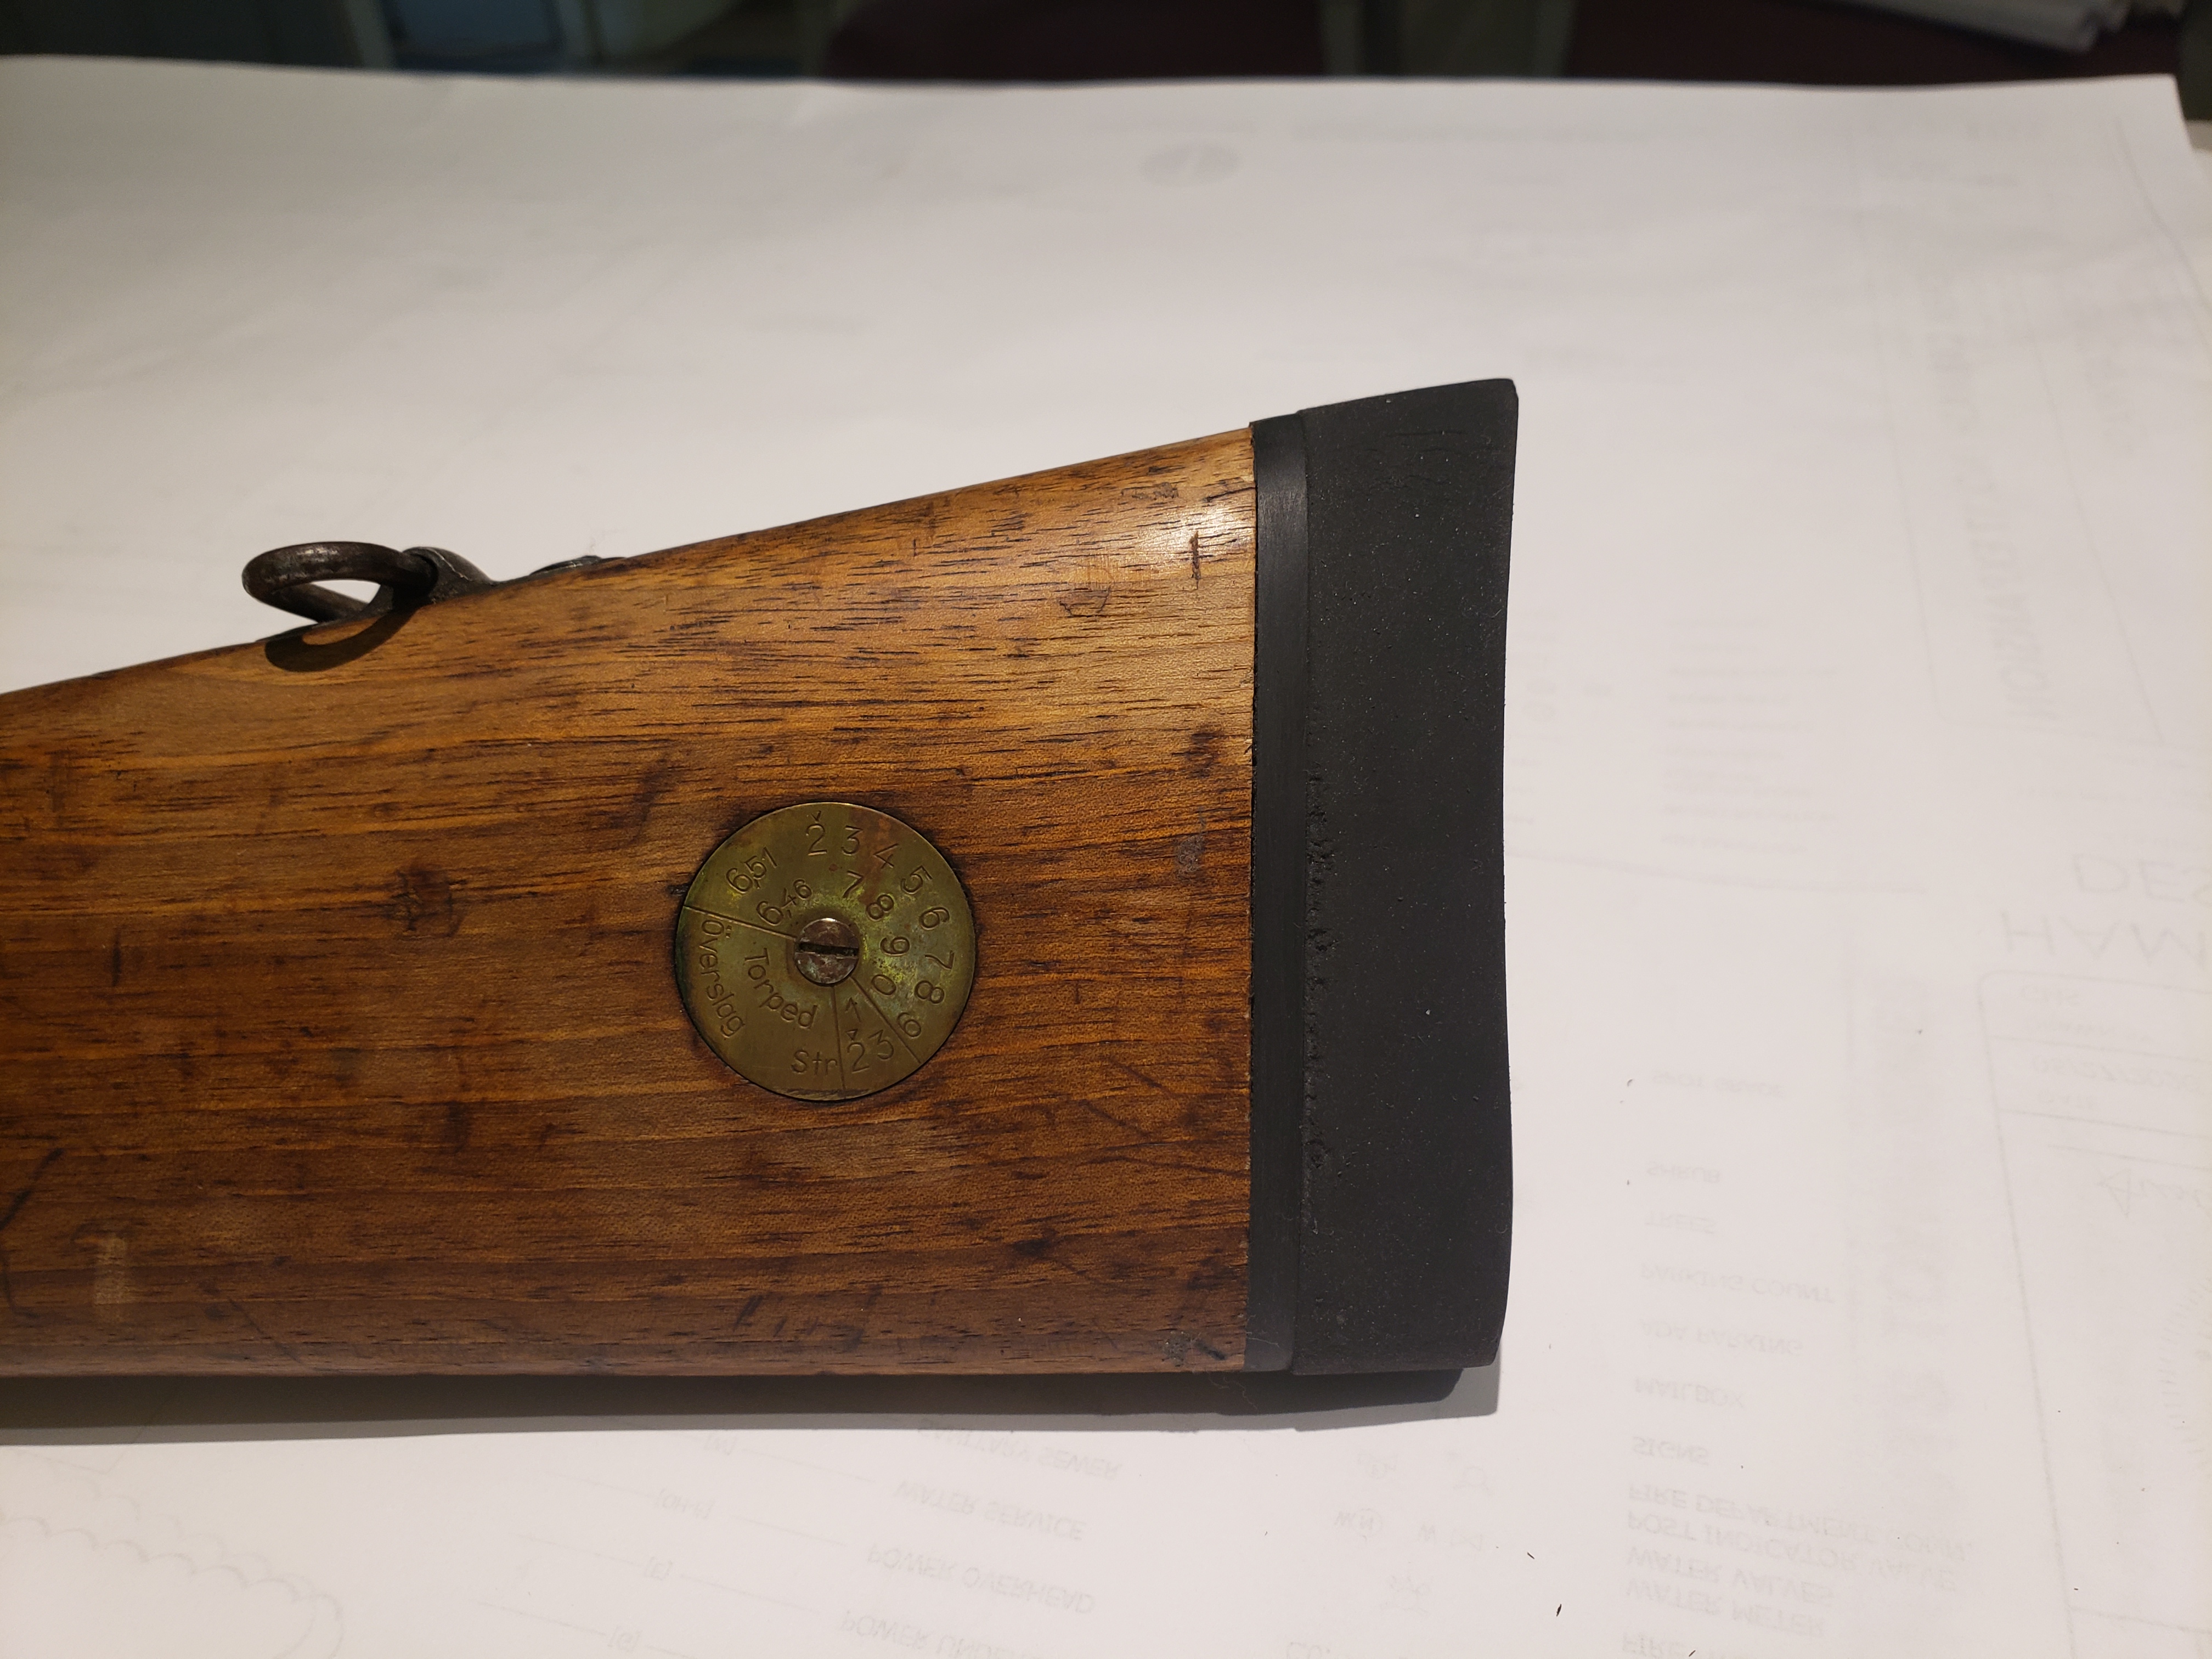
    Back story. I got a Swedish Mauser 96 +-25 years ago when I was young and dumb and decided it would be my "gunsmith experiment"...

    This back when the Mauser was kind of like the Mosin Nagant of five years ago.

    I tinkered with it, worked on the trigger (had to buy another trigger..LOL), tapped it, and got the bolt bent.

    I shot it in the 6.5X55 for many years but could never use it in Indiana for deer.

    So recently I found a supplier that had .450BM barrels for the small ring Mauser and I ordered one.

    This will share how things are going and also open it up for any tips.

    Also....trust me when I say. "Older smarter me would have cleaned it and thrown it in the safe but younger dumber me had already taken it to the point where there was no going back!"
     
    Last edited:

    bobjones223

    Master
    Rating - 98.2%
    55   1   0
    Mar 3, 2011
    1,788
    77
    Noblesville, IN
    Well,

    Should be getting the barrel in any day now....:rockwoot:

    While I have been waiting I have been pondering the "final" look and feel of the .450 Swed..

    First thought was to Bubba Gump the crap out of it with a plastic cheek riser, pistol grip, and rattle can on the old stock.

    I cut the stock down to accommodate the recoil pad (a must) and the shorter barrel.

    After looking at the stock, the patina, and the history I couldn't bring myself to do it. I felt I had already abused her enough.

    I have since decided to leave her looking classy instead of trashy.

    The recoil pad will be mounted and finished, and the front of the stock will be rounded off and recontoured once the barrel channel is finished.

    Then the entire thing will get a fresh coating of Linseed Oil.

    I would like to find a sling mount for the front that matches the back and mortise it in....sooooo if anyone has an old Mauser stock sitting around....HOOK A BROTHER UP?:dunno:

    Also Once my barrel comes in I will need a barrel wrench for about an hour.....soooooo if you got one I could use/rent that would be AWESOME!
    lNO80G2.jpg

    JAEnuNm.jpg
     
    Last edited:

    bobjones223

    Master
    Rating - 98.2%
    55   1   0
    Mar 3, 2011
    1,788
    77
    Noblesville, IN
    The plans are to round off the front of the foregrip like a normal rifle but due to the old cleaning rod channel this would have looked like crap.
    kGyX0zV.jpg

    HTABgrz.jpg


    I am also going to mount a shoulder strap on the front and would need something to anchor to.

    I ran the cut off section of the front stock through the table saw and bench sander to make a plug of the same wood to fill the gap.
    9funfy1.jpg

    GCfMNZD.jpg


    Once it was fit it has been glued into place. Final sand and touch up will be done during the barrel channel fit and front contouring.

    AZFjaZC.jpg


    The fit is better than the picture shows due to the shadow on the bottom of the plug.
     

    bobjones223

    Master
    Rating - 98.2%
    55   1   0
    Mar 3, 2011
    1,788
    77
    Noblesville, IN
    Recoil pad time.

    So...recoil pads are always tough to do and do right. The last one I did was way more firm than the Limbsaver model.

    After doing the Limbsaver I like the more firm ones for install reasons because the foam on the Limbsaver is very soft and gummy when it warms up.
    rzEGzde.jpg

    eEpIScY.jpg

    HhFhu57.jpg

    QA5WNI5.jpg


    I may do a little more light shaping and polishing but for my first time with that gummy crap I think it came out okay.:dunno:

    Next up will be an over travel stop on the trigger. I took out 90% of the pre-travel 20+ years ago. I did lots of slam testing with the gun (1st trigger failed, thus the second trigger mentioned in the first post) and it is 100% safe now.

    It is still a firm trigger but super crisp and once the over travel is removed I think it will be perfect.
     
    Last edited:

    bobjones223

    Master
    Rating - 98.2%
    55   1   0
    Mar 3, 2011
    1,788
    77
    Noblesville, IN
    Due to the rain I had time to rout out the barrel channel and miter out for the barrel nut.

    Now just need to track down/rent a barrel wrench someplace.

    The barrel nut calls for a spanner wrench which should be easy enough to get my hands on.
    20201230_202238.jpg 20201230_202231.jpg 20201230_201803.jpg
    20201230_201820.jpg 20201230_201834.jpg
     

    TJ Kackowski

    Let it begin here.
    Site Supporter
    Rating - 100%
    133   0   1
    Jun 8, 2012
    1,925
    113
    Hendricks County
    8< 8< SNIP 8< 8<

    I would like to find a sling mount for the front that matches the back and mortise it in....sooooo if anyone has an old Mauser stock sitting around....HOOK A BROTHER UP?

    8< 8< SNIP 8< 8<
    Numrich has what you're looking for ... https://www.gunpartscorp.com/products/1039510

    There's also some affordable options on eBay ...
     

    bobjones223

    Master
    Rating - 98.2%
    55   1   0
    Mar 3, 2011
    1,788
    77
    Noblesville, IN
    Numrich has what you're looking for ... https://www.gunpartscorp.com/products/1039510

    There's also some affordable options on eBay ...

    Thanks for the links...I had forgot about Ebay. I already went to Numrich but the Spanish ones didn't look like the Swed.

    We will se what happens with Ebay.
     

    bobjones223

    Master
    Rating - 98.2%
    55   1   0
    Mar 3, 2011
    1,788
    77
    Noblesville, IN
    Got to looking at the trigger mechanism on the Mauser and don't see a good way to make an over travel stop without LOTS of work or doing the goofy set screw in the guard or trigger. For now I will leave that alone unless something pops into my brain on a sleepless night.
     

    bobjones223

    Master
    Rating - 98.2%
    55   1   0
    Mar 3, 2011
    1,788
    77
    Noblesville, IN
    Well just an update to the .450 Swed.

    The barrel I got from Rhineland Arms came with the thready cut to proud as I can only get about 3/4 turn on it before it gets stiff.

    I spoke with Rhineland Arms about it and they said that a common problem because all the small ring Mausers were turned a little different.

    They said that they would chase the thread on another barrel and get it headed my way. This was on 12/28/2020.

    They have been non responsive since. I will give them some more time but may have to take it to AllenM and see what he can do with the thread issues.

    SO WE ARE ON HOLD AGAIN...Grrrrr
     

    bobjones223

    Master
    Rating - 98.2%
    55   1   0
    Mar 3, 2011
    1,788
    77
    Noblesville, IN
    Okay...update.

    I got the action and barrel off to a buddy in Pendleton who is a smith and he threw it in the lathe for me.

    He also had the Go/No-go gauges for the 450BM and mounted the barrel.
    20210218_090621.jpg 20210218_090634.jpg 20210218_090643.jpg
     

    bobjones223

    Master
    Rating - 98.2%
    55   1   0
    Mar 3, 2011
    1,788
    77
    Noblesville, IN
    The time I spent working on the stock before the barrel was mounted paid off as it was a perfect fit and it passed the dollar bill test nicely.

    I still need to profile the front of the stock now that the barrel is on and I have a better idea on what everything looks like.

    20210218_090857.jpg
     
    Last edited:

    DocIndy

    Master
    Site Supporter
    Rating - 100%
    38   0   0
    Mar 30, 2010
    1,931
    149
    Franklin
    Rob is a great guy! He was telling me about the 450 project when I was dropping off one of my XP-100s for him to re assemble after AllenM did some Cerakote work.
     

    bobjones223

    Master
    Rating - 98.2%
    55   1   0
    Mar 3, 2011
    1,788
    77
    Noblesville, IN
    Rob is a great guy! He was telling me about the 450 project when I was dropping off one of my XP-100s for him to re assemble after AllenM did some Cerakote work.
    Yup Rob is a great guy and he did a great job.

    Got the scope mounted and the front of the stock shaped up.

    I got a surplus sling mount ordered off of Ebay and should be at the house Tuesday!

    I wish the filler on the end was a little less noticeable but works for now....may add a little filler made from some of the saddings.
    20210219_152753.jpg
    20210219_152808.jpg
    20210219_152841.jpg 20210219_153258.jpg 20210219_152830.jpg
     

    bobjones223

    Master
    Rating - 98.2%
    55   1   0
    Mar 3, 2011
    1,788
    77
    Noblesville, IN
    So recent update.

    I got the sling mount but have yet to get it installed because I have been working on the trigger.

    So In an effort to drop the scope down as mush as possible it made the top safety on the bolt inoperable and I also had the desire to take the over travel out of the trigger.

    After much engineering work and machine time I fixed both problems. :laugh:
    20210218_091524.jpg
    20210218_091537.jpg
    Then the fun began of opening up the original wood stock to accept the much larger Timney trigger assembly.

    So four hours later and a decent amount of red lipstick and it finally slid into place. You can still see some lipstick on the trigger. I coated the trigger assembly with lipstick to determine the areas that came into contact with the wood and slowly removed the contacting areas.

    20210218_090926.jpg

    All and all the fit and finish turned out well and the trigger is AMAZING!
    20210218_092402.jpg

    20210218_092420.jpg
    There were some additional areas in the trigger guard and where the sear slides up into the receiver that needed opened up but I didn't get any pics of those. The Timney trigger is wider and sits farther back that the factory trigger so the guard needed widened a little and the back needed trimmed out.

    The factory sear was an oval shape and the receiver was machined for that. The Timney was a rectangle so the receiver needed squared up to accommodate.
     
    Last edited:

    Gingerbeardman

    Sharpshooter
    Rating - 100%
    17   0   0
    Mar 17, 2017
    646
    93
    Anderson
    This is a very cool project! Hopefully someday I'll have the patience and skills to undertake such an endeavor. Just curious because I don't know anything about it, why did you choose this particular caliber?
     

    gregkl

    Outlier
    Site Supporter
    Rating - 100%
    33   0   0
    Apr 8, 2012
    11,913
    77
    Bloomington
    Bob, what brand recoil pad did you use in the past that was harder than the Limbsaver? I am thinking about adding a grind-to-fit pad to my 10/22 and I too have run into difficulties with the soft material on a Limbsaver.
     
    Top Bottom